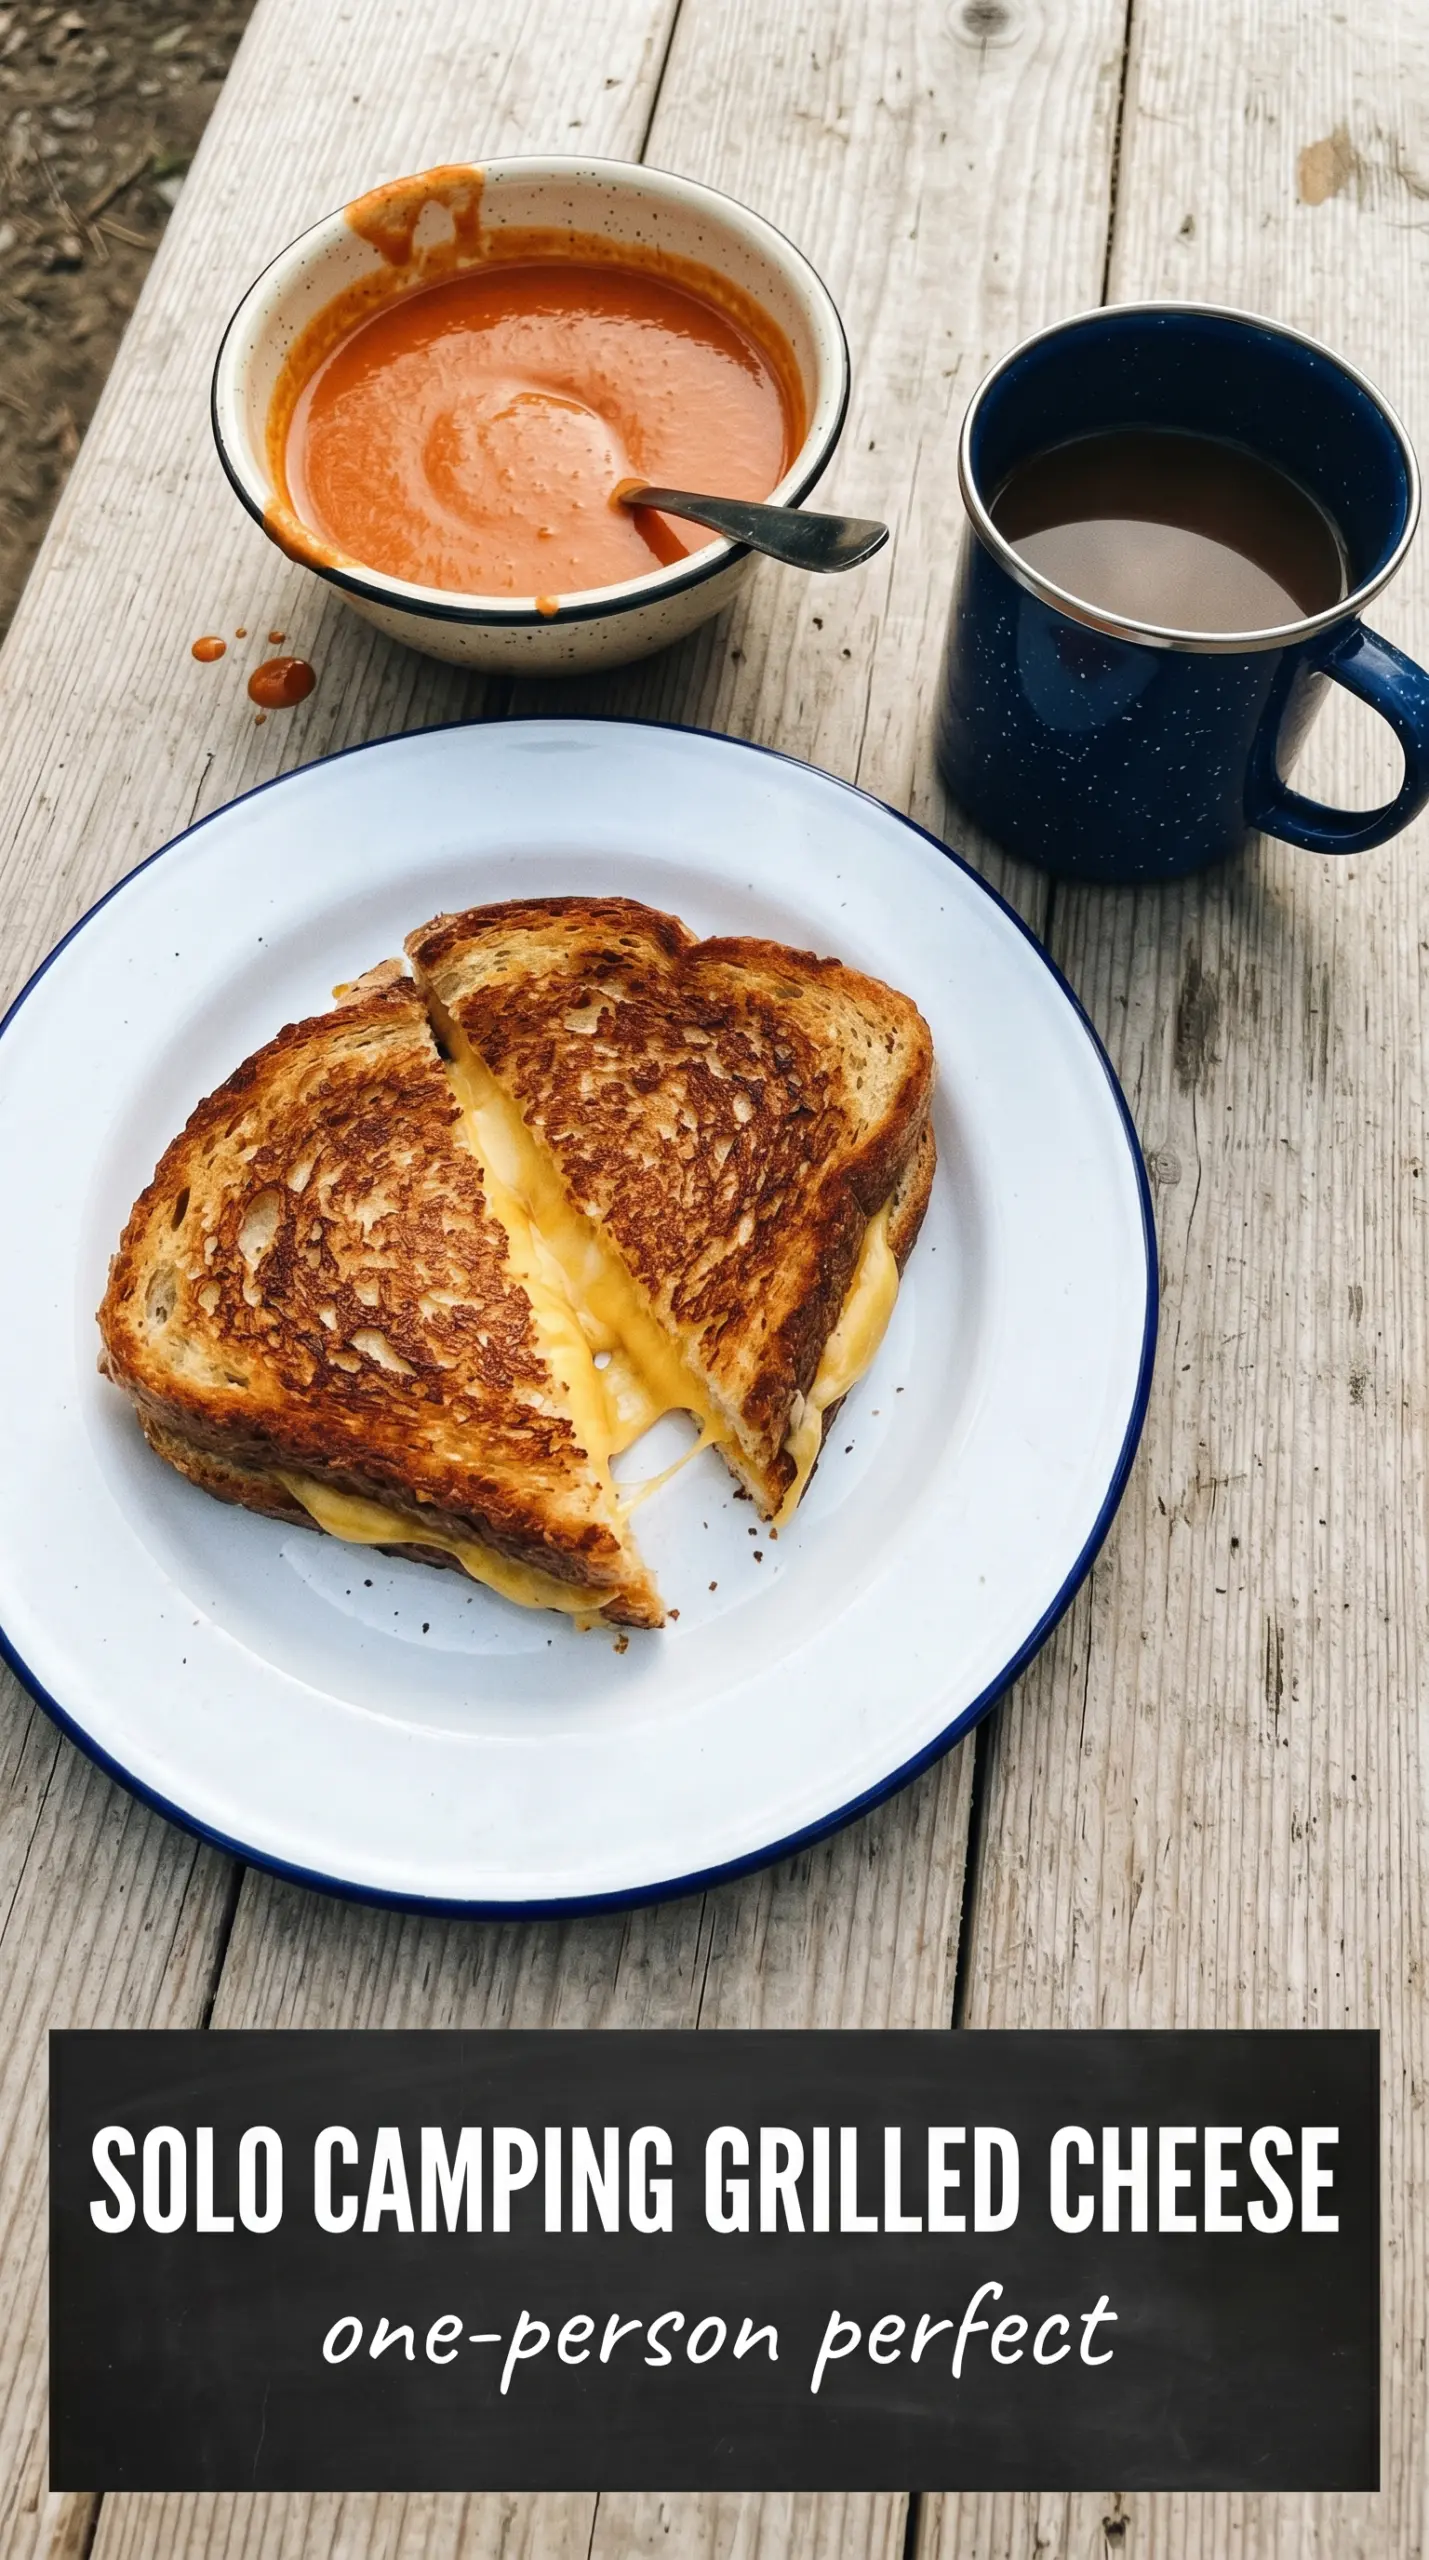
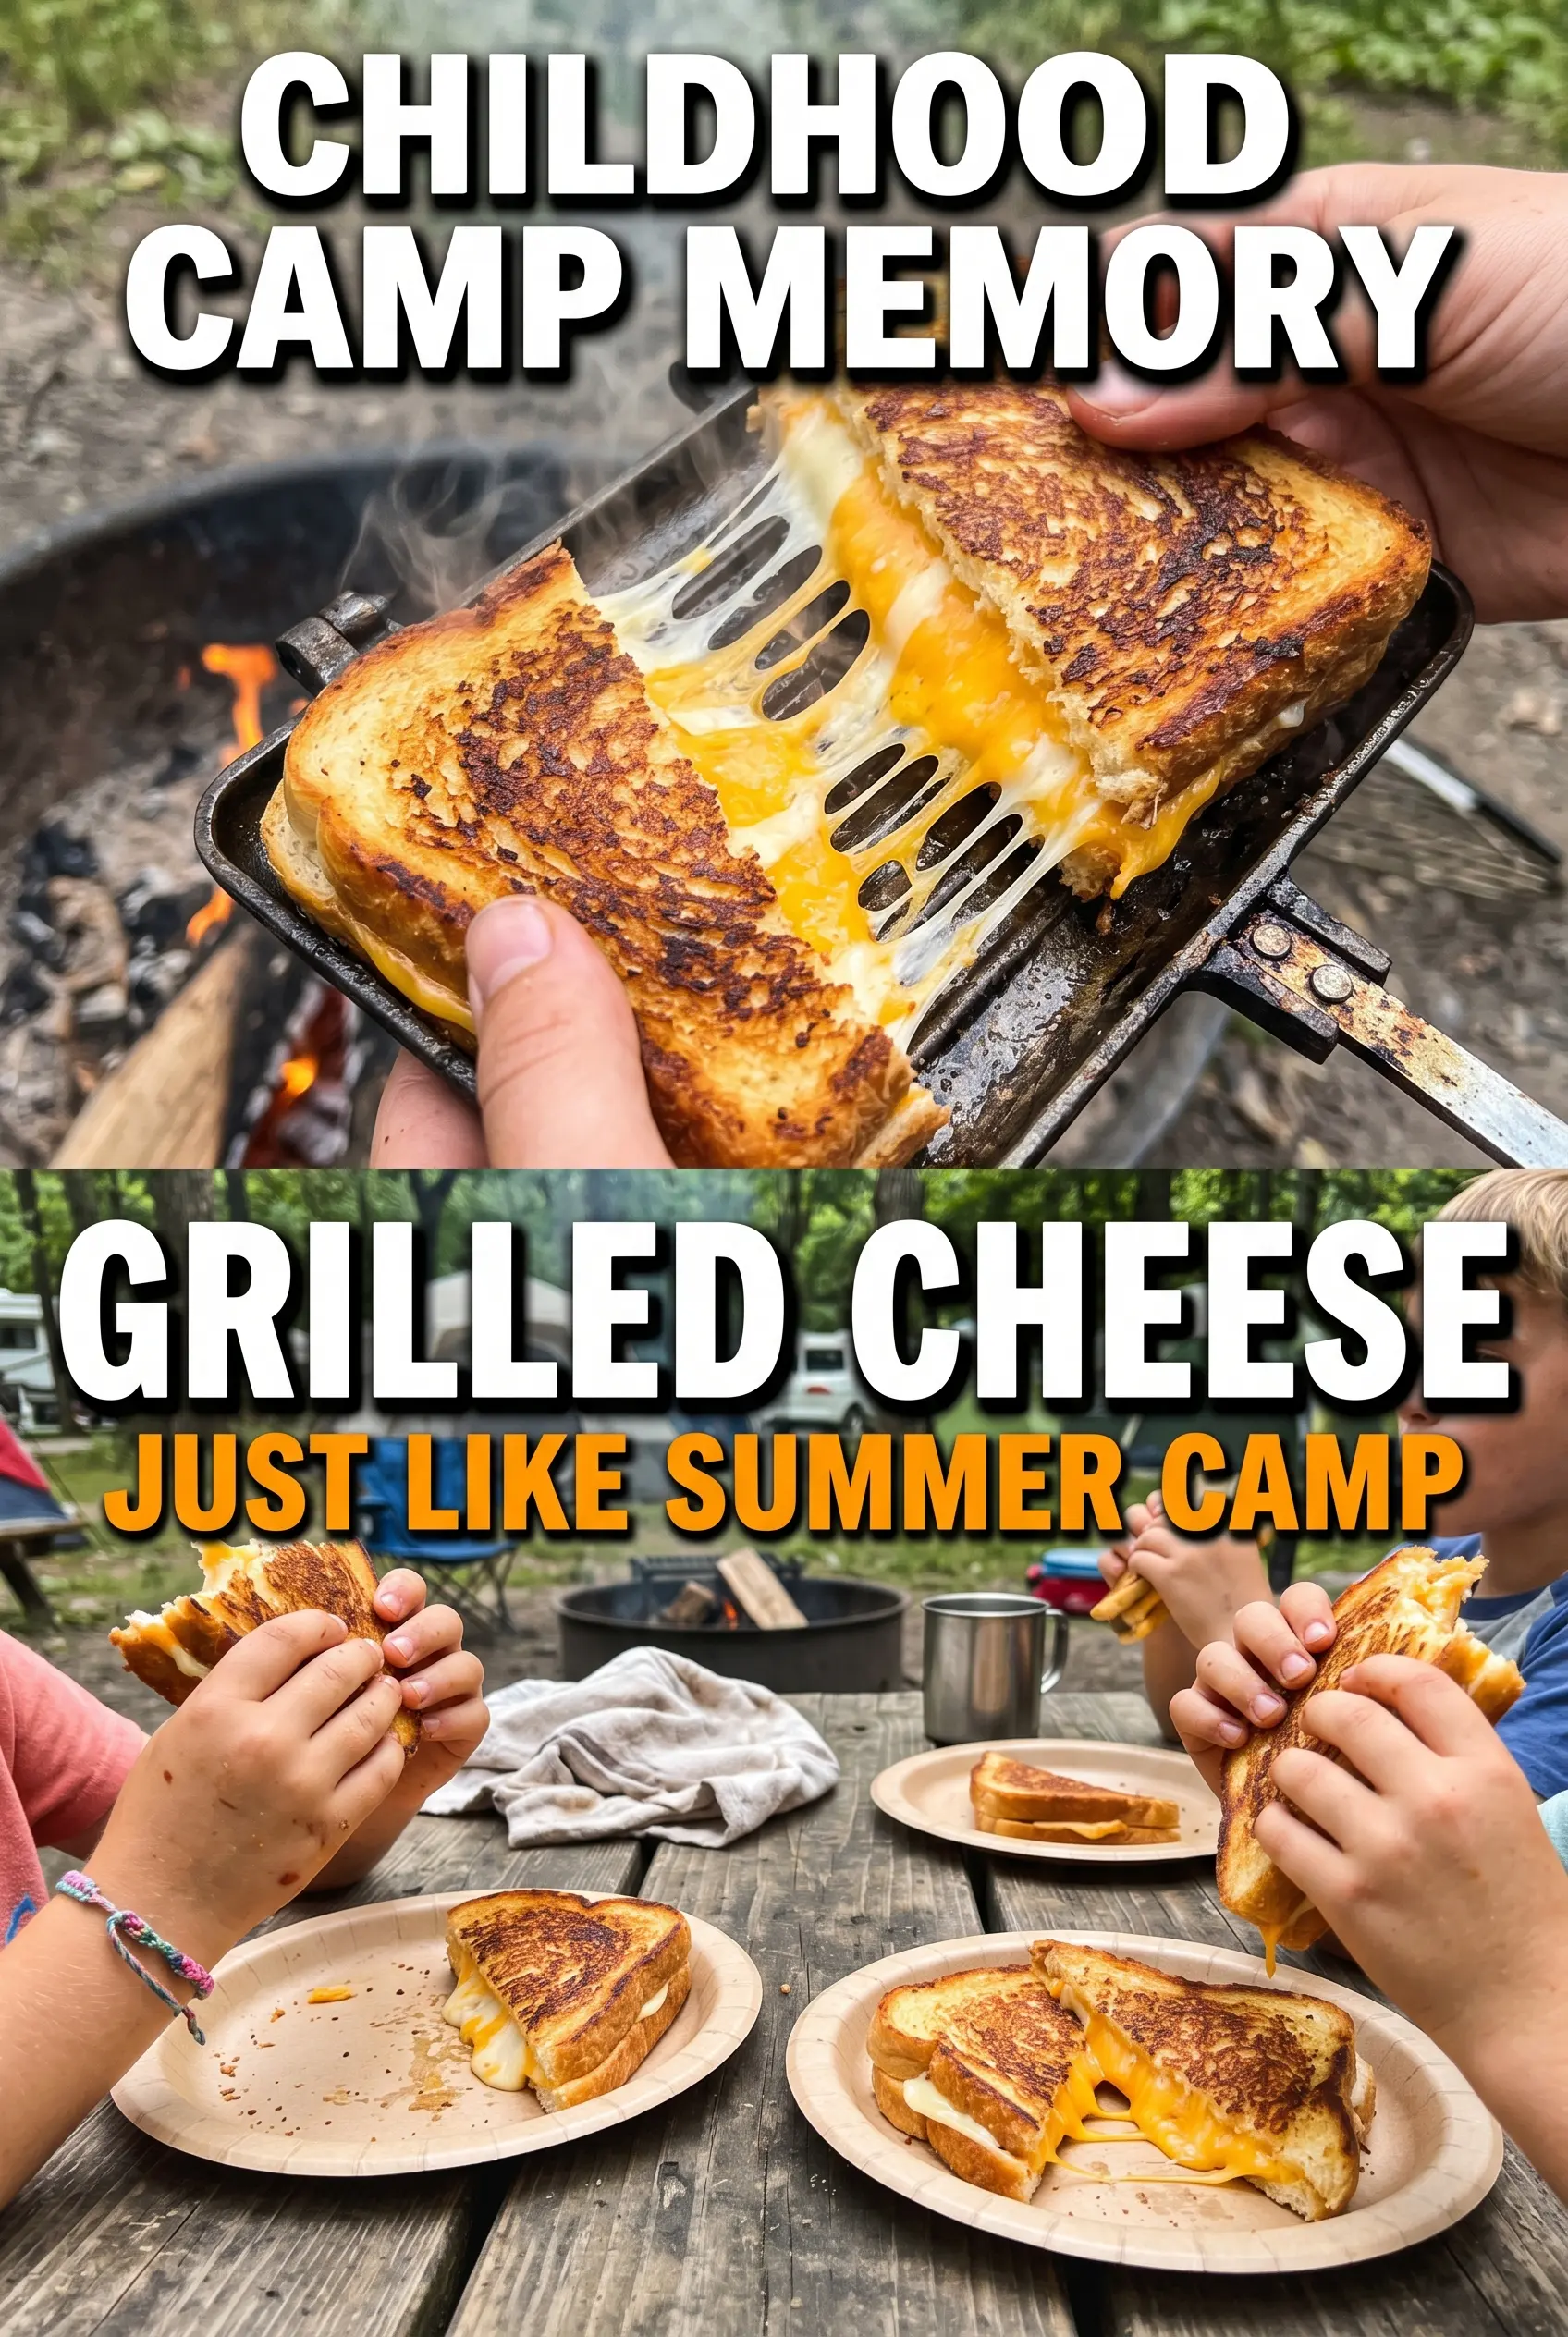
Campfire grilled cheese lands with the kind of simple satisfaction that makes people hover near the skillet waiting for their turn. The bread turns crisp and deeply golden, the cheese melts into a smooth pull, and the whole sandwich tastes even better with a little smoke from the fire or grill grate. It’s the kind of meal that feels casual but still hits every note you want from comfort food.
The trick is keeping the heat steady and moderate. Over an open flame, bread can brown before the center has time to melt, so a cast iron skillet or a grate with consistent coals gives you much better control. Butter on the outside does the heavy lifting here, creating that even crust, while the cheese blend decides whether you get a sharp bite, a mellow melt, or the classic stretchy middle everyone wants.
Below, I’ve included the small details that keep this from turning into burnt bread with cold cheese inside, plus a few ways to adapt it for different cheeses and cooking setups. Once you get the rhythm of it, this becomes one of the easiest campsite lunches to pull off well.
The bread got that perfect campfire crunch and the cheese was fully melted by the time both sides were golden. I used cheddar and Swiss, and the center stayed gooey without leaking all over the grate.
Pin this campfire grilled cheese for an easy campsite lunch with golden bread and a perfect cheese pull.
The Mistake That Leaves the Bread Burnt Before the Cheese Melts
Campfire grilled cheese fails for one reason more than any other: the heat is too aggressive. Open flames are uneven, and if the sandwich sits too close, the bread darkens fast while the cheese stays stubborn in the middle. Cast iron helps because it buffers the heat and gives the sandwich a flat, even surface to toast on.
The other thing that matters is thickness. Thin sliced bread and a moderate layer of cheese cook more evenly than an overloaded sandwich packed with too much filling. If the cheese spills before the bread is golden, the heat was too high or the sandwich was too thick for the pan you’re using.
What the Bread, Butter, and Cheese Are Each Doing Here
- Bread — A sturdy sandwich bread gives you the best balance of crisp edges and an interior that still stays soft. Thin, delicate slices brown too quickly over fire and can tear when you flip them.
- Cheese — American melts the smoothest, cheddar gives you sharper flavor, and Swiss adds a little nutty depth. If you use only aged cheddar, expect a slightly less silky melt; blending it with American or Swiss gives you the best texture.
- Butter — Softened butter spreads evenly and helps the bread brown without patchy spots. Cold butter drags and tears the bread, which makes uneven browning more likely.
Building the Sandwich Over Heat Without Rushing the Melt
Butter the Outside First
Spread butter generously on one side of each bread slice, all the way to the edges. That edge coverage matters because the corners are the first place to burn if they’re dry. Soft butter spreads in a thin, even layer; melted butter tends to soak in and can leave spots that toast unevenly.
Set Up the Cheese Layer
Place the cheese between the unbuttered sides of the bread so the butter stays on the outside. Keep the slices aligned so the filling doesn’t drift out as the cheese softens. If you overstuff the sandwich, the cheese will ooze before the bread has enough time to turn golden.
Cook Slowly on Medium Heat
Lay the sandwich on a campfire grate or in a cast iron skillet over medium heat. Listen for a steady sizzle, not a sharp crackle, and move the sandwich if one side of the fire runs hotter than the rest. After 4 to 5 minutes, lift an edge and check for a deep golden color before flipping; if it’s pale, give it another minute rather than increasing the heat.
Flip Once and Finish Cleanly
Turn the sandwich carefully and cook the second side until it matches the first and the cheese is fully melted. Pressing down hard squashes the bread and pushes cheese out, so use only a light touch if you need to settle it in the pan. Cut it in half right away while the center is still stretchy and hot.
How to Adjust This Sandwich for Different Campsite Setups
Use a cheddar-American blend for the best melt
If you want flavor and stretch at the same time, use half American and half cheddar. American melts into a smooth, even layer, while cheddar brings the sharper taste. All cheddar works too, but the texture won’t be quite as gooey.
Make it gluten-free with sturdier bread
Use a gluten-free sandwich bread that can handle being flipped without crumbling. The key is choosing a loaf with enough structure to hold the melted cheese; very soft gluten-free breads can fall apart before the second side browns.
Swap in Swiss for a milder, nuttier sandwich
Swiss melts well and gives the sandwich a gentler flavor than cheddar. It’s a good choice if you’re serving this alongside soup or making it for kids who prefer a softer cheese taste. Just don’t use only very thin slices, or the filling can disappear into the bread before the crust finishes.
Cook it in a skillet when the fire is uneven
A cast iron skillet gives you the most control if the fire is hot in spots or the grate sits too close to the flames. The sandwich browns more evenly, and you can shift the pan as needed without chasing hot spots across the coals.
Storage and Reheating
- Refrigerator: Store cooled sandwiches in the fridge for up to 2 days. The bread softens a bit, and the crust won’t stay as crisp.
- Freezer: Freezing isn’t ideal once the sandwich is cooked, since the bread can turn soggy after thawing.
- Reheating: Reheat in a skillet over low to medium-low heat until the bread crisps again and the center warms through. The common mistake is using high heat, which burns the outside before the cheese loosens.
Answers to the Questions Worth Asking
Campfire Grilled Cheese
Ingredients
Equipment
Method
- Butter one side of each bread slice generously so the outside will brown evenly over heat.
- Place cheese between two slices of bread, keeping the buttered sides on the outside for a sealed, melty center.
- Place the sandwiches on a campfire grate or in a cast iron skillet over medium heat.
- Cook for 4-5 minutes per side until the bread is golden brown and the cheese is fully melted.
- Remove from heat, cut in half, and serve hot while the cheese is molten.