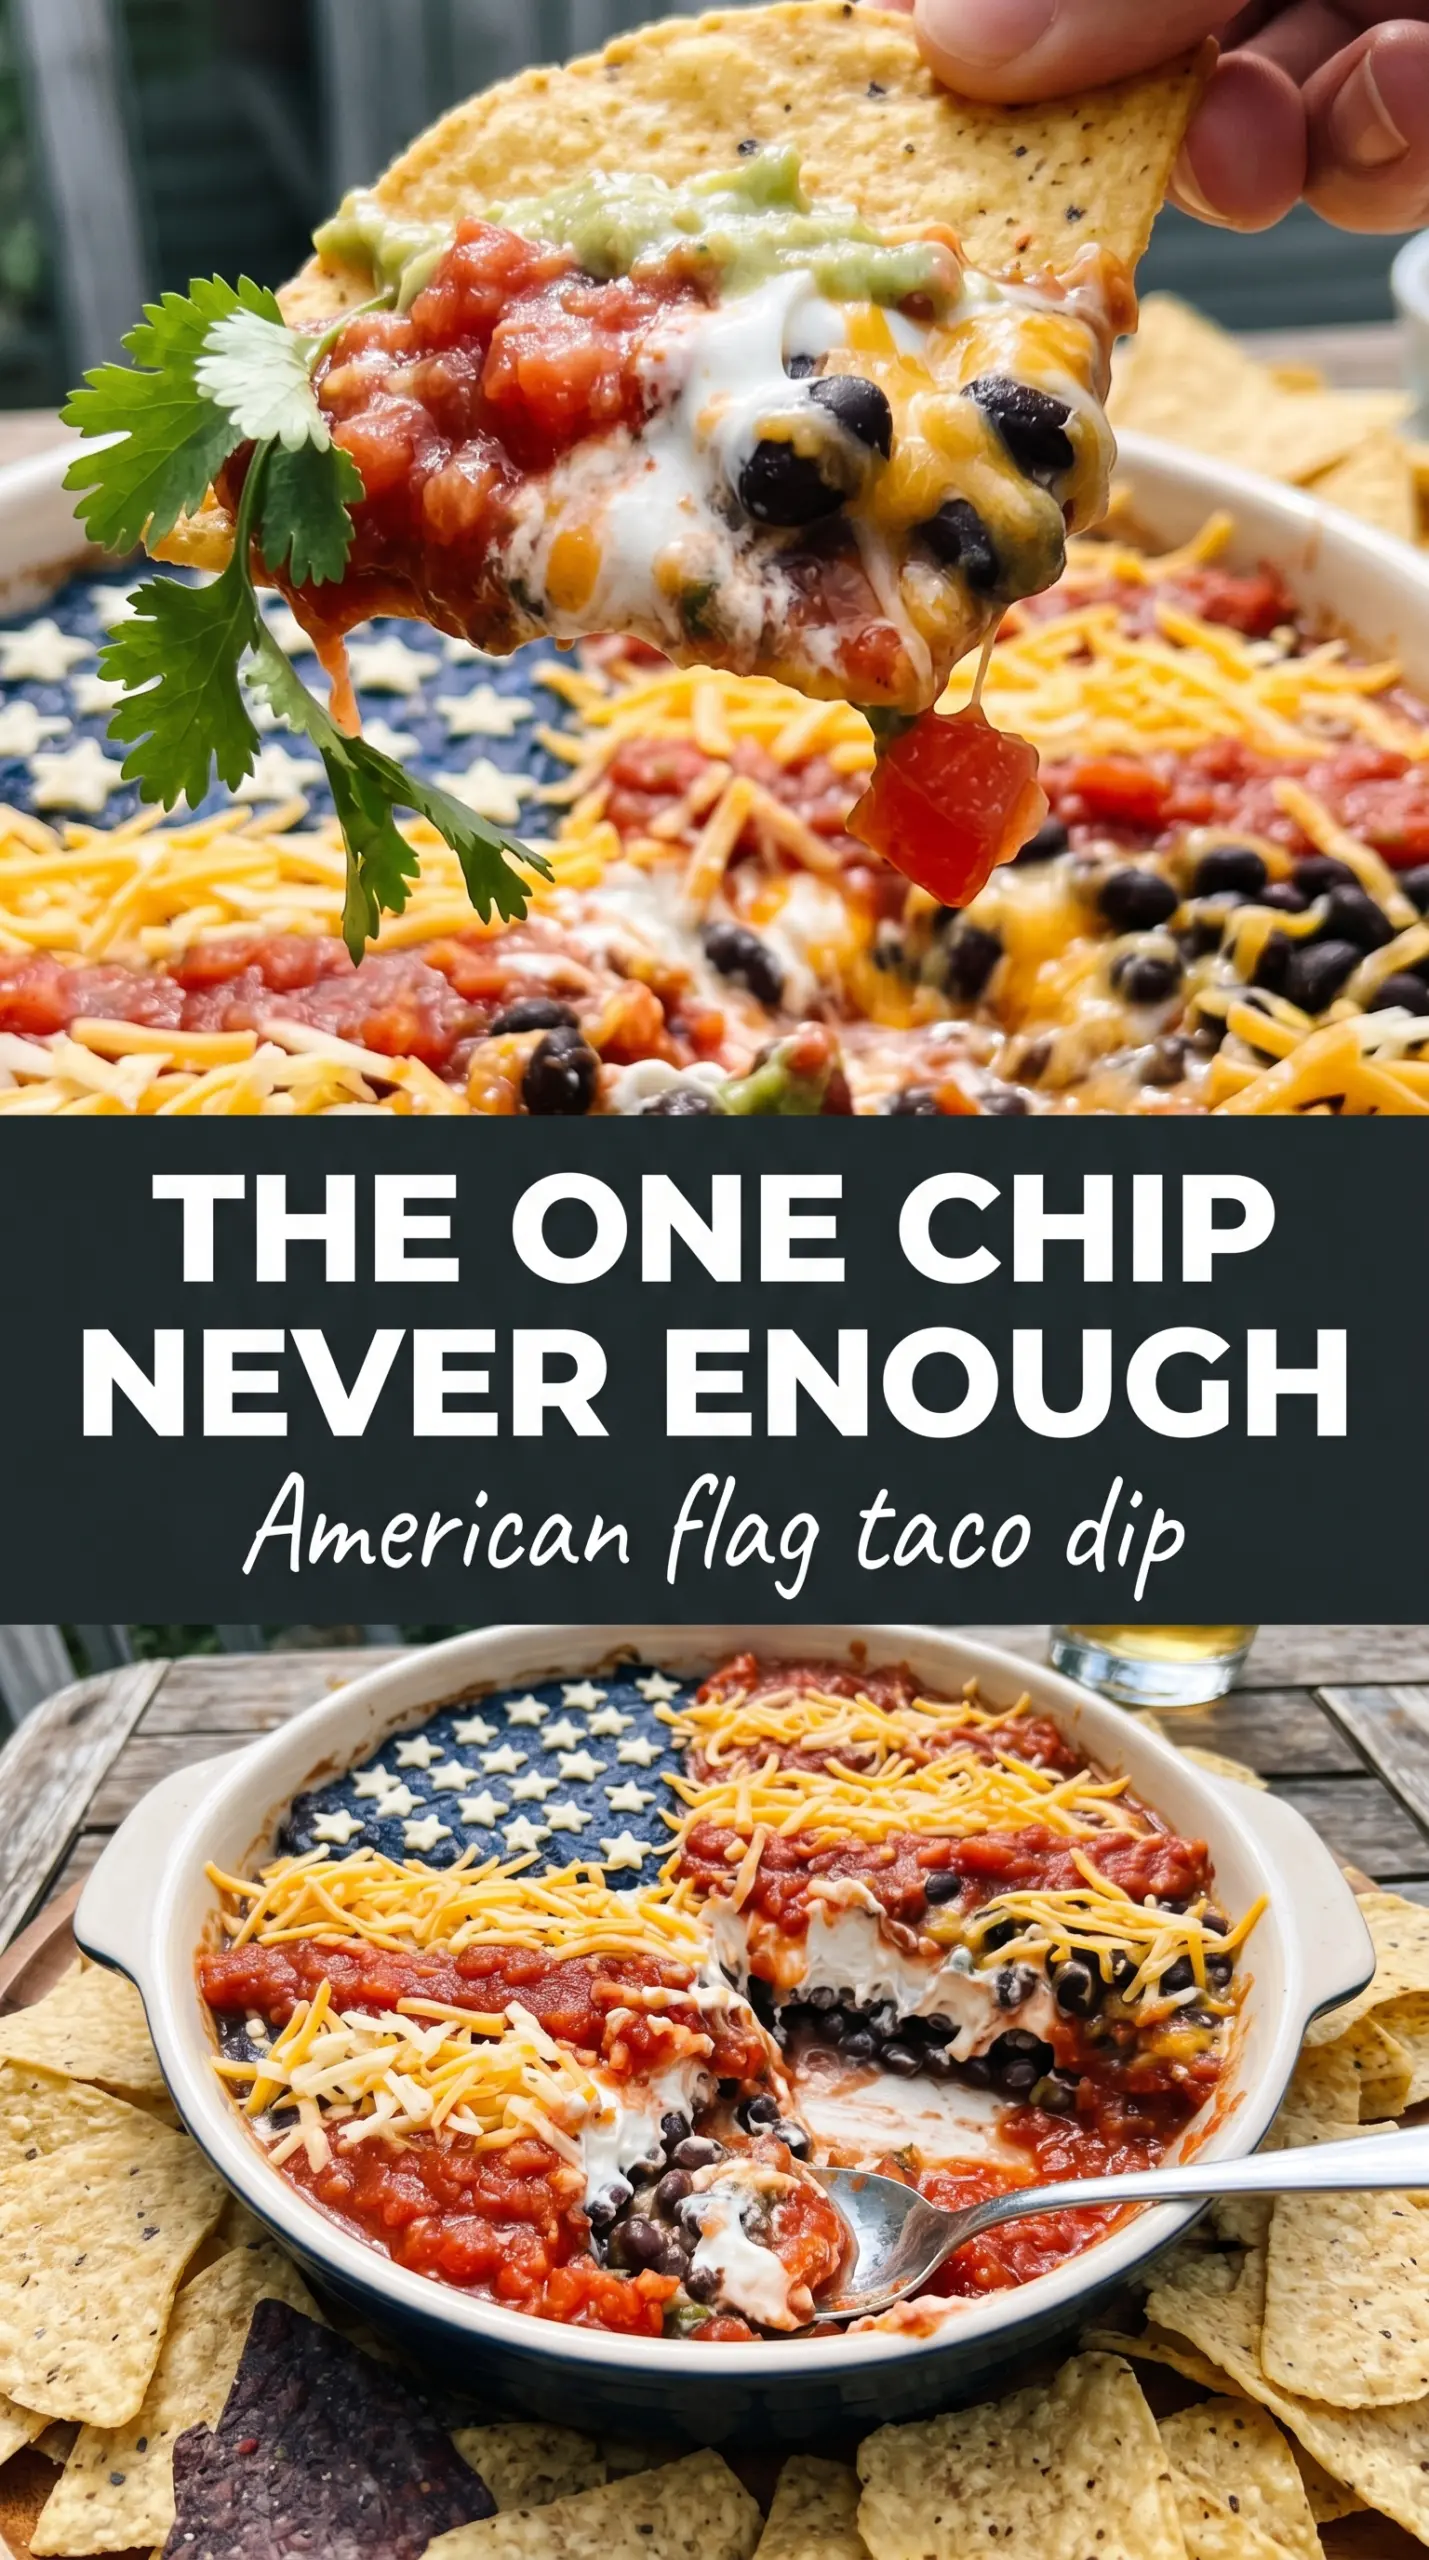
American flag taco dip is the kind of party tray that gets carried to the table once and immediately draws a crowd. You get all the comfort of classic layered taco dip, but the top is decorated like a flag, which makes it feel special before anyone even takes a chip. The best part is that it still eats like a good dip should: creamy, savory, a little tangy, and sturdy enough to scoop without collapsing into a mess.
This version works because each layer has a clear job. The refried beans give the base enough weight to hold the toppings, the cream cheese and taco seasoning add body and flavor, and the guacamole keeps the middle rich without making the whole dish runny. Chilling it before serving helps the stripes set up, which matters more than people think when you’re piping sour cream over a soft surface.
Below, I’ll walk through the little details that make the flag design cleaner and the layers taste better together. There’s also a smart way to handle substitutions if you need to work with what’s already in the fridge.
The layers held up perfectly and the sour cream stripes stayed sharp after chilling. I used the piping bag trick and the flag design looked much cleaner than when I’ve just spooned everything on before.
Like this American flag taco dip? Save it to Pinterest for your next 4th of July party, potluck, or game-day spread.
The part that keeps the layers from turning muddy
Layered taco dip goes wrong when the base is too loose or the top gets assembled before the cold ingredients have time to settle. This version avoids that by keeping the bean layer thick, softening the cream cheese fully, and chilling the finished dish before serving. That pause is not decorative. It helps the sour cream hold its shape and keeps the guacamole from sliding into the salsa.
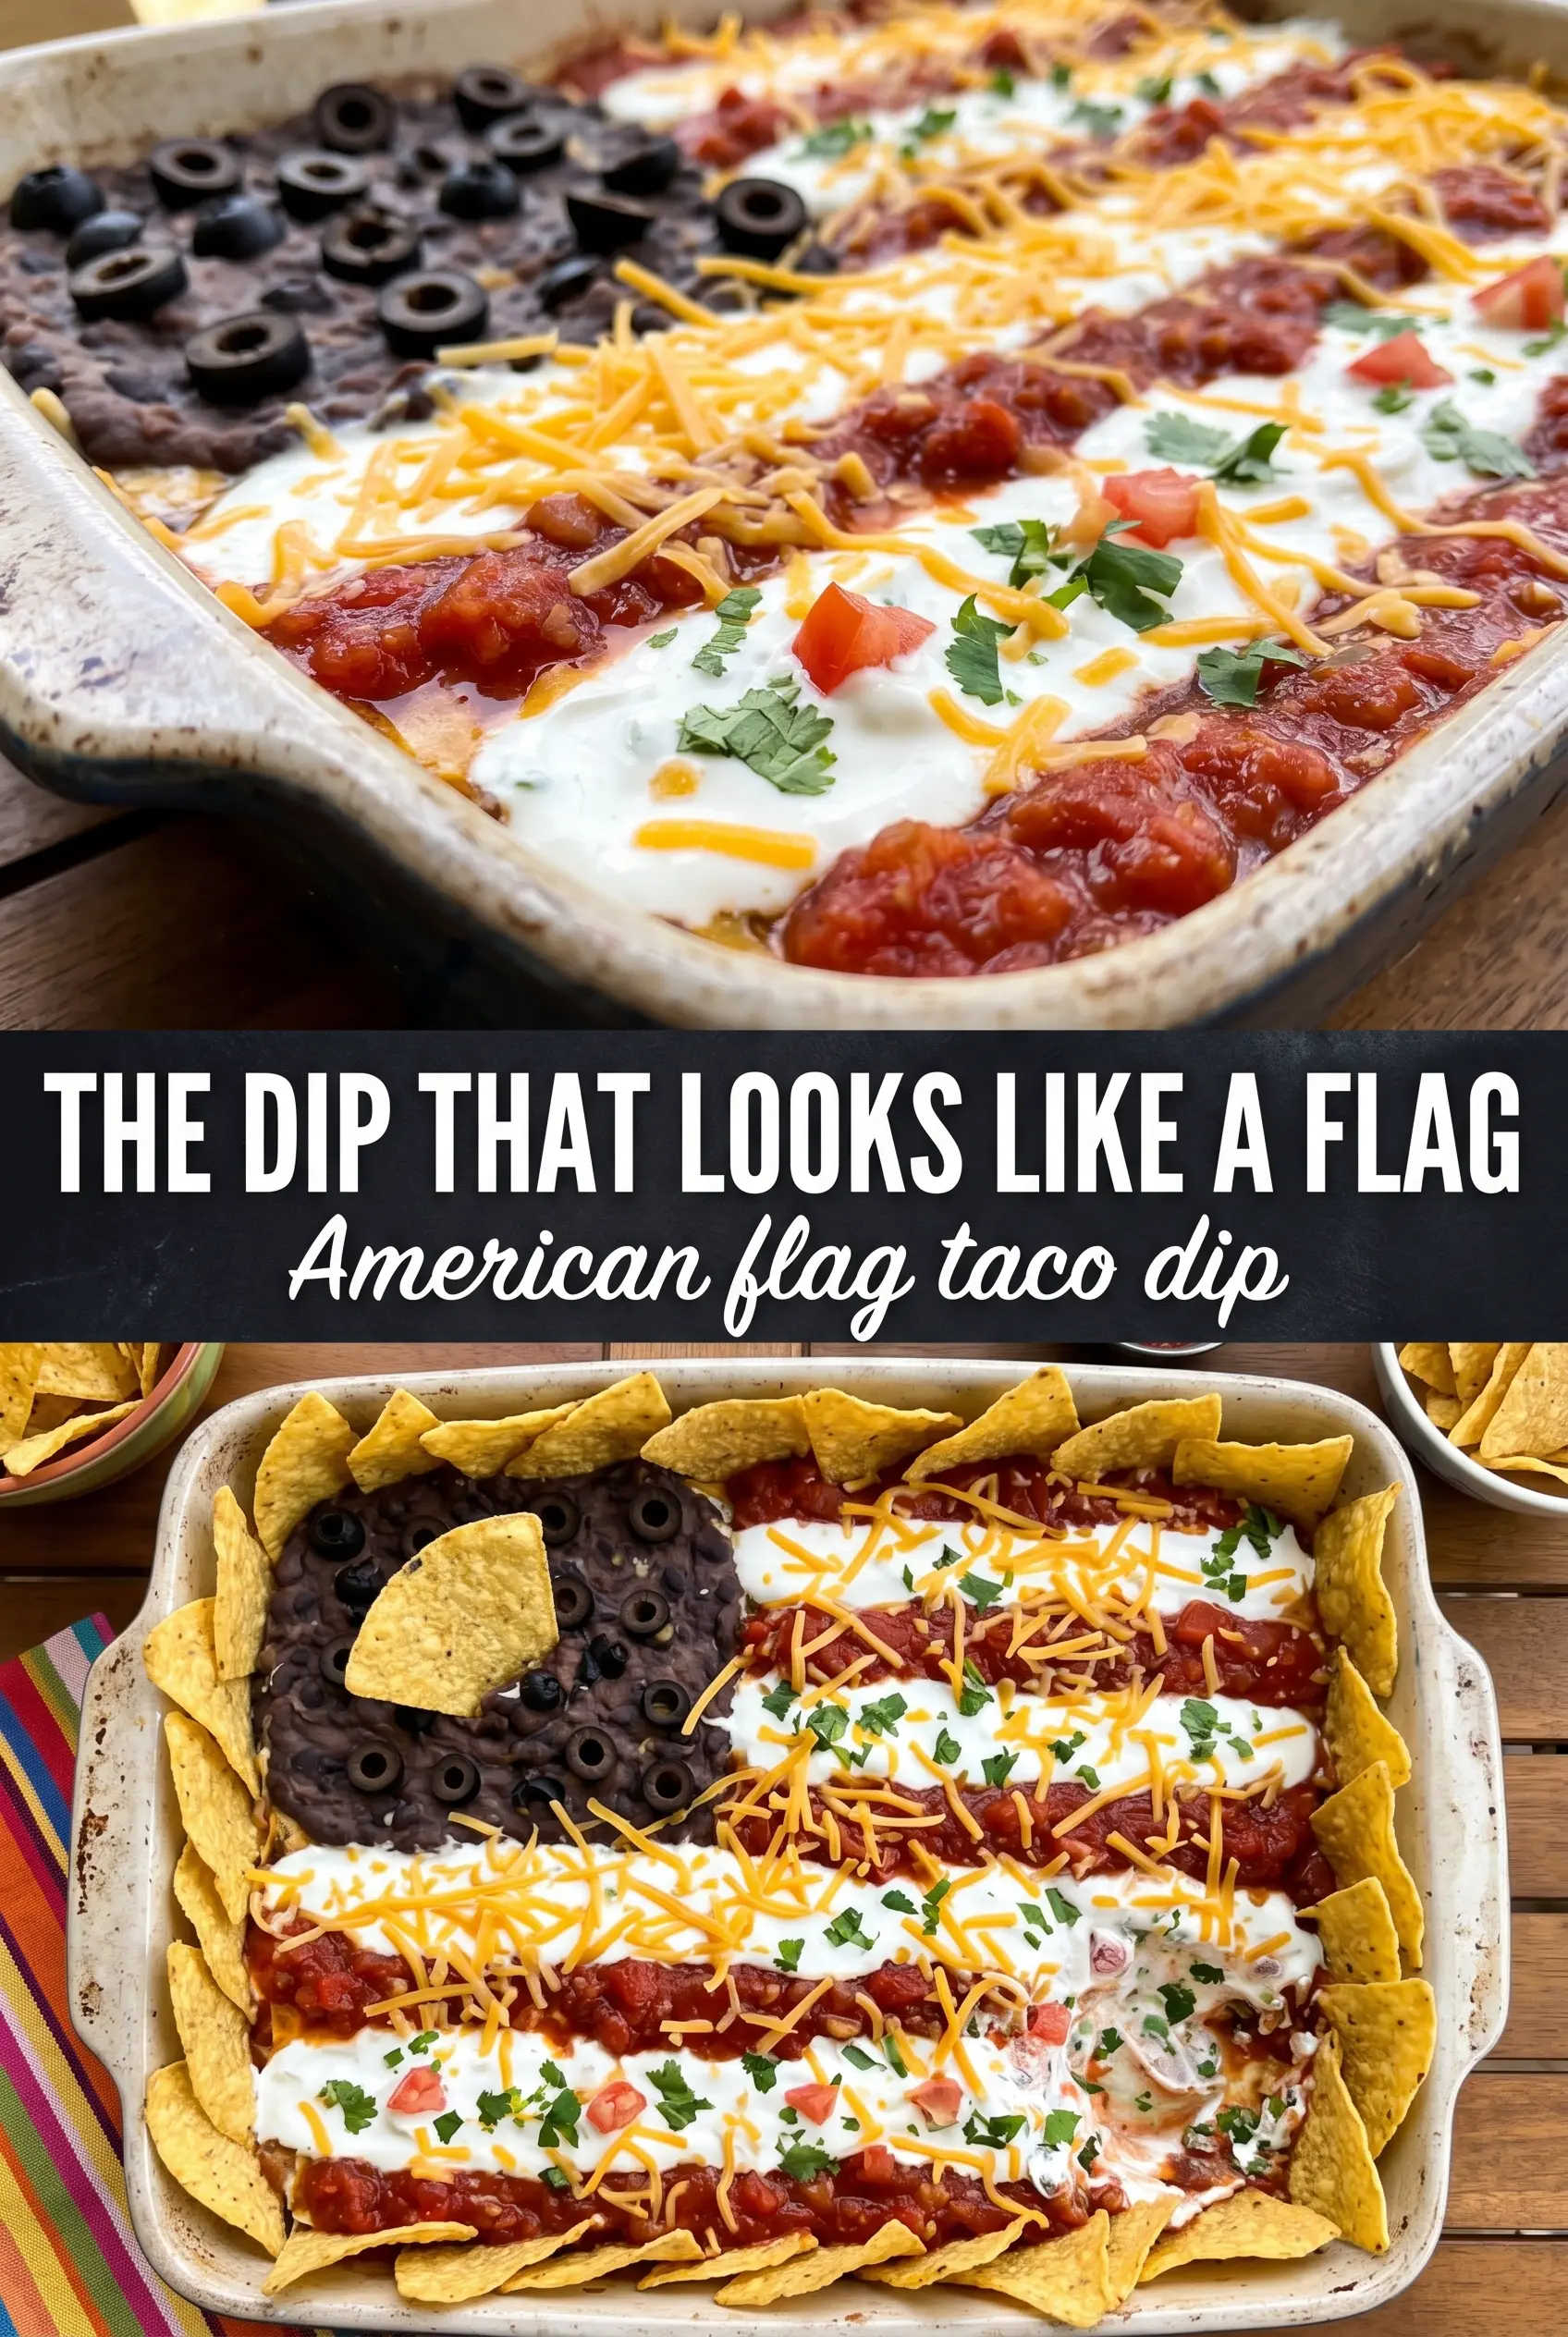
The other thing that matters is using a rectangular dish. A square or round bowl makes the flag design awkward fast, while a long tray gives you clean stripes and enough room for the blue corner to read like a flag instead of a patch of toppings. If your layers are thinner than you expect, the design will still work, but the stripes need a flatter surface to stay defined.
- Refried beans — This is the foundation. A thick, spreadable bean layer holds the rest of the dip up, and canned refried beans are fine here as long as they’re not watery. If they seem stiff, warm them for a few seconds and stir before spreading.
- Cream cheese — Softened cream cheese is what keeps the middle layer smooth instead of lumpy. Cold cream cheese fights the taco seasoning and tears the bean layer when you spread it. Let it sit out until it gives easily when pressed.
- Chunky salsa or pico de gallo — Chunkier salsa gives you more visible red stripes and less runoff. Thin salsa can blur the flag design, so drain off extra liquid if it looks wet in the bowl.
- Black olives or cherry tomatoes — Olives give you the cleanest dark blue-canton look, but cherry tomatoes or diced red bell pepper keep the topping brighter and fresher. Use the olives if you want the flag effect to read instantly from across the room.
What Each Ingredient Is Actually Doing in This Recipe
- Primary ingredient (the star) — Quality matters most. Choose the best you can find.
- Cooking medium (oil, butter, or broth) — This carries flavors and prevents dryness.
- Seasonings (salt, pepper, spices, herbs) — Layer flavors so nothing overpowers. Build depth gradually.
- Aromatics (garlic, onion, herbs) — Cook with fat to bloom flavors. Become the foundation.
- Supporting ingredients — Complement the main ingredient without overpowering it.
- Sauce or liquid (if applicable) — Brings flavors together. Balance richness with acid.
- Acid (lemon, vinegar, wine, or other) — Brightens and prevents flat-tasting results.
- Final finish (garnish, glaze, or sauce) — Prevents one-dimensional taste and adds visual appeal.
How to build the flag so the stripes stay sharp
Spreading the bean base
Start with the refried beans and spread them all the way to the corners in an even layer. If the beans are cold and dragging the spoon through them, they’ll tear the surface instead of laying down smoothly, so loosen them first if needed. A flat, level base gives every layer above it a cleaner edge.
Mixing the middle layer until it’s smooth
Stir the softened cream cheese with the taco seasoning until there are no pale streaks left. If the cream cheese is even a little cold, you’ll end up with tiny lumps that make the next layer uneven. Spread this layer gently so you don’t pull beans up into it.
Assembling the top for a clear flag design
Spread the guacamole, then the shredded cheese, and only after that pipe the sour cream stripes. If you spoon the sour cream on, the lines tend to wobble and sink. A zip-top bag with a small corner cut off gives you better control, and it’s easier to keep the white stripes straight when the dip is cold.
Adding the color without flooding the surface
Spoon the salsa in narrow rows between the sour cream lines and keep the blue corner tight with sliced olives. If the salsa is juicy, drain it first or it will bleed into the white stripes. Finish with the green onions, then chill the tray for 30 minutes so the design sets before the first chip goes in.
What to change when you need to work with what’s in the fridge
Make it gluten-free without changing the dip itself
The dip is naturally gluten-free if your taco seasoning is, too. Packets sometimes hide flour or other thickeners, so check the label before mixing it into the cream cheese. Serve it with certified gluten-free tortilla chips if that matters for your guests.
Swap the guacamole for a dairy-free layer
If you need a dairy-free version, replace the cream cheese and sour cream with your favorite dairy-free alternatives that can be spread and piped. The texture will be a little softer, so chill the dip longer before serving. The flag still works, but the lines may be less crisp than with full-fat dairy.
Use diced tomatoes instead of salsa for a cleaner top
If your salsa is watery, diced cherry tomatoes or drained pico de gallo give you a neater red stripe. You lose a little saucy flavor, so season the bean layer a touch more boldly if you go this route. This is the easiest swap when you care more about a sharp-looking flag than a saucier dip.
Storage and Reheating
- Refrigerator: Store covered for up to 3 days. The flag design softens a bit, but the flavor holds up well.
- Freezer: Don’t freeze this one. Sour cream, guacamole, and cream cheese all change texture after thawing, and the dip turns watery.
- Reheating: This dip is served cold, so there’s no reheating step. If it’s been in the fridge a while, let it sit out for 10 to 15 minutes before serving so the layers aren’t too firm.
Questions I get asked about this American flag taco dip
American Flag Taco Dip
Ingredients
Equipment
Method
- Spread the refried beans in an even layer across the bottom of a large rectangular baking dish or serving tray.
- Mix the cream cheese with the taco seasoning until smooth, then spread it evenly over the bean layer.
- Spread the guacamole over the cream cheese layer, then top with the shredded Mexican cheese blend.
- Spoon the sour cream into a piping bag or zip-lock bag with a corner snipped and pipe horizontal white stripes across the top of the dip.
- Add rows of salsa or diced red tomato between the sour cream stripes to create the red stripe effect.
- In the upper left corner, arrange the sliced black olives tightly to form the blue canton rectangle.
- Scatter the green onions across the top of the dip.
- Chill for 30 minutes to set the layers, then serve with tortilla chips.