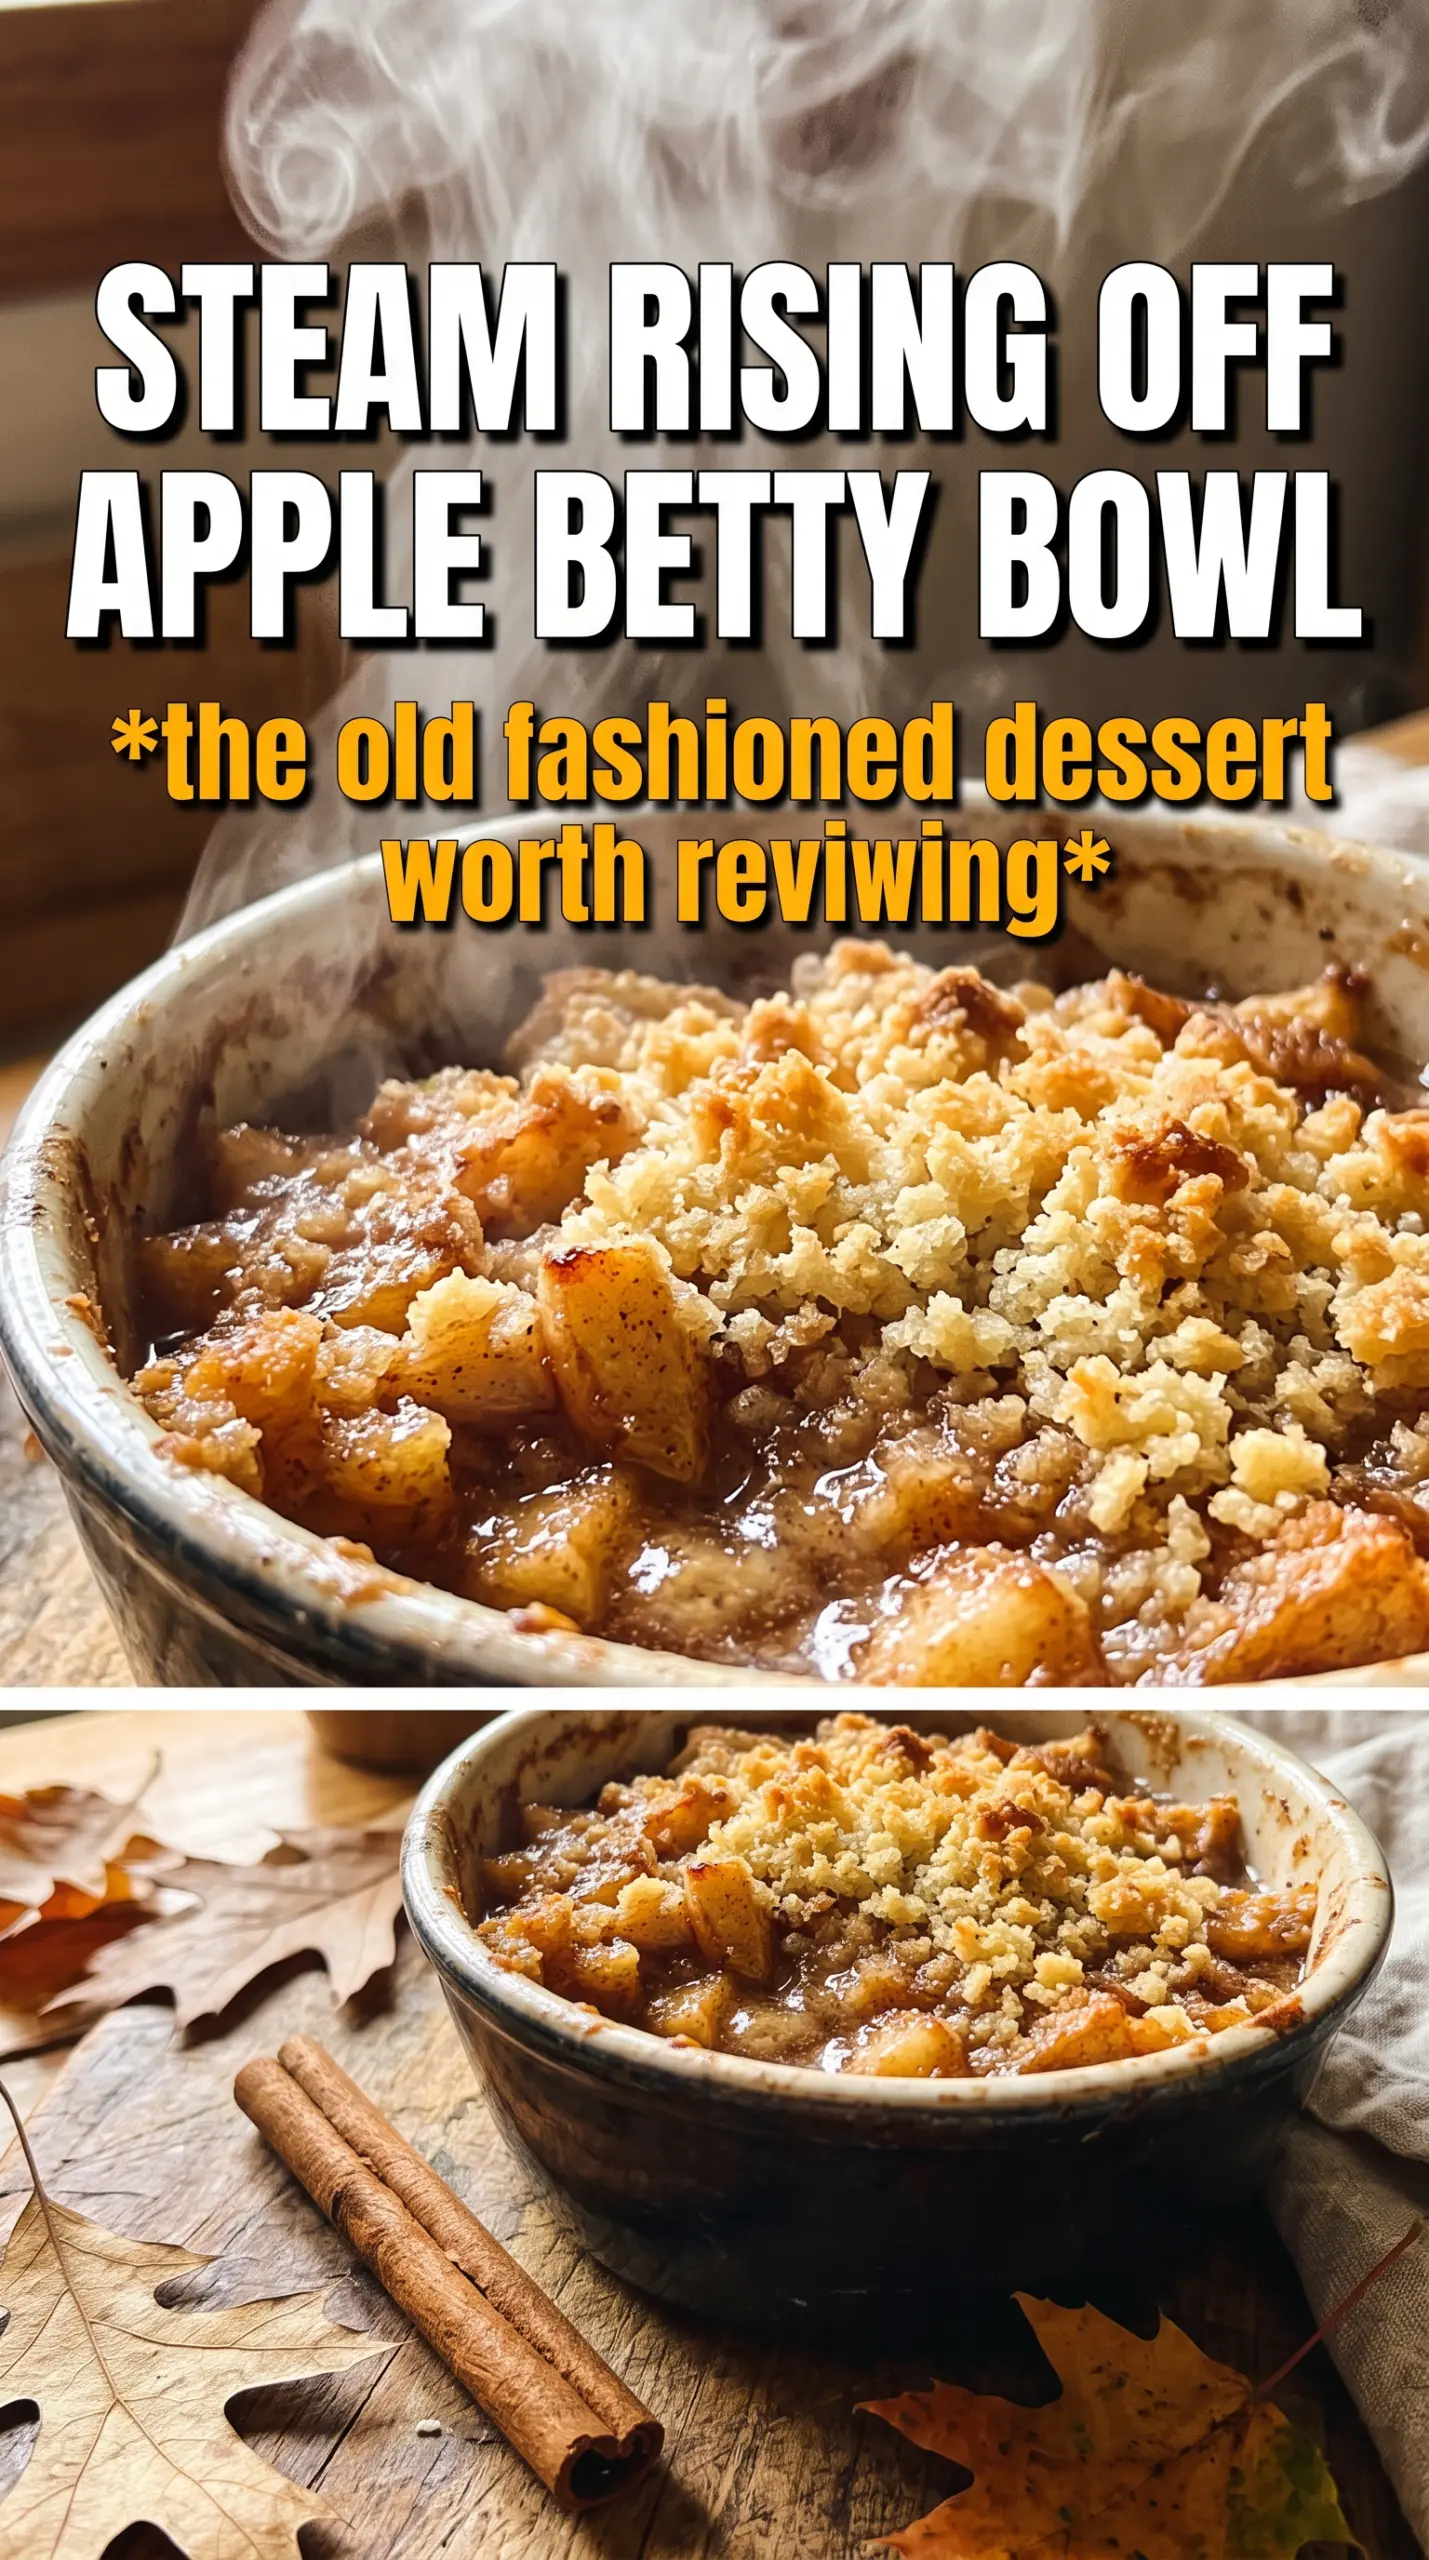
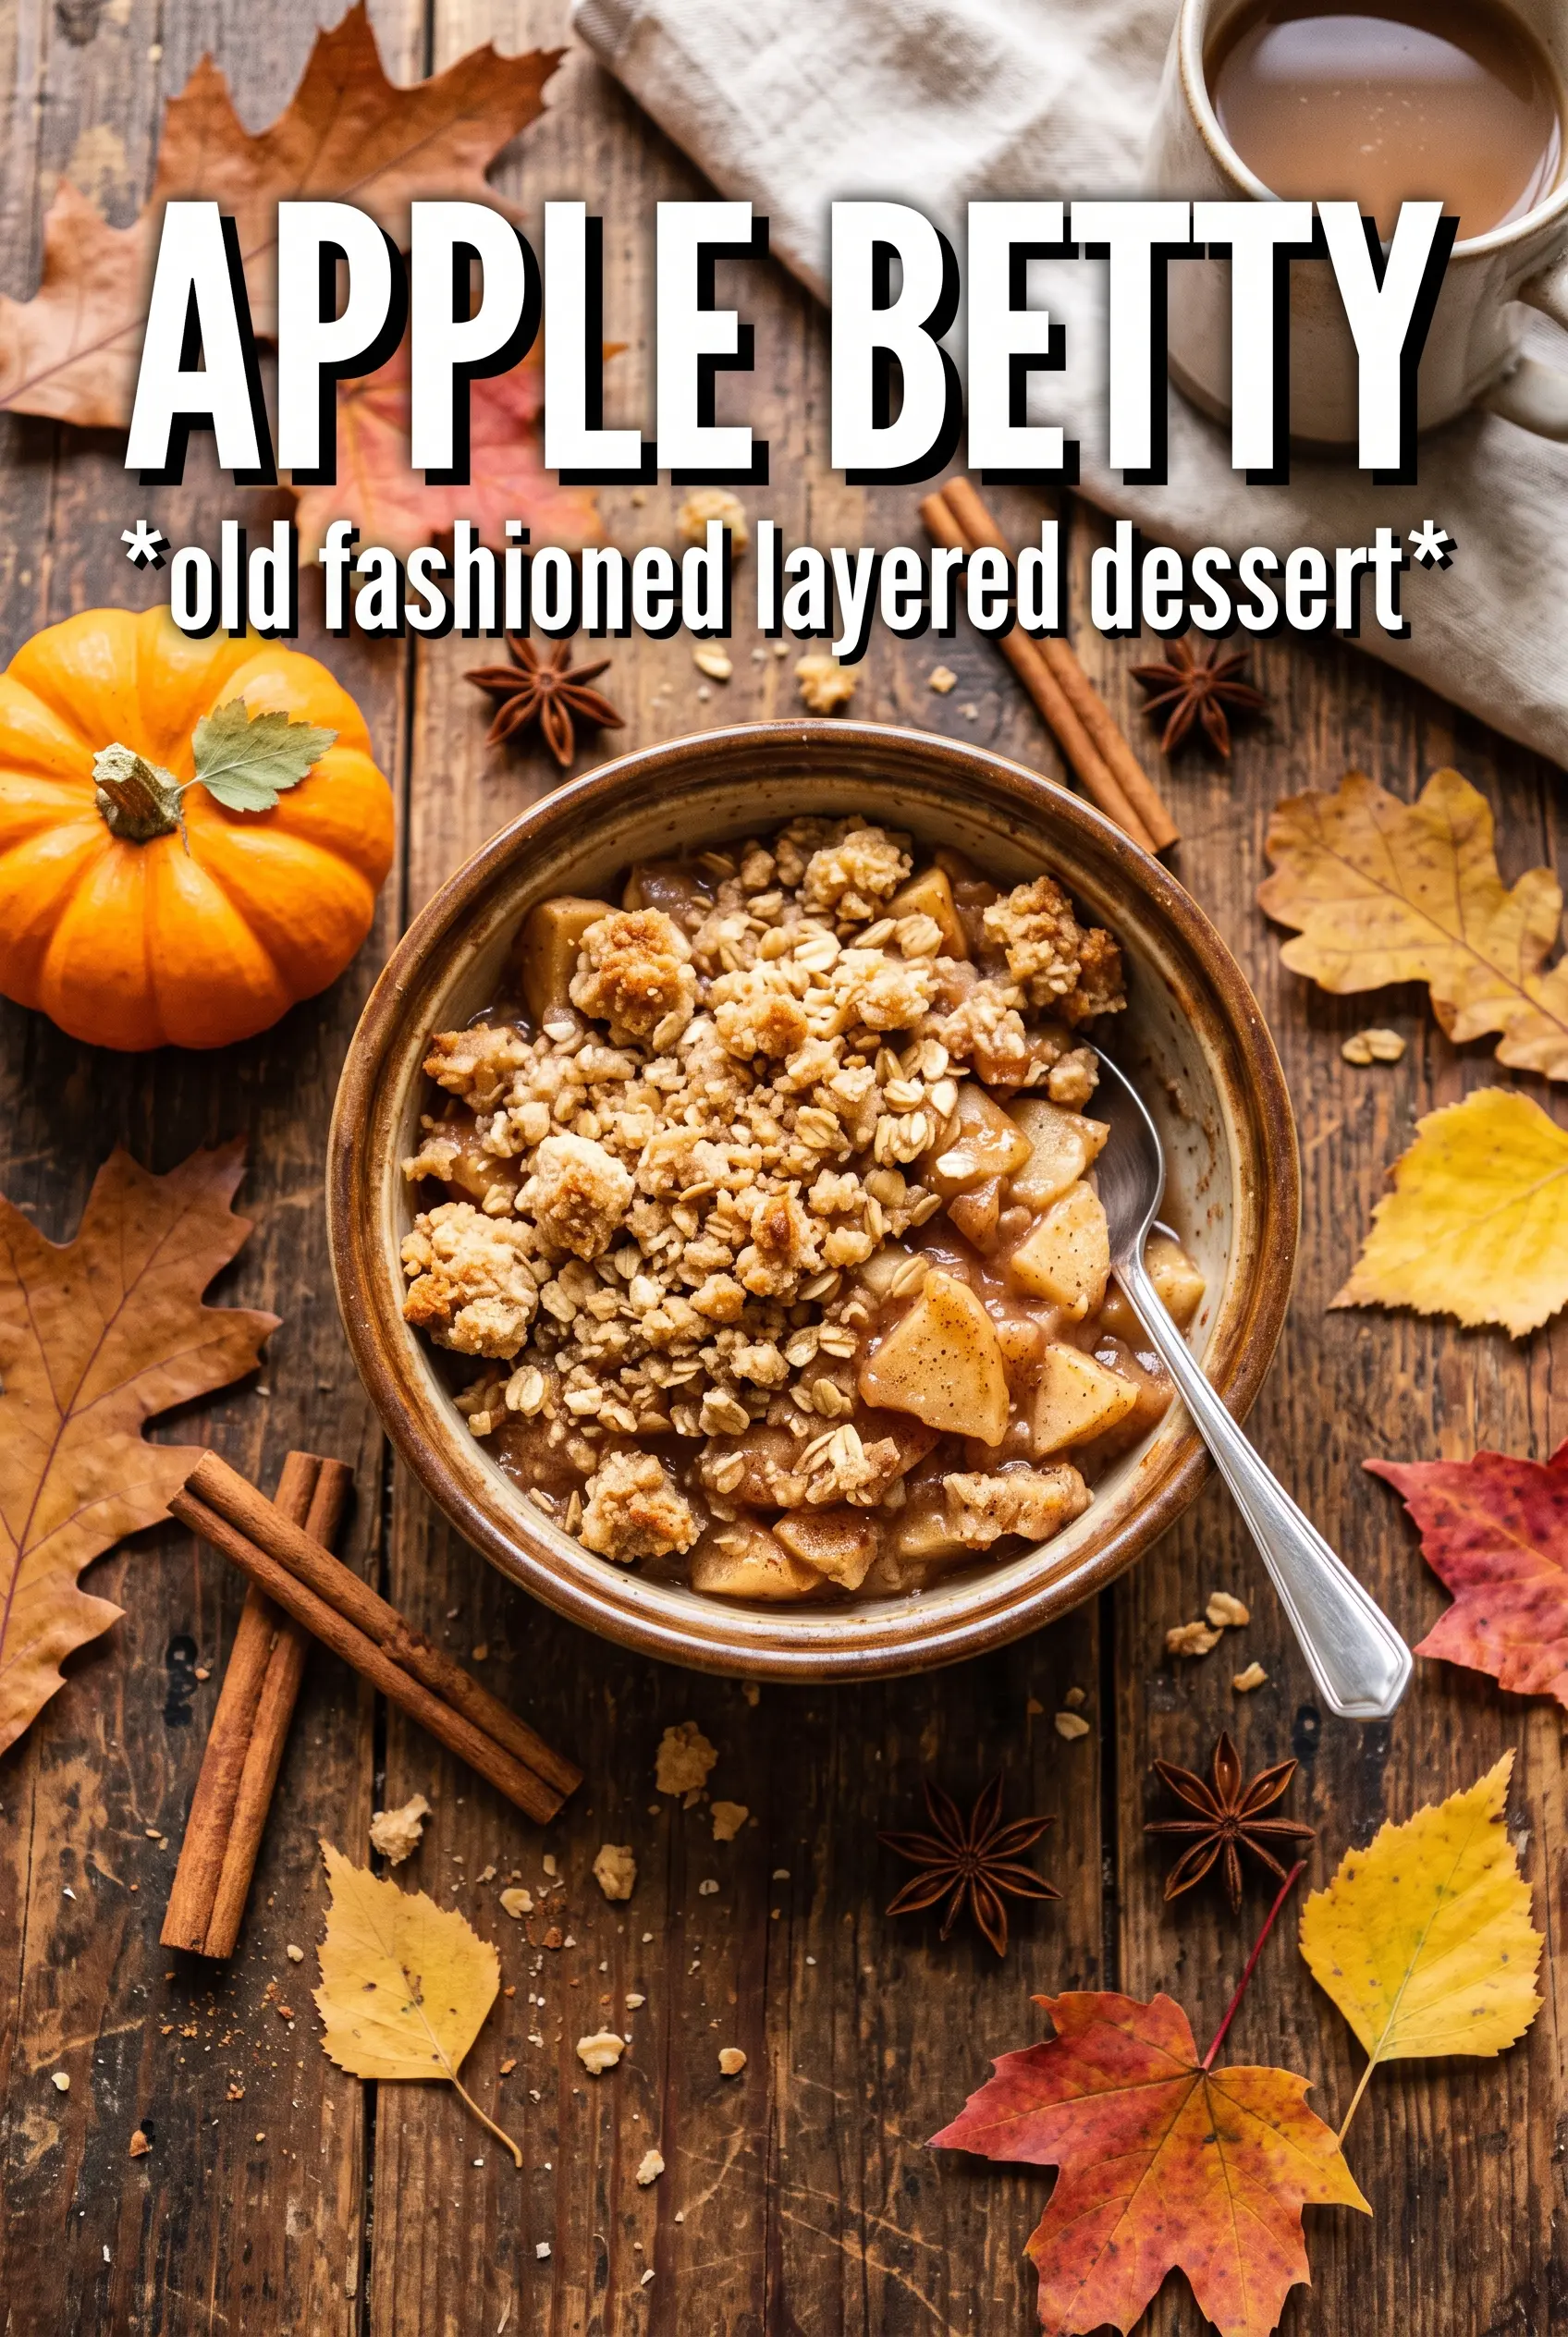
Apple Betty bakes into a warm, spoonable dessert with tender spiced apples tucked between buttery breadcrumb layers and a crisp, caramelized top. The contrast is what keeps it on repeat: soft fruit underneath, crackly crumbs on top, and just enough brown sugar and cinnamon to make the whole dish smell like it belongs in the kitchen for an hour before dinner.
The trick is in the breadcrumbs. Day-old bread soaks up the melted butter without turning greasy, and that gives you a topping that bakes up golden instead of soggy. The apples are sliced thin so they soften at the same pace the crumbs brown, and the lemon juice keeps the filling tasting bright instead of flat. A small amount of cider or water helps the layers steam and settle as they bake.
Below, I’ve included the one layering detail that keeps the top crisp and the apple slices tender, plus a few smart swaps if you want to work with what you already have in the pantry.
The breadcrumb topping turned out crisp all the way through, and the apples stayed soft without turning mushy. I used Granny Smiths and the balance of tart apples with the brown sugar was perfect.
Like Apple Betty? Save this buttery crumb-topped apple dessert for the nights when you want something warm, crisp, and old-fashioned.
The Reason the Crumbs Stay Crisp Instead of Going Soggy
The biggest mistake with Apple Betty is treating it like a cobbler. It isn’t a batter-based dessert, so the breadcrumbs need to do two jobs at once: absorb just enough butter to toast and stay dry enough to form a crust. That’s why day-old bread matters. Fresh bread can turn pasty, while stale crumbs hold their shape and brown properly.
The other thing that protects the texture is the layering order. By sandwiching the apples between breadcrumb layers, you keep the fruit juices moving through the dish instead of pooling on top. The small amount of cider or water adds steam, but not so much that the bottom goes soft. If your Betty ever comes out wet, it usually means the apples were cut too thick or the dish was overloaded with liquid.
What Each Ingredient Is Actually Doing in This Dessert
- Day-old breadcrumbs — These are the backbone of the dessert. They toast into a crisp, butter-soaked layer that gives Apple Betty its signature texture. Homemade crumbs from sandwich bread or bakery bread work best; soft, ultra-fine packaged crumbs won’t give you the same crunch.
- Unsalted butter — Butter carries the flavor and helps the crumbs brown. Unsalted lets you control the sweetness better, since the dessert already leans rich. Melt it completely before tossing with the crumbs so every piece gets coated evenly.
- Apples — Use apples that hold their shape when baked, like Granny Smith, Honeycrisp, or a mix of tart and sweet. If you use very soft apples, the filling can turn jammy. Thin slices bake through faster and layer more neatly.
- Brown sugar and spices — Brown sugar brings molasses depth, while cinnamon, nutmeg, and allspice build that warm, spiced apple aroma. The mix should coat the apple slices lightly, not bury them. Too much spice can make the filling taste dusty instead of balanced.
- Lemon juice and zest — This keeps the apples tasting bright and cuts through the sweetness. The zest adds a clean top note that you’d miss if you skipped it. If you don’t have lemon zest, add a tiny extra squeeze of juice and stop there.
- Apple cider or water — This small amount helps soften the apples and keeps the bottom layers from drying out. Cider adds a little extra apple flavor, but water works fine if that’s what you have. Don’t pour more than the recipe calls for or the crumbs will lose their crunch.
Building the Layers So the Top Bakes Crisp and the Apples Turn Tender
Coating the crumbs first
Toss the breadcrumbs with the melted butter until every bit looks lightly moistened, not drenched. You want the crumbs to clump slightly when pressed, but still fall apart when stirred. If the butter sits in puddles, the topping will bake in greasy patches instead of forming one even crust.
Seasoning the apples evenly
Mix the sliced apples with the brown sugar, spices, lemon juice, and lemon zest until the slices look evenly glossed. The sugar should start drawing a little moisture from the apples almost immediately. If you see dry pockets of spice, keep tossing; uneven seasoning shows up in the finished dish fast.
Layering without packing the dish
Spread the first layer of crumbs loosely, then add the apples in an even layer and drizzle with half the cider. Repeat without pressing down hard. Packing the layers compresses the crumbs and traps steam, which is how the top loses its crunch before the apples are done.
Baking until the top is deeply golden
Bake until the crust is dark gold and the apples are tender when pierced through the center of the dish. If the top browns too quickly before the apples soften, lay a loose sheet of foil over the dish for the last part of baking. The finished dessert should look crisp on top and a little saucy around the edges, not watery.
Make It Gluten-Free with the Right Bread
Use a sturdy gluten-free loaf that toasts well, then pulse it into coarse crumbs after it’s dry or lightly toasted. Soft gluten-free bread can turn gummy, so start with bread that already has structure. The flavor stays the same, but the crumb layer may be a touch more delicate.
Swap in Pears for a Softer, Perfumed Filling
Pears work well if you want a gentler, more floral version, but they soften faster than apples. Choose firm pears and keep the slices a little thicker so they don’t disappear into the filling. The result is looser and more delicate, with less tart contrast.
Cut the Sugar for a More Tartan Finish
You can reduce the brown sugar a bit if your apples are very sweet, especially with Honeycrisp or Fuji. The dessert will taste less caramel-like and a little more apple-forward, which pairs nicely with heavy cream instead of ice cream. Don’t cut it too far or the filling loses the syrupy quality that ties the layers together.
Storage and Reheating
- Refrigerator: Store covered for up to 4 days. The topping softens a little, but it still tastes good.
- Freezer: It freezes, but the crumb layer won’t stay crisp. Freeze cooled portions tightly wrapped, then thaw overnight in the refrigerator.
- Reheating: Warm in a 325F oven until heated through and the topping firms up again. The microwave will soften the crumbs, so use it only if you don’t mind losing the crust.
Answers to the Questions Worth Asking
Apple Betty
Ingredients
Equipment
Method
- Preheat oven to 375F. Grease a 9x13 baking dish.
- Toss fresh breadcrumbs with melted unsalted butter until evenly coated. The crumbs should look sandy and glossy.
- Mix apple slices with brown sugar, cinnamon, nutmeg, allspice, lemon juice, and lemon zest. Toss until the slices are evenly coated and fragrant.
- Spread 1/3 of the buttered breadcrumbs in the bottom of the greased baking dish. Press lightly to form an even base.
- Layer half the apple mixture over the breadcrumbs and drizzle with half the apple cider or water. Distribute evenly so the liquid reaches the edges.
- Repeat with another layer of breadcrumbs, then layer the remaining apples and drizzle with the remaining apple cider or water. Keep the top layer of apples level for even baking.
- Finish with the final layer of breadcrumbs on top. Aim for full coverage so the crust browns uniformly.
- Bake 40-45 minutes at 375F until the top is deeply golden and crispy and the apples are tender. Let it rest for 5 minutes before serving to help the layers set.
- Serve warm with vanilla ice cream or heavy cream. Spoon out portions so you can see the alternating apple and breadcrumb layers.