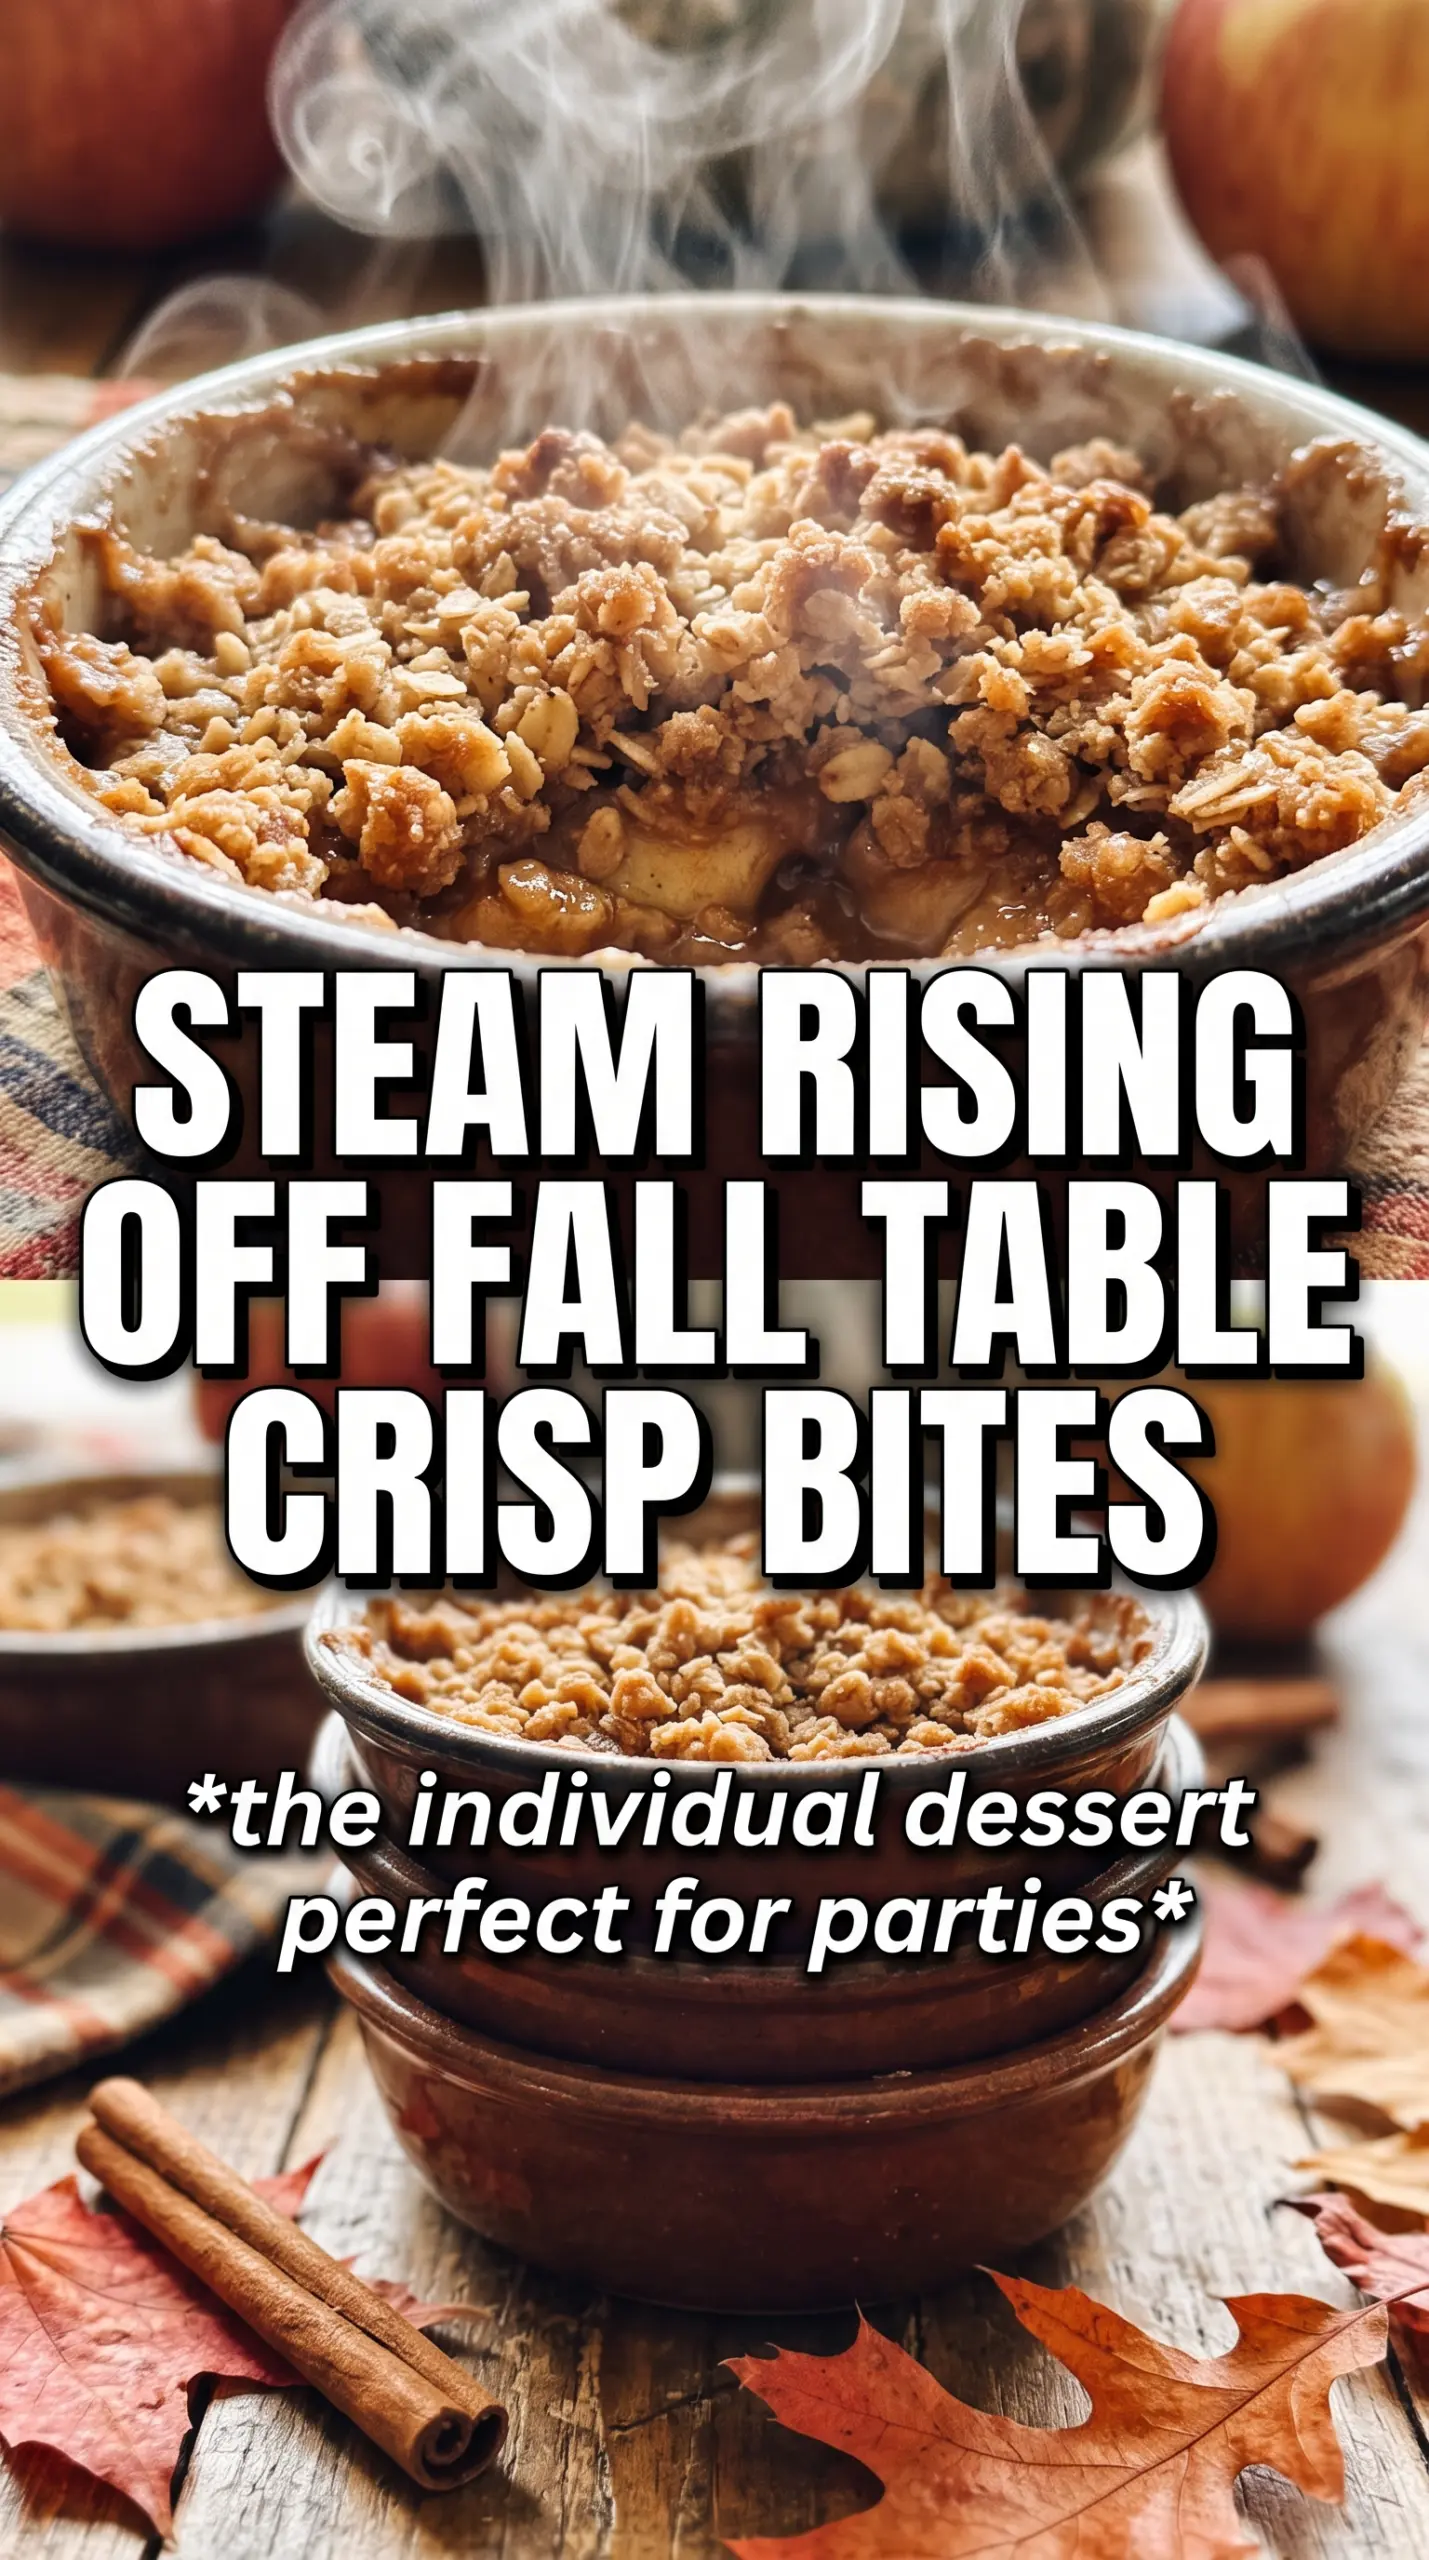
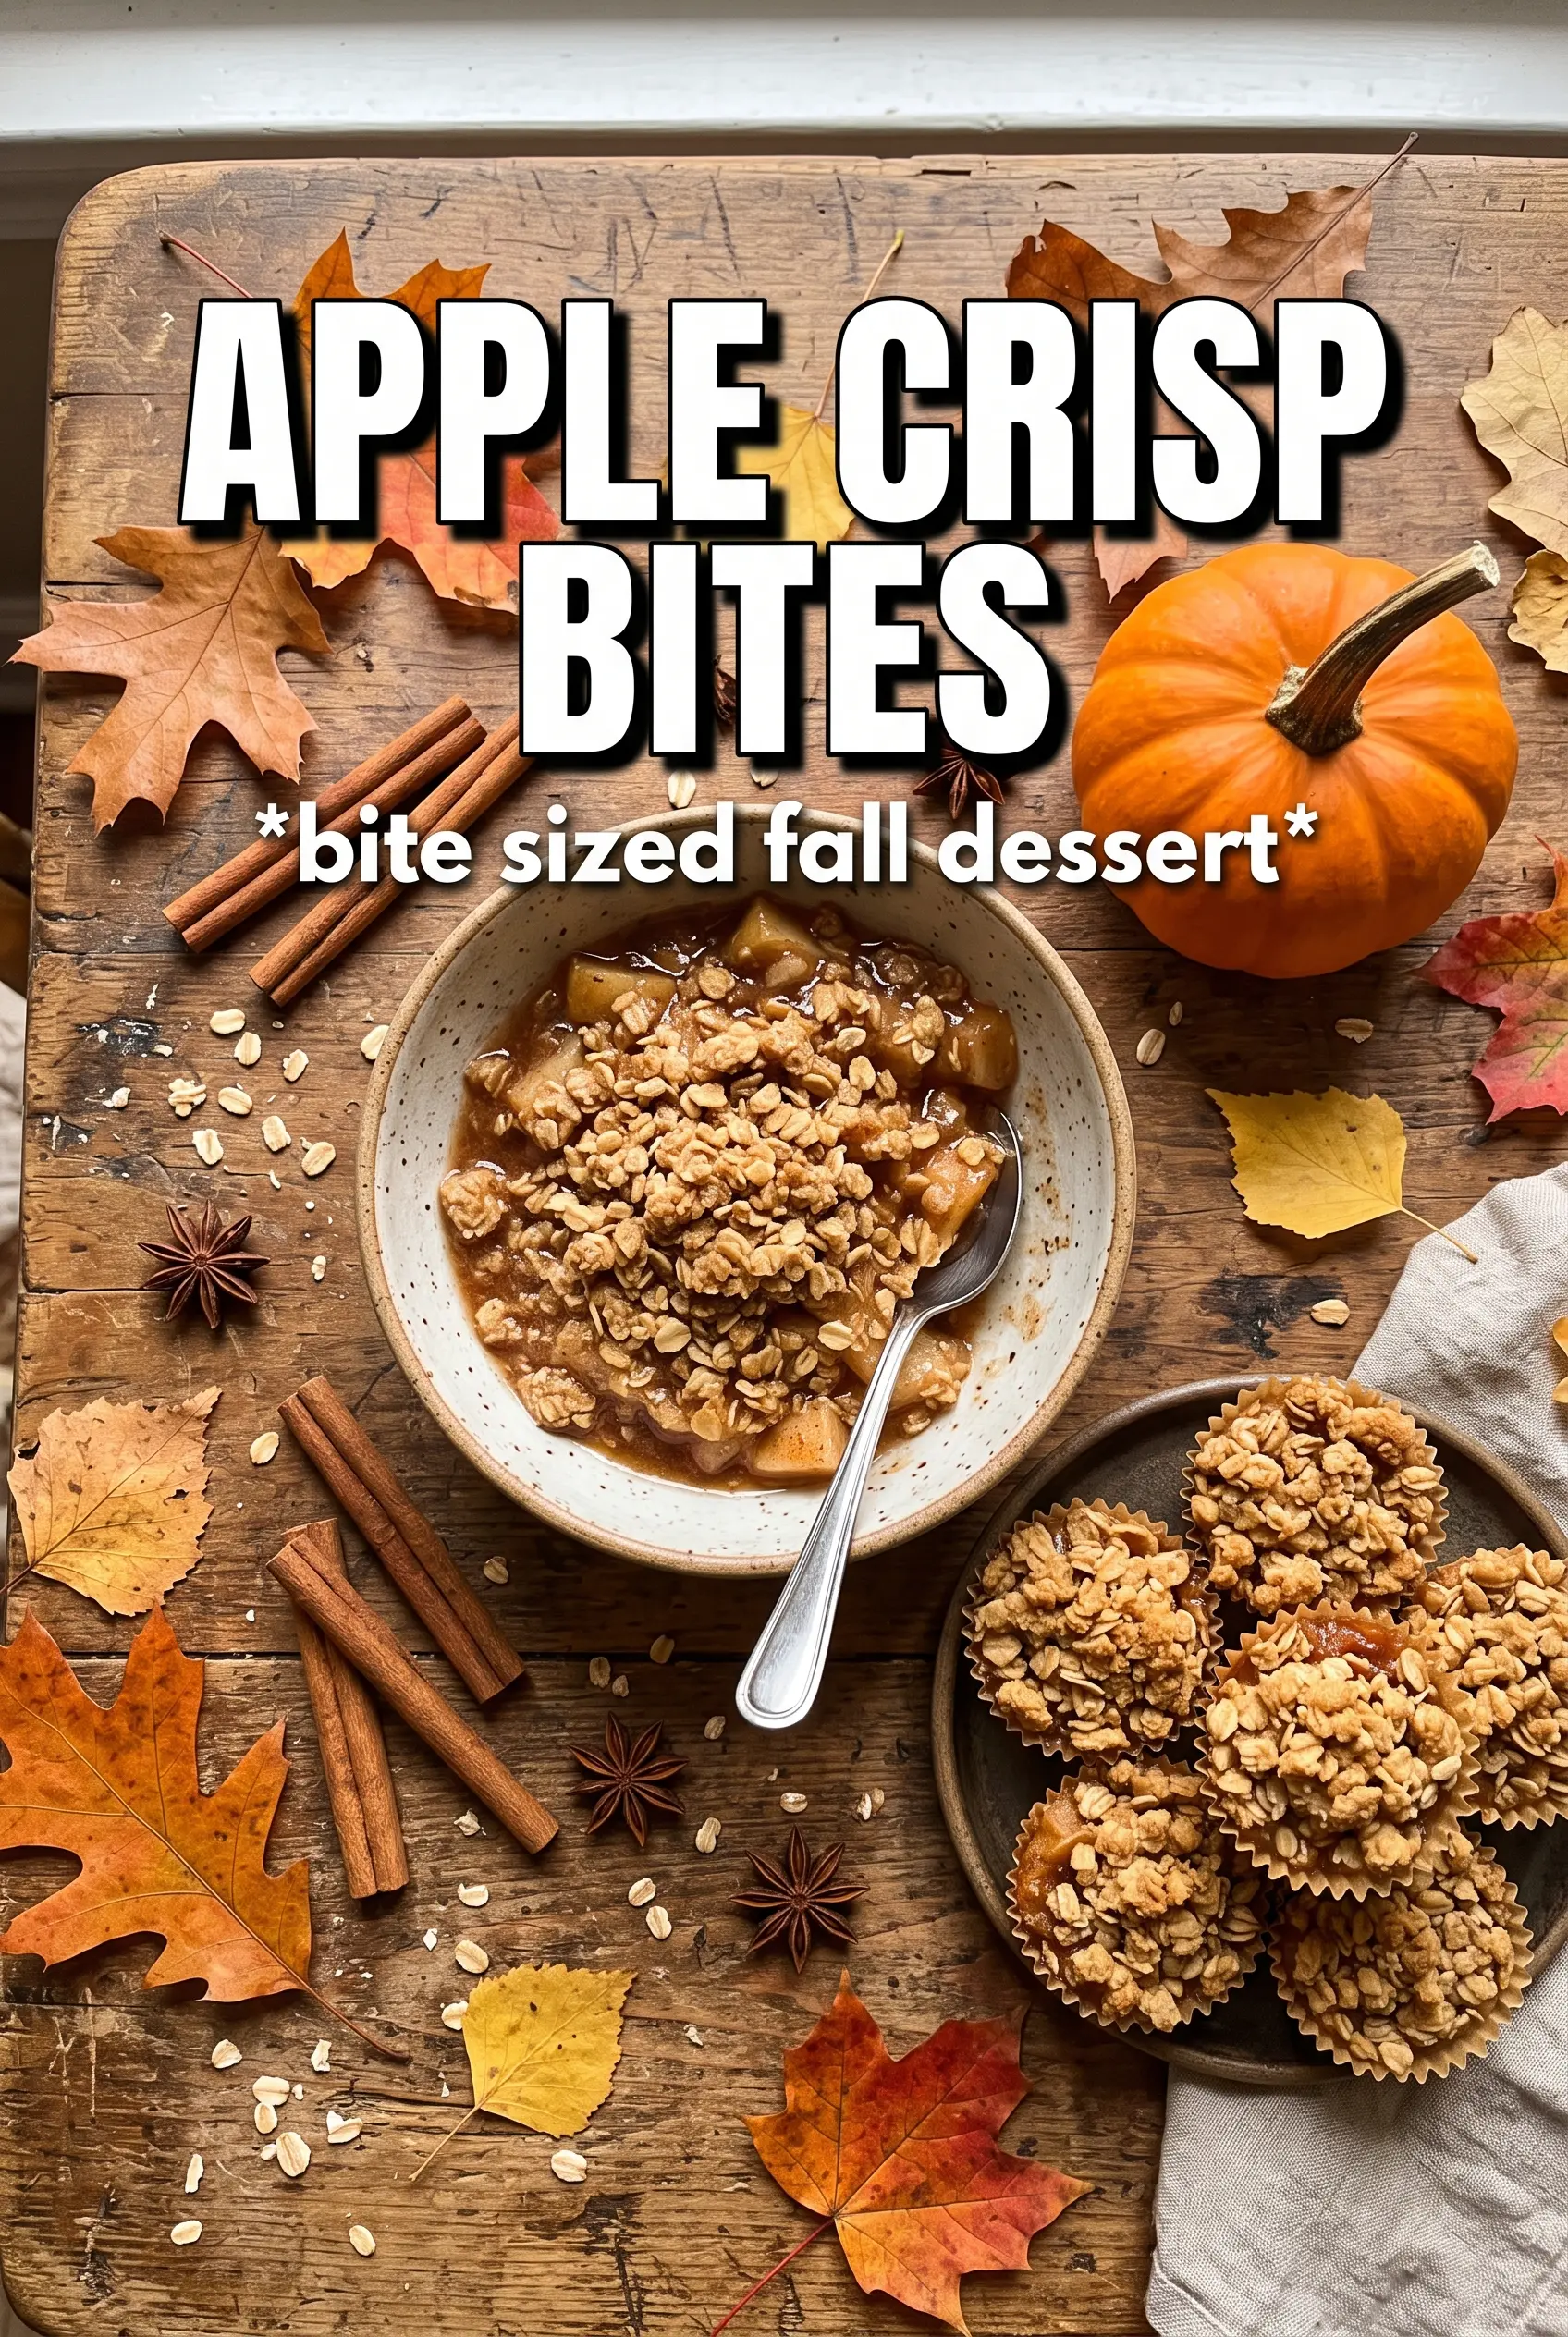
Apple Crisp Bites bake up with a buttery shortbread shell, a thick cinnamon-apple center, and a craggy oat topping that stays crisp instead of turning soggy. They’ve got all the comfort of apple crisp in a two-bite dessert that looks polished in a mini muffin tin and disappears fast once it hits the table.
The trick is treating each layer like its own little job. The shortbread cups need cold butter and just enough water to hold together, not a wet dough. The filling gets cooked before it goes in, which keeps extra juice from leaking into the crust, and the oat topping is kept clumpy with cold butter so it browns into little crunchy peaks instead of melting flat.
Below, I’ve included the small details that matter most: how to keep the cups from shrinking, how thick the filling should be before you stop cooking it, and a few smart swaps if you need to work around what’s in the pantry.
The apple filling set up beautifully and the shortbread cups stayed crisp even the next day. I was worried the topping would sink, but the little oat crumbles browned perfectly and the caramel drizzle made them taste like a bakery treat.
These Apple Crisp Bites are the kind of mini dessert that stays crisp at the edges and gooey in the center.
The Mistake That Makes Mini Crisp Bites Soggy
The fastest way to ruin a batch like this is to dump loose, juicy apple filling into the shells and hope the oven sorts it out. It won’t. The apples need to be cooked first so the cornstarch can thicken the juices before they ever touch the crust, and that quick stovetop step also concentrates the cinnamon and brown sugar instead of leaving them dull and watery.
The other thing that matters is the balance between shell and topping. If the shortbread is too soft when you press it in, it shrinks and loses definition. If the oat topping is packed too tightly, it bakes up dense instead of crisp. You want a crumbly, pebbly texture that looks a little unfinished going in; that’s what gives you those golden bits on top.
- Cold butter keeps both the shortbread and the crisp topping tender and layered. Warm butter turns the mixture greasy and makes the cups spread.
- Cornstarch is what keeps the apple filling from running. Flour can work in a pinch, but it won’t give you the same clean, glossy set.
- Rolled oats give the topping its texture. Quick oats can work, but the crumble will be finer and less nubby.
- Powdered sugar in the crust helps the shortbread bake into a delicate, sandy shell. Granulated sugar makes it a little tougher.
What Each Layer Is Doing in These Apple Crisp Bites
- Apples should be peeled and diced small so they soften quickly and fit neatly into the cups. A firm baking apple like Honeycrisp, Granny Smith, or a mix of both gives the best balance of structure and tartness.
- Brown sugar deepens the filling and helps it taste like cooked apple crisp, not just sweet fruit. Light or dark brown sugar both work; dark brown sugar gives a little more molasses note.
- Butter adds richness in both the filling and the topping. In the filling, it helps the spices bloom; in the topping, it creates those crisp little golden clusters.
- Mini muffin tin is what gives you the neat cup shape. Grease it well, even if it’s nonstick, because the shortbread edges can grip the pan as they bake.
Building the Shell, Filling, and Crumble in the Right Order
Press the Shortbread Before It Starts Warming Up
Mix the flour, powdered sugar, and salt, then cut in the cold butter until it looks like coarse crumbs with a few pea-sized bits left. Add the ice water a little at a time until the dough just starts to hold when you pinch it. Press it into the mini muffin cups right away while the butter is still cold; if you let it sit around, it softens and becomes harder to shape cleanly. The shells should look thin but even, with the dough pushed all the way up the sides so the filling has a little pocket to sit in.
Cook the Apples Until the Pan Goes Glossy
Cook the diced apples with butter, brown sugar, cinnamon, nutmeg, and cornstarch over medium heat until the fruit softens and the mixture turns thick and shiny, about 5 to 7 minutes. You’re looking for the moment when the liquid clings to the apples instead of pooling in the pan. If the filling still looks loose, it will leak into the crust and soften the bottoms. Let it cool for a few minutes before filling the cups so it doesn’t start melting the shortbread as soon as it goes in.
Make the Crumble Loose and Clumpy
Combine the oats, flour, brown sugar, and cinnamon, then cut in the cold butter until you get uneven clumps. Some pieces should be sandy and some should be the size of small pebbles. That mix gives you the best texture after baking. If the topping turns into a paste, the butter was too warm or the mixture was overworked, and it’ll bake up dense instead of crisp.
Finish With Golden Edges and a Caramel Drizzle
Spoon the cooled filling into each shell, then sprinkle the oat topping over the top without pressing it down. Bake until the tops are golden and the edges of the crust look set, about 18 to 20 minutes. The centers should look bubbling and the topping should smell toasted, not just sweet. Let them cool in the pan for a few minutes before removing them, or the cups can crack while they’re still delicate. A drizzle of caramel sauce after baking gives the bites that last bakery-style finish.
How to Adapt These Without Losing the Crisp Factor
Make Them Gluten-Free
Use a good 1:1 gluten-free flour blend in both the shortbread cups and the topping. The texture will be a little more tender and less sandy, but the bites still hold their shape well if you chill the dough briefly before pressing it into the tin.
Use Pears Instead of Apples
Firm pears can stand in for the apples if that’s what you have, but they soften faster and need a gentler hand in the pan. Cook them just until the juices thicken, or they can turn mushy before the bites even hit the oven.
Skip the Dairy
Use a plant-based butter with a firm texture for both the crust and topping. It won’t taste exactly the same, but it will still bake into a crisp shell and a golden crumble if the butter substitute stays cold.
Add Chopped Pecans
Fold a few tablespoons of chopped pecans into the oat topping for extra crunch and a toasted, nutty edge. The topping gets a little richer and more textured, which works especially well if you’re serving these with caramel sauce.
Storage and Reheating
- Refrigerator: Store in an airtight container for up to 4 days. The topping softens a little, but the flavor stays great.
- Freezer: Freeze baked bites on a tray, then transfer to a container for up to 2 months. Thaw in the fridge before reheating for the best texture.
- Reheating: Warm in a 325F oven for 8 to 10 minutes. The oven brings the topping back to life; the microwave makes the crust soft and steamy.
Answers to the Questions Worth Asking
Apple Crisp Bites
Ingredients
Equipment
Method
- Preheat the oven to 375F and grease a 24-cup mini muffin tin.
- Grease each cup well so the shortbread shells release cleanly after baking.
- Combine all-purpose flour, powdered sugar, and salt in a bowl, then cut in cold butter until the mixture looks like coarse crumbs.
- Add ice water, 1 tablespoon at a time, and press the dough into mini muffin cups to form shells.
- Sauté diced apples with butter, brown sugar, cinnamon, nutmeg, and cornstarch for 5-7 minutes until thickened.
- Cool the apple filling before assembling the bites so the topping stays crisp in the oven.
- Combine rolled oats, flour, brown sugar, and cinnamon, then cut in cold butter until clumpy.
- Keep the oat mixture cold so it bakes up crisp instead of melting into the filling.
- Fill each shortbread cup with apple filling, then top with the oat crumble.
- Bake for 18-20 minutes at 375F until golden, then drizzle with caramel sauce while warm.