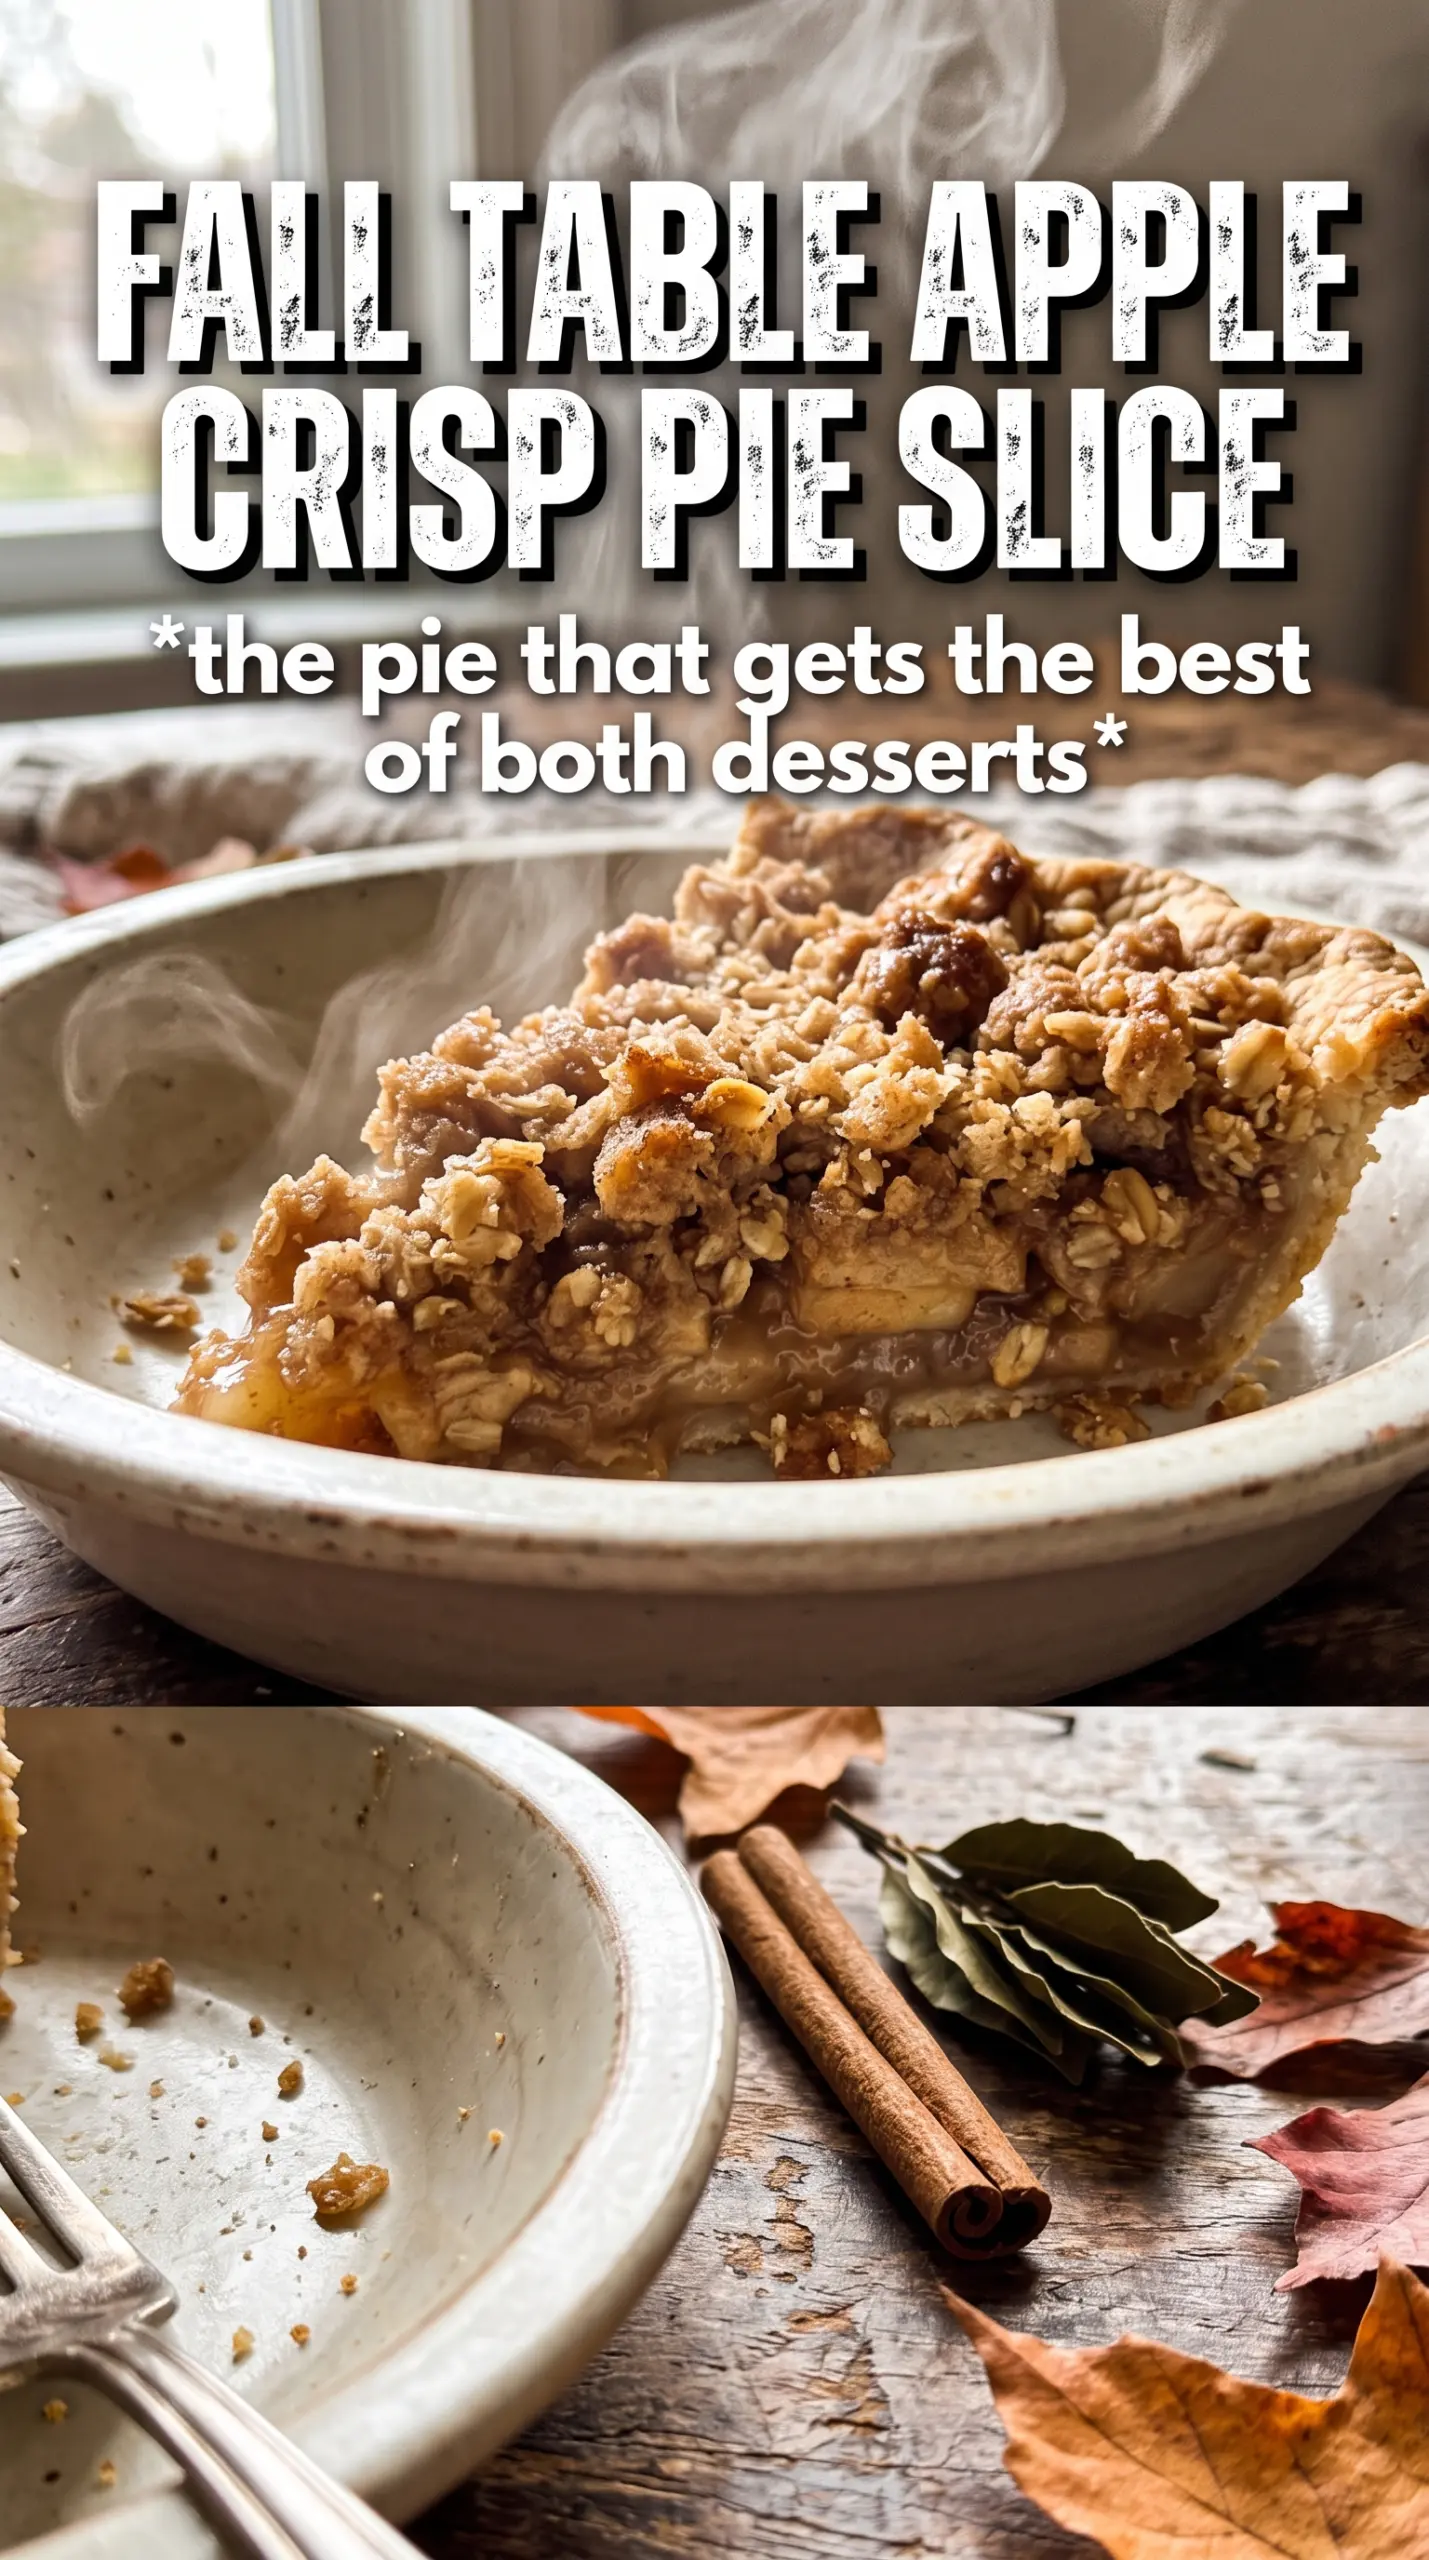
Apple Crisp Pie gives you the best part of two desserts in one bite: a flaky crust, tender spiced apples, and a thick oat crumble that bakes up bronzed and nubbly on top. The filling turns jammy at the edges and stays spoonable in the center, so every slice holds together without losing that loose, saucy apple texture people want from a good pie.
The trick is treating the topping like a crisp, not a streusel. Cold butter cut into the oats and flour creates those big craggy clusters that stay crunchy after baking, while the cornstarch keeps the apple juices from running all over the plate. A little caramel in the filling deepens the flavor without making it heavy, and a final drizzle over the top gives the pie that bakery-style finish.
Below, I’ve included the timing cue that matters most, the apple choices that hold their shape, and a few ways to adapt this pie if you need to work around what’s in your pantry.
The crumble stayed crisp even after we sliced it, and the apple layer set up beautifully instead of turning soupy. I used Granny Smith and Honeycrisp, and the caramel drizzle at the end made it taste like something from a bakery.
Save this Apple Crisp Pie for the kind of dessert night when you want bubbling apples, a crunchy oat topping, and a caramel finish in one slice.
The Part That Keeps Apple Crisp Pie from Going Watery
The problem with a lot of fruit pies is that the apples release their juice before the filling has a chance to set. That leaves you with a loose layer under a topping that looks done before the center has actually thickened. Here, the cornstarch is doing quiet but important work: it grabs that juice and turns it into a glossy, spoonable filling as the pie bakes.
Just as important, this pie wants enough apples to mound high in the shell. They shrink as they cook, and if the filling starts out too low, the whole dessert looks flat and the topping can sink into the fruit. You want the apples piled generously so the filling bubbles up through the crumble at the end.
- Cornstarch — This is the thickener that keeps the filling from puddling. Flour will work in a pinch, but it makes the juices a little cloudier and takes more baking time to fully set.
- Lemon juice — It keeps the apples bright and balances the caramel and sugar. Fresh is best here because the flavor is cleaner and sharper than bottled.
- Caramel sauce — A small amount deepens the apple flavor without making the pie taste like candy. Use a thicker sauce if you can; thin ice cream topping-style caramel can make the filling looser.
- Cold butter — The topping depends on cold butter for those big crisp clusters. If the butter melts before it goes in the oven, the crumble turns sandy instead of crunchy.
What Each Ingredient Is Actually Doing in This Recipe
- Primary ingredient (the star) — Quality matters most. Choose the best you can find.
- Cooking medium (oil, butter, or broth) — This carries flavors and prevents dryness.
- Seasonings (salt, pepper, spices, herbs) — Layer flavors so nothing overpowers. Build depth gradually.
- Aromatics (garlic, onion, herbs) — Cook with fat to bloom flavors. Become the foundation.
- Supporting ingredients — Complement the main ingredient without overpowering it.
- Sauce or liquid (if applicable) — Brings flavors together. Balance richness with acid.
- Acid (lemon, vinegar, wine, or other) — Brightens and prevents flat-tasting results.
- Final finish (garnish, glaze, or sauce) — Prevents one-dimensional taste and adds visual appeal.
Building the Filling and Topping in the Right Order
Season the Apples First
Toss the sliced apples with the sugars, cinnamon, nutmeg, cornstarch, lemon juice, and caramel until every piece looks lightly coated. Don’t rush this part, because the cornstarch needs to mix evenly before the fruit goes into the shell. If you see dry pockets of starch, those spots can bake up chalky. A few minutes of mixing also lets the apples start shedding just enough juice to help the filling settle into the crust.
Keep the Crumble Clumpy
Cut the cold butter into the oats, flour, sugar, cinnamon, and salt until you have irregular clumps, not fine crumbs. Those rough chunks are what give the topping its crisp, baked-cookie texture. If the mixture starts looking pasty, the butter has softened too much; chill it for a few minutes before going on. Press the topping gently over the apples so it stays craggy and doesn’t compact into a hard lid.
Bake Until the Filling Bubbles at the Edges
The pie isn’t done when the topping looks golden. It’s done when you see active bubbling around the edges and through a few spots in the center, which tells you the cornstarch has thickened the juices. If the top is browning too fast at around the 40-minute mark, lay foil loosely over it and keep baking. Cutting in early gives you runny filling, so give the full bake time a chance to do its job.
Use all Granny Smith for a sharper pie
All Granny Smith apples give you a firmer, tarter filling that holds its shape well under the crumble. The pie will taste less sweet and more apple-forward, which is a good trade if you like a sharper dessert. Because they’re firmer than softer baking apples, they also stay intact a little better after slicing.
Make it dairy-free
Swap the butter in the topping for a solid plant-based butter with a high fat content. The crumble should still clump and brown well, though it may taste a little less rich and the clusters can be a touch softer. Avoid tub spreads; they usually contain too much water and don’t bake up with the same crisp texture.
Swap in a store-bought pie crust if needed
A standard refrigerated or frozen deep-dish pie shell works fine here, and it saves time without changing the filling. Just keep an eye on the crimped edge during baking, since a thinner store-bought crust can brown faster than a homemade one. If the edge starts getting dark too early, use foil around the rim before the topping is fully baked.
Reduce the sugar for a less sweet dessert
You can cut back the granulated sugar in the filling by a few tablespoons if your apples are sweet on their own. Keep the brown sugar in the topping as written, because that’s what helps the crumble brown and taste toasty. If you reduce the sugar too much, the filling won’t taste balanced and the apples can come across flat.
Storage and Reheating
- Refrigerator: Store covered for up to 4 days. The topping softens a little, but the flavor stays good.
- Freezer: Freeze baked slices tightly wrapped for up to 2 months. The crumble loses a bit of crunch after thawing, but the pie still works well for make-ahead dessert.
- Reheating: Warm slices in a 325F oven until heated through. The oven keeps the topping crisper than the microwave, which tends to steam the crust and soften the crumble.
Questions I Get Asked About This Recipe
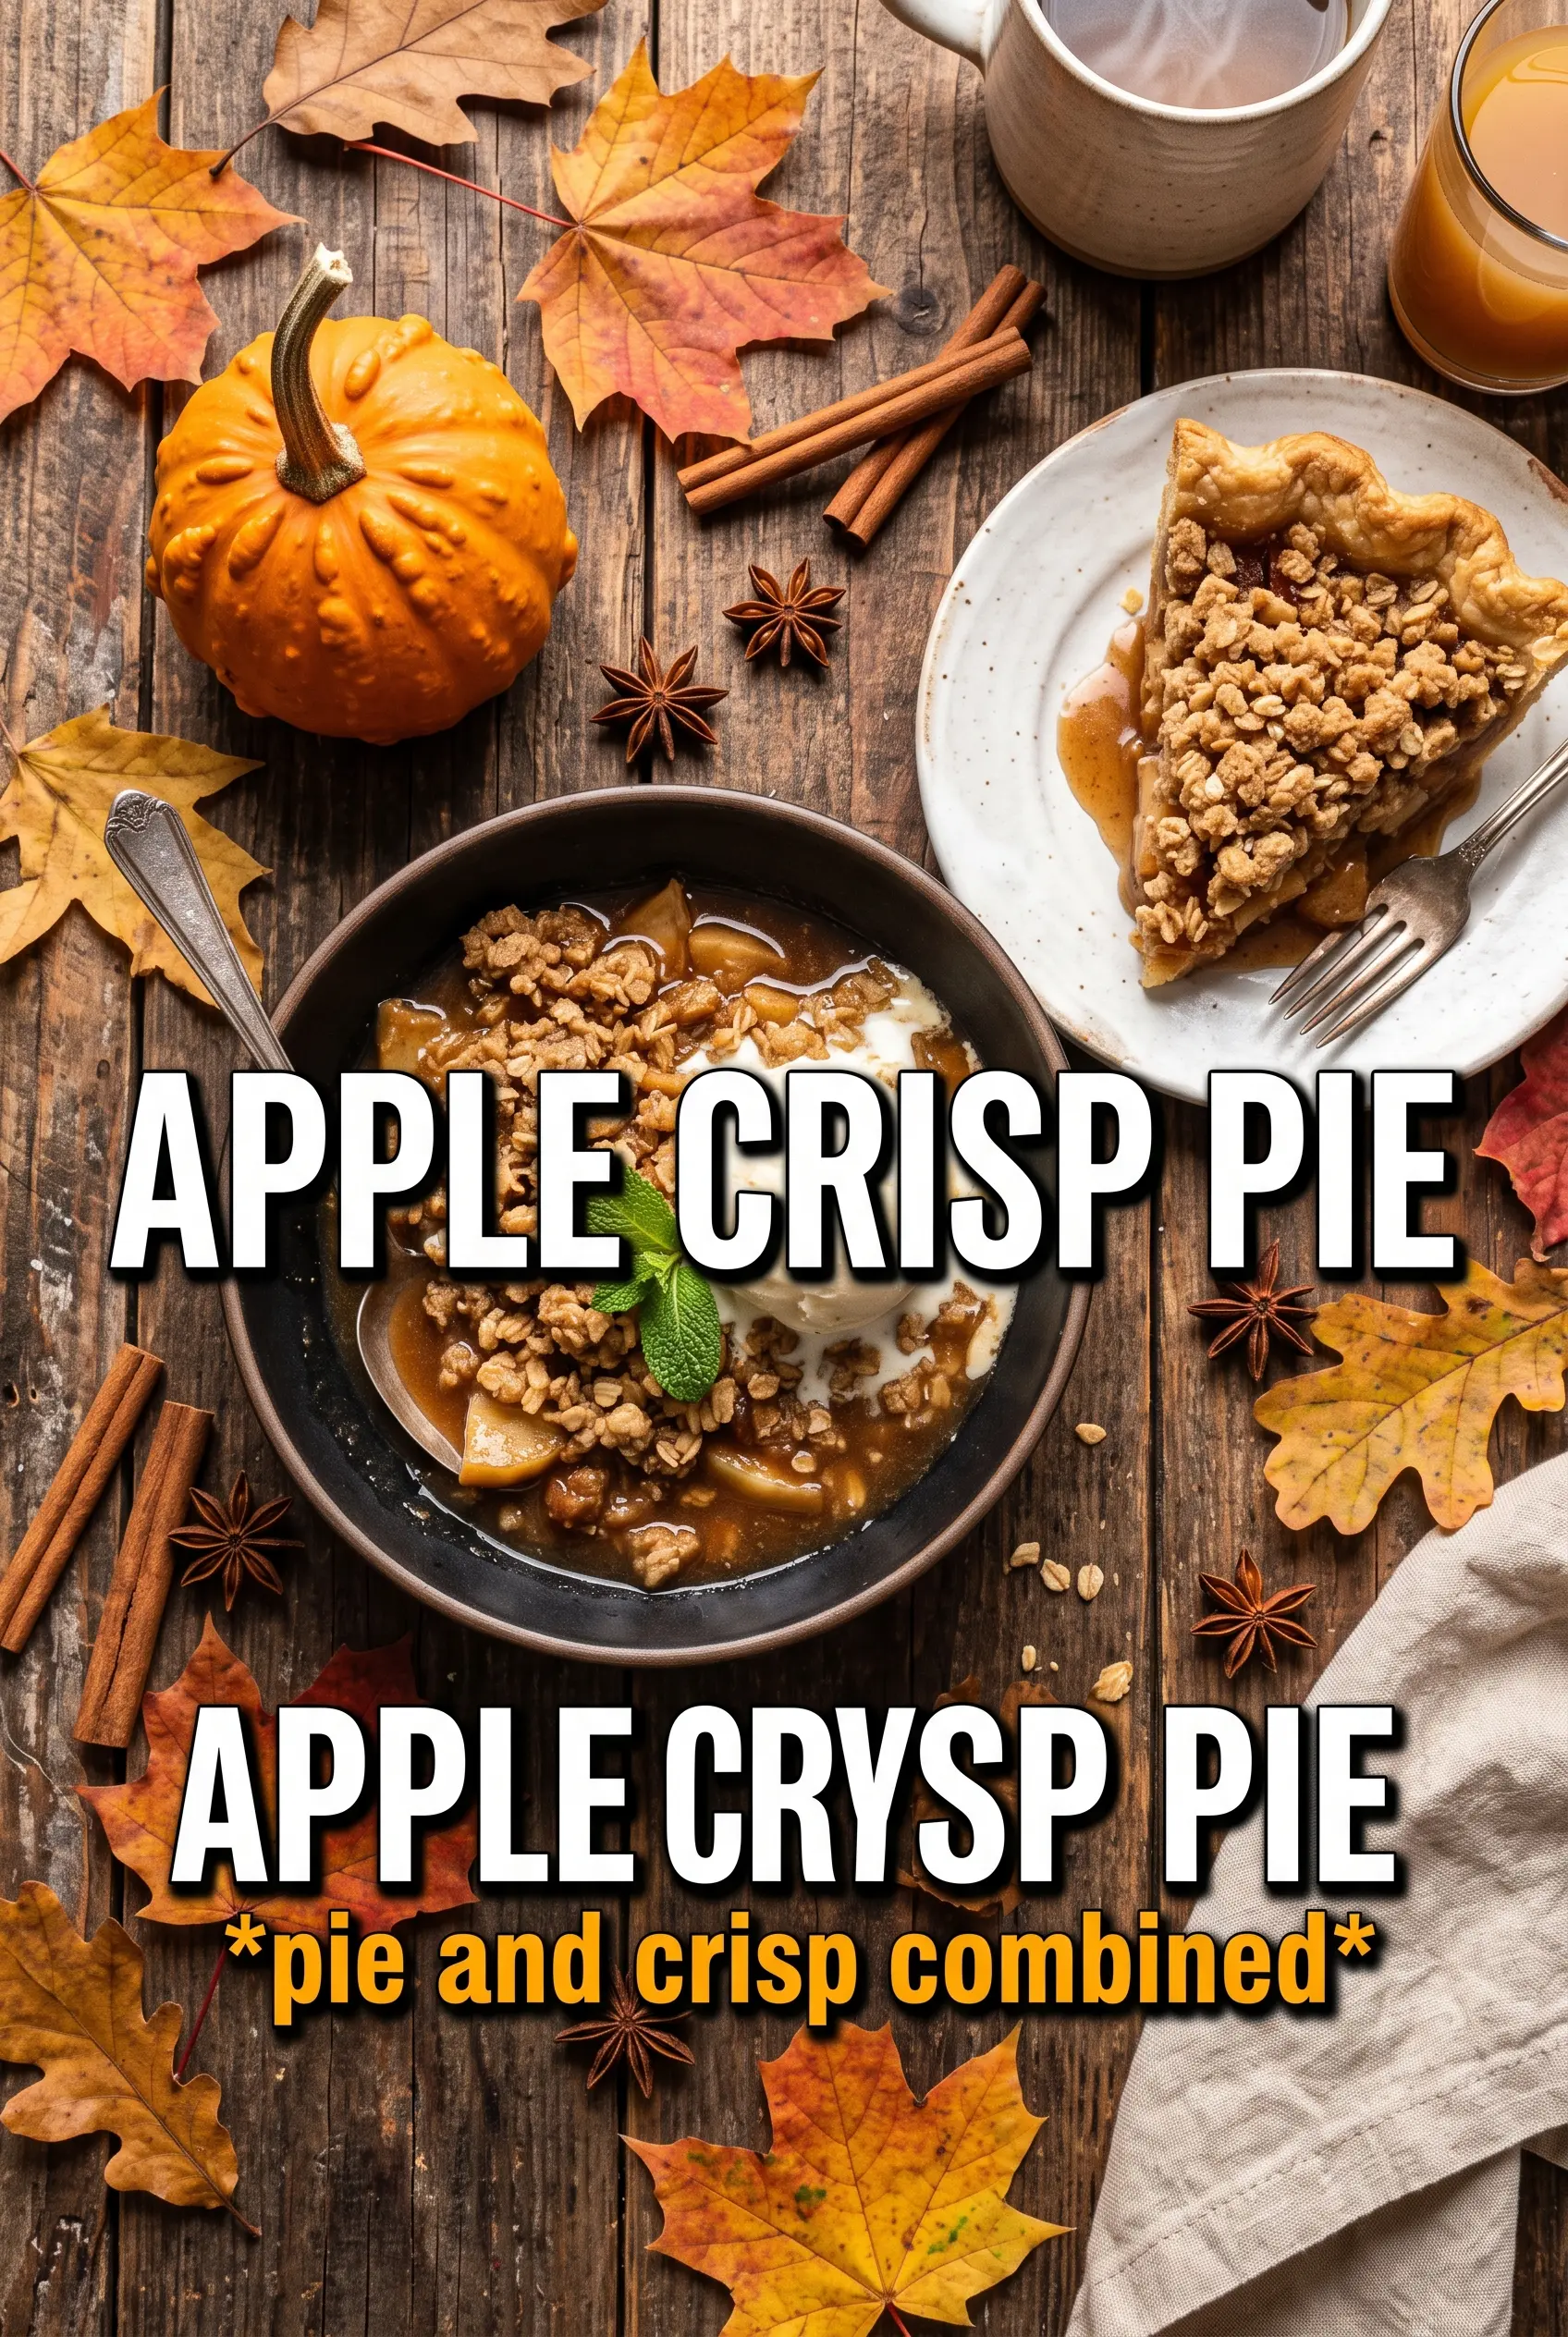
Apple Crisp Pie
Ingredients
Equipment
Method
- Preheat the oven to 375F. Fit the unbaked 9-inch deep dish pie shell into a deep-dish pie plate and crimp the edge decoratively.
- Toss the apple slices with granulated sugar, brown sugar, cinnamon, nutmeg, cornstarch, lemon juice, and caramel sauce until evenly coated. Pile the seasoned apples into the shell, mounding well.
- Combine the rolled oats, all-purpose flour, packed brown sugar, cinnamon, and salt in a bowl. Cut in the cold cubed butter until large clumps form.
- Pile the crumble generously over the apples and press gently so it adheres without compressing too much. Arrange a baking sheet under the pie to catch any drips.
- Bake at 375F for 60-65 minutes, until the crumble is deeply golden and the filling bubbles. Tent with foil after 40 minutes if browning too quickly.
- Drizzle extra caramel over the hot pie and serve. Let it cool slightly so the filling thickens before slicing.