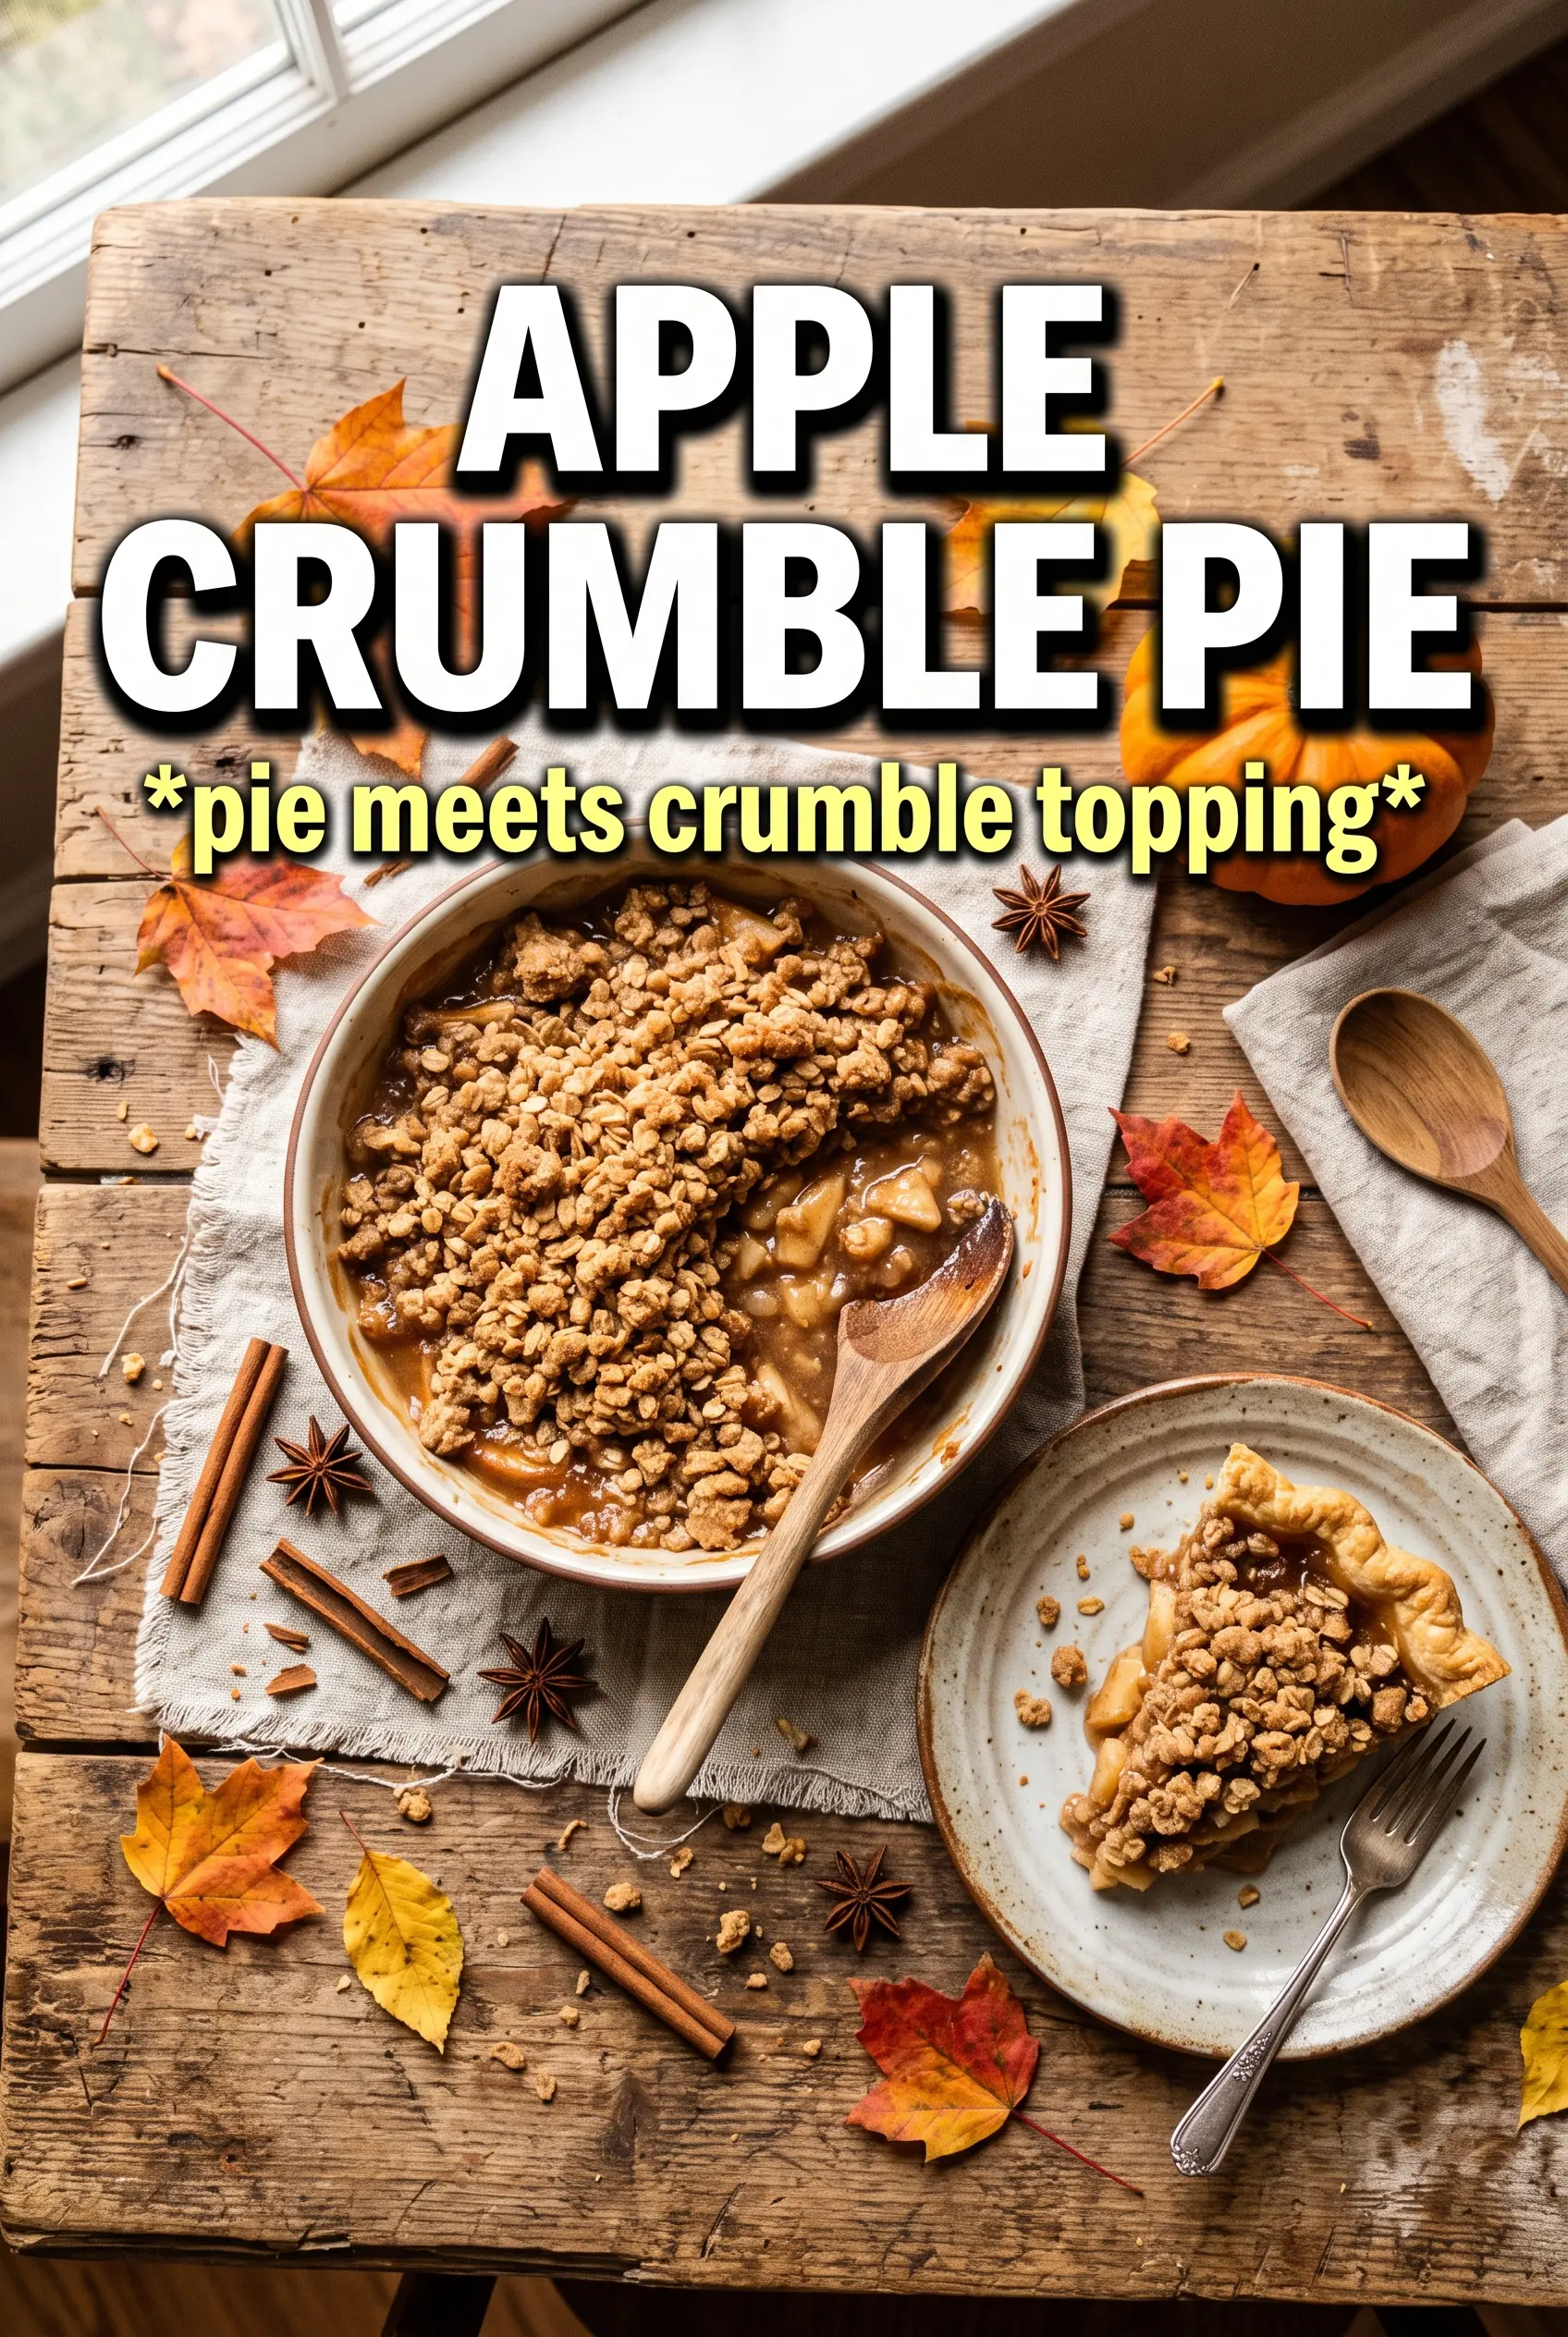
Apple crumble pie lands in that perfect middle ground between classic apple pie and a buttery fruit crisp. You get a tender, spiced apple filling, a crisp oat topping, and a bottom crust that keeps the whole thing feeling like a proper pie. The crumble bakes up deeply golden and a little rugged, which is exactly what makes every slice look homemade in the best way.
The part that matters here is balance. The apples are tossed with cornstarch so the juices thicken instead of running across the plate, and the lemon juice keeps the filling bright enough to stand up to the sugar and cinnamon. Cold butter in the crumble is nonnegotiable; it melts in the oven and leaves behind those chunky, craggy bits that brown instead of turning sandy.
Below, I’ve included the small timing detail that keeps the topping from overbrowning and the filling from staying loose. There’s also a few useful swaps if you need to work with different apples or want to make it ahead.
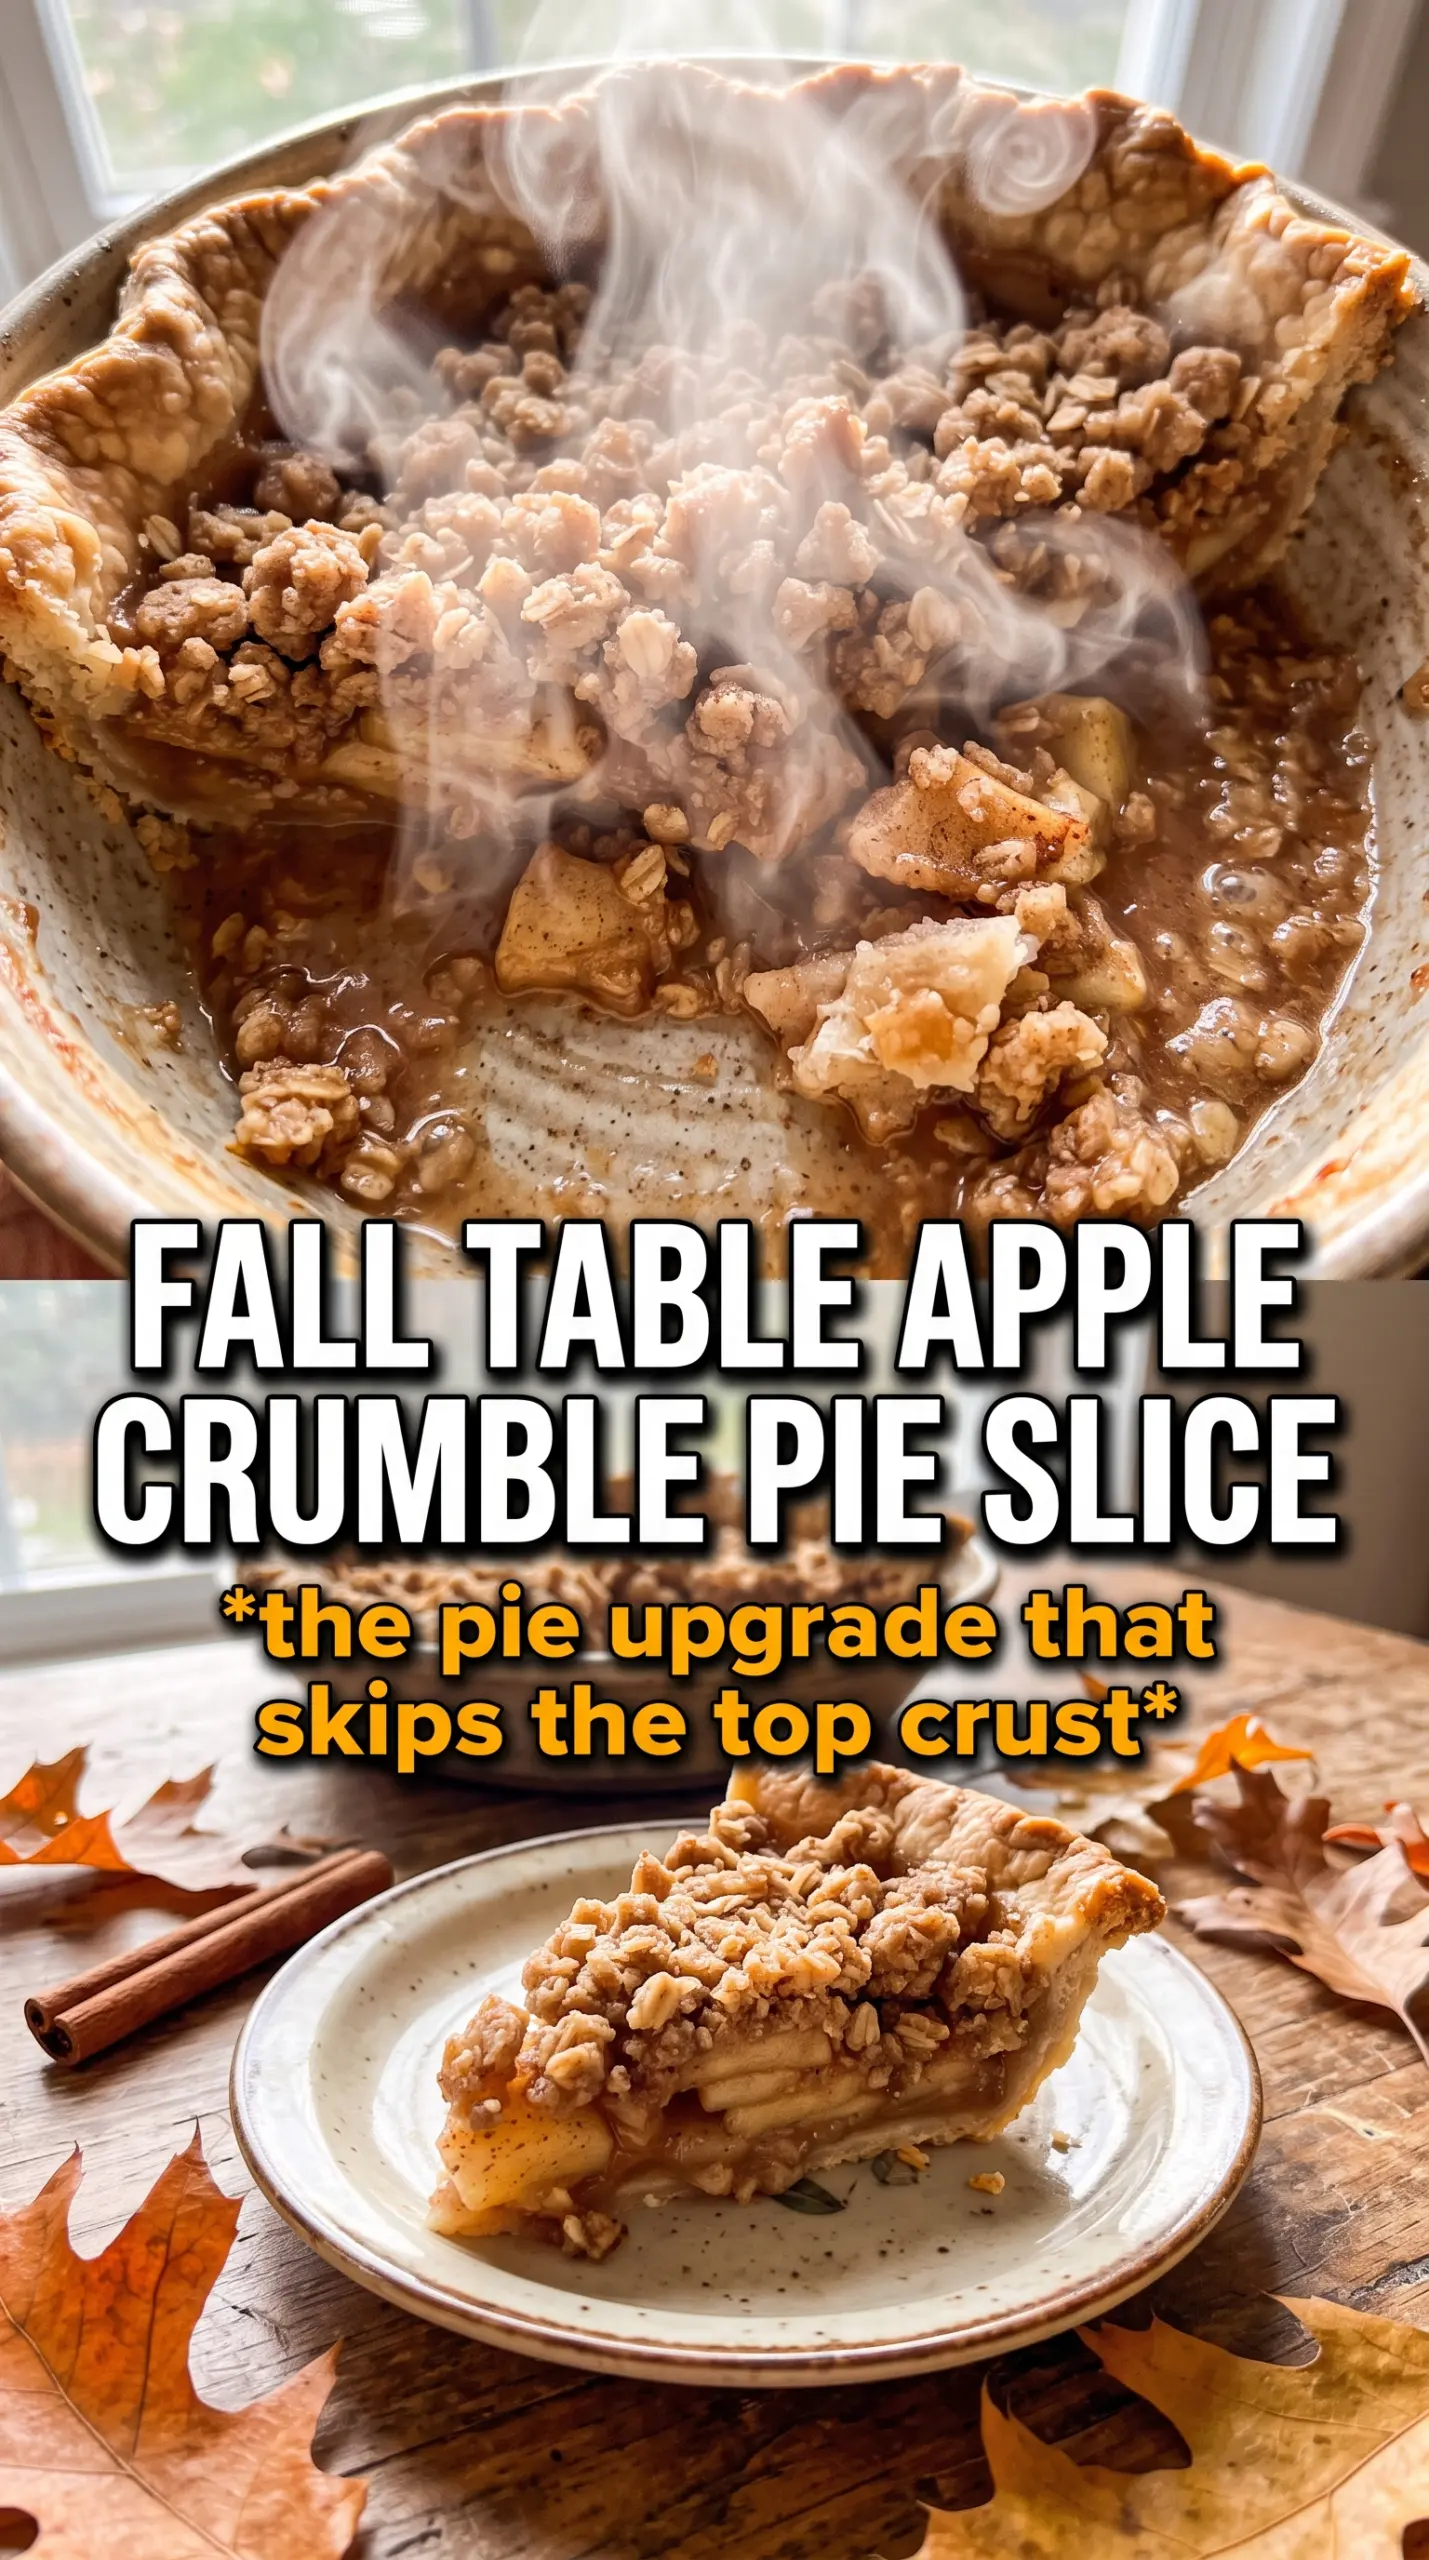
The filling set up beautifully after an hour of cooling, and the crumble stayed crisp instead of going soft. I used Granny Smith and Honeycrisp together, and the pie sliced clean with just the right amount of bubbling at the edges.
Save this apple crumble pie for the kind of dessert that bakes into bubbling fruit, a crisp oat topping, and a clean slice every time.
The Part Where the Filling Sets Instead of Running Out
Apple crumble pie fails when the apples release too much juice and the topping finishes before the center has a chance to thicken. Cornstarch fixes that, but only if the pie bakes long enough for the juices to bubble all the way through. That bubbling is the sign the starch has actually activated. If you pull it early because the crumble looks done, the filling will still be loose under the crust.
The other thing that matters is the mound. Apples shrink as they bake, so a slightly higher pile in the center helps the pie finish level instead of sinking into a gap. A loose, even layer of crumble also helps the top brown without packing down into a paste.
- Watch the edges, not just the top. You want steady bubbling where the filling meets the crust. That tells you the thickener has done its job.
- Use enough apples to mound slightly. They collapse as they bake, and a flat fill can turn disappointingly thin.
- Tent with foil if the crumble darkens early. The foil protects the topping while the apples finish softening underneath.
What Each Ingredient Is Actually Doing in This Pie
- Apples — Use a firm baking apple that holds its shape. Granny Smith gives you tartness and structure; Honeycrisp softens a little more and adds sweetness. A blend is my favorite because the filling tastes layered instead of flat.
- Cornstarch — This is what keeps the juices from pooling at the bottom of the pie dish. Flour can work in a pinch, but the filling won’t set as cleanly or as quickly.
- Lemon juice — It keeps the apples from tasting dull and helps balance the sugar. You won’t taste lemon in the finished pie; you’ll just notice the filling tastes brighter.
- Rolled oats — They give the topping its nubby, crisp texture. Quick oats soften too much and lose that chunky crumble look.
- Cold butter — This is the difference between a sandy topping and one that bakes into crisp clumps. If the butter softens too much before baking, the topping will melt into the flour instead of staying craggy.
Building the Crust, Crumble, and Filling in the Right Order
Get the Pie Shell Ready First
Set the oven to 375°F and fit the unbaked pie shell into your 9-inch pie dish, then crimp the edges. A cold crust goes into the oven cleaner and holds its shape better, which matters once the filling starts bubbling. If the shell warms and slumps before baking, the edge can shrink and leave you with a shallow pie.
Coat the Apples Before They Hit the Pan
Toss the sliced apples with sugar, cinnamon, nutmeg, cornstarch, and lemon juice until every slice looks lightly coated. The cornstarch should disappear into the juices quickly; if you see dry white pockets, keep tossing. Spoon the mixture into the crust and mound it slightly in the center, because the apples will settle as they bake.
Cut the Butter Into the Crumble Until It Clumps
Mix the oats, flour, brown sugar, cinnamon, and salt, then cut in the cold butter until you have chunky crumbs, not a uniform sandy mix. You want pieces the size of peas and a few larger clumps for texture. If the butter starts smearing, stop and chill the bowl for a few minutes before going on.
Bake Until the Filling Bubbles Through
Scatter the crumble generously over the apples and bake for 55 to 65 minutes. If the top browns too fast around the 35-minute mark, lay foil loosely over the pie and keep baking until the filling bubbles at the edges and the topping looks deeply golden. Let it cool at least 1 hour before slicing; that waiting time is what lets the filling set instead of running out the moment you cut in.
How to Adapt This Pie When You Need a Different Apple, Crust, or Diet
Make It Gluten-Free
Use a gluten-free pie shell and swap the all-purpose flour in the crumble for a 1:1 gluten-free baking blend. The topping will still brown well, but it may be a touch more delicate, so let the pie cool fully before slicing.
Use a Mixed-Apple Filling
Mix one tart apple with one sweeter, firmer apple for more depth. The tart fruit keeps the pie from tasting sugary, while the sweeter variety softens into a jammy filling that still holds some texture.
Make the Crumble Ahead
You can mix the crumble topping a day in advance and keep it chilled. Cold topping bakes up better than room-temperature topping, and premeasuring it saves time when you’re ready to assemble the pie.
Cut the Sugar Slightly
If your apples are very sweet, reduce the filling sugar by 1/4 cup. Don’t cut it too far or the pie can taste sharp and the filling may lose some of the syrupy body that helps it slice cleanly.
Storage and Reheating
- Refrigerator: Store covered for up to 4 days. The crumble softens a little in the fridge, but the filling stays nicely set.
- Freezer: Freeze baked pie tightly wrapped for up to 2 months. Thaw overnight in the fridge before reheating.
- Reheating: Warm slices in a 325°F oven until heated through. The microwave makes the crust limp and the topping soggy, so use it only if you don’t mind losing the crisp edges.
Answers to the Questions Worth Asking
Apple Crumble Pie
Ingredients
Equipment
Method
- Preheat the oven to 375F and fit the unbaked 9-inch pie shell into a 9-inch pie dish, then crimp the edges as needed.
- Toss sliced apples with granulated sugar, cinnamon, nutmeg, cornstarch, and lemon juice, then pile into the unbaked shell and mound slightly.
- Combine rolled oats, all-purpose flour, brown sugar, cinnamon, and salt, then cut in cold unsalted butter until chunky clumps form with a crumbly, wet-sand look.
- Scatter oat crumble topping over the apple filling so it covers generously, creating an even thick layer.
- Bake for 55-65 minutes until the crumble is deeply golden and the filling bubbles through at the edges, with visible bubbling in the center.
- Tent with foil after 35 minutes if the topping browns too quickly, keeping the crumble from over-darkening while the filling finishes baking.
- Cool the pie at least 1 hour before slicing so the juices set and the slice holds its shape.