Butterscotch Graham Cracker Cheesecake Bars hit that sweet spot between nostalgic and polished: a crisp, buttery crust, a creamy cheesecake layer, and a butterscotch finish that tastes warm and caramel-like without getting cloying. The bars slice cleanly once chilled, and each bite gives you a little crunch from the crumbs on top with the soft, dense filling underneath. They’re the kind of dessert that disappears fast at a party and still feels easy enough to make on a regular weeknight.
The trick here is balance. The graham crust gets baked first so it stays snappy under the filling, and the cheesecake base uses both sour cream and melted butterscotch chips for a texture that’s rich but not heavy. The butterscotch extract matters more than it might seem; it deepens the flavor so the bars taste like butterscotch all the way through instead of just sweet cream cheese with a drizzle on top.
Below you’ll find the small details that keep the filling smooth, the crust sturdy, and the topping glossy. If you’ve ever had cheesecake bars that turned soft, sandy, or overly sweet, this version fixes those problems without making the process fussy.
The cheesecake set up beautifully and the butterscotch stayed silky after chilling. I loved that the crust held its shape when I cut the bars, and the graham crumb topping made them taste like a bakery dessert.
Love the creamy filling and buttery graham crust? Save these Butterscotch Graham Cracker Cheesecake Bars for the next time you need a chilled dessert with a glossy drizzle and clean slices.
The Secret to Cheesecake Bars That Slice Cleanly
The biggest mistake with cheesecake bars is rushing the chill. The filling can look set in the oven and still be too soft to cut neatly if it hasn’t had enough time in the fridge. Letting the bars cool completely before chilling keeps the top smooth instead of cracked and helps the layers firm up together, which is what gives you those tidy squares instead of a messy slab.
Another thing that matters here is the order of the mix. Cream cheese and sugar need to beat smooth before the eggs go in, because once the eggs are added, overmixing can trap air and make the texture puffy instead of dense and creamy. Melted butterscotch chips should be cooled before they’re stirred into the batter, or they can streak and loosen the filling.
What Each Ingredient Is Actually Doing in These Bars
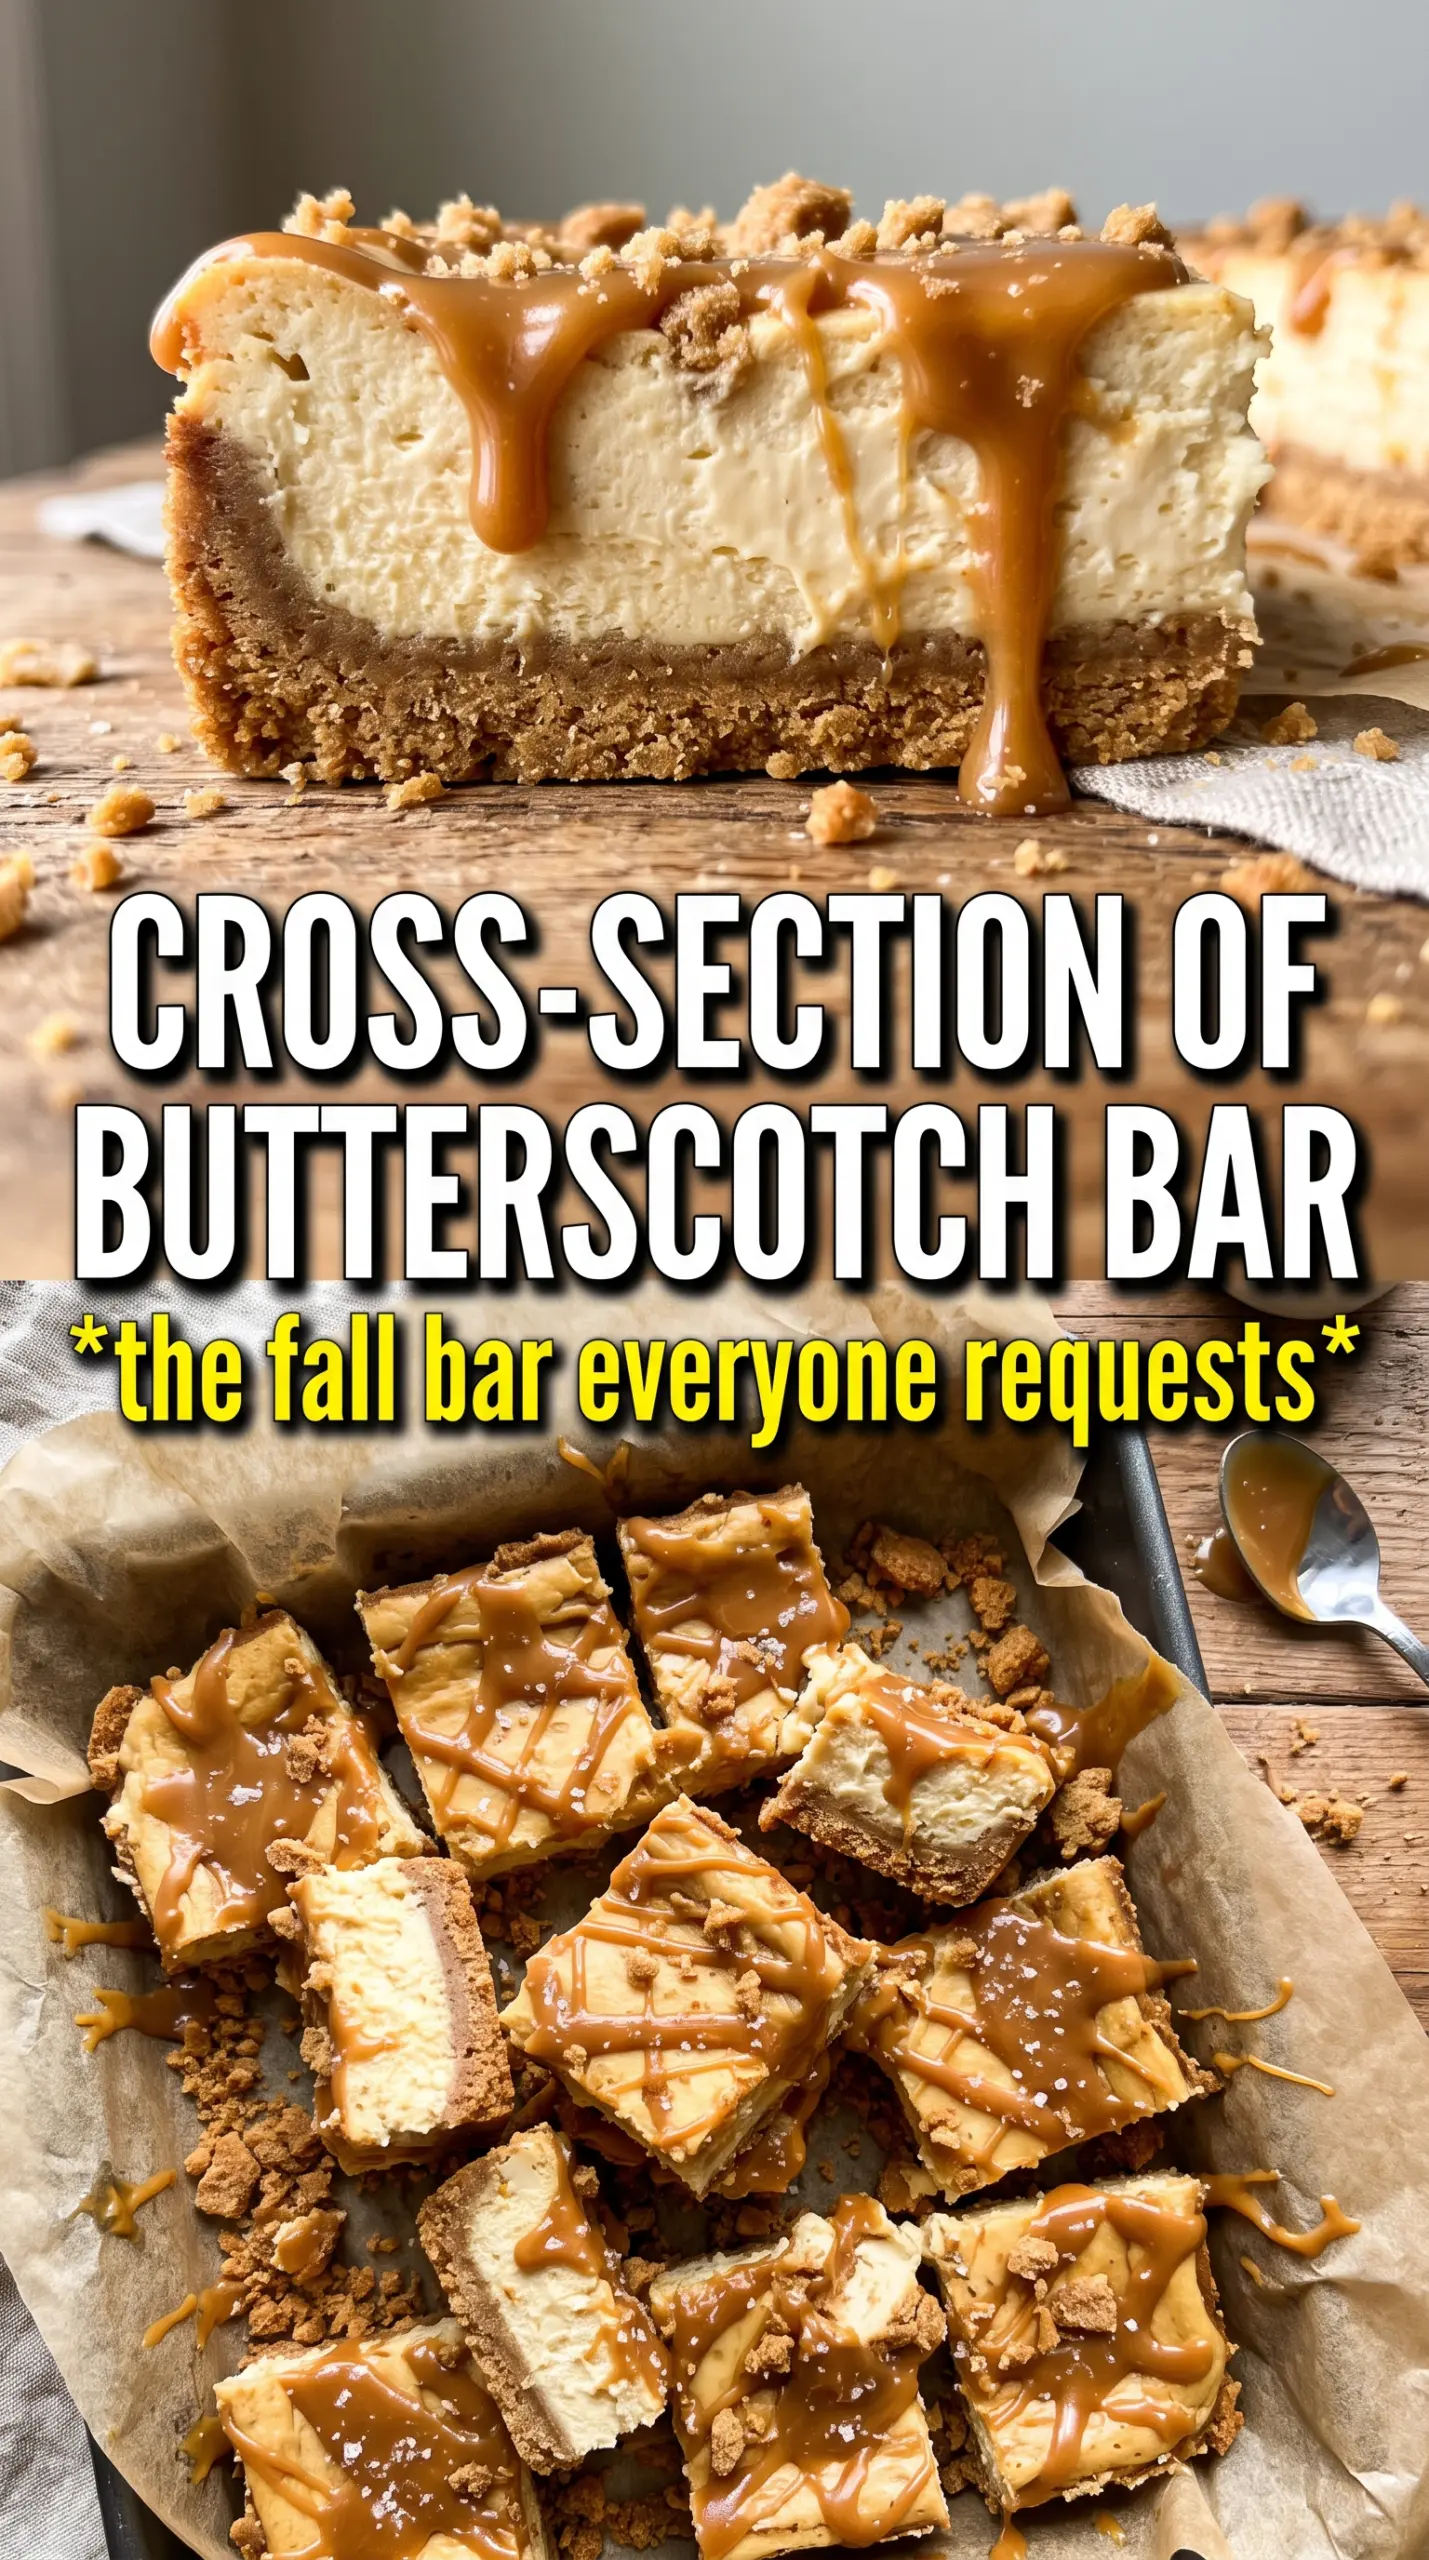
- Graham cracker crumbs — These give the crust its classic flavor and enough structure to hold up under a creamy filling. Fresh crumbs from whole crackers taste a little better than pre-crushed crumbs, but either works as long as they’re fine and even.
- Melted butter — This is what binds the crust and gives it that sandy-to-compact texture after baking. Don’t reduce it here; a dry crust will fall apart when you slice the bars.
- Cream cheese — Full-fat cream cheese gives the filling its body and tang. Let it soften all the way so it beats smooth without lumps, because cold cream cheese leaves little bits that never fully disappear.
- Sour cream — This loosens the filling just enough and adds a little brightness so the bars don’t taste flat. Plain Greek yogurt can work in a pinch, but it will taste tangier and set a little firmer.
- Butterscotch chips — The melted chips carry the core butterscotch flavor through the filling and the topping. Use a good-quality bag that melts smoothly; if the chips are stale, they can seize or stay grainy.
- Butterscotch extract — This is the ingredient that makes the flavor read clearly as butterscotch instead of just sweet caramel-adjacent cheesecake. It’s worth using if you want the bars to taste intentional and not faint.
Building the Crust, Filling, and Topping in the Right Order
Pressing and Baking the Base
Line the pan with parchment so you can lift the bars out later without fighting the corners. Pack the crust mixture down firmly and evenly, especially at the edges, because loose spots will crumble when you cut the bars. A 10-minute bake sets the crust before the filling goes in, which keeps it from turning soft under the cheesecake layer.
Mixing the Filling Without Adding Too Much Air
Beat the cream cheese and sugar until the mixture looks smooth and glossy, with no visible lumps on the paddle or beaters. Add the eggs one at a time and stop mixing as soon as each one disappears. If the batter looks fluffy, you’ve gone too far, and that extra air is what leads to cracks and a texture that bakes up more like cake than cheesecake.
Baking Until Just Set
Pour the filling over the crust and bake until the center still has a slight wobble when you nudge the pan. The edges should look set and the top should lose its shine, but don’t wait for the middle to become completely firm in the oven. If you overbake it, the bars will dry out and the butterscotch flavor will fade behind the texture.
Chilling and Finishing the Bars
Let the pan cool at room temperature before it goes into the fridge, or condensation can collect on top and thin the finish. After at least 3 hours of chilling, melt the topping ingredients together until smooth and drizzle it over the cold bars. Add the crushed graham crackers at the end so they stay crisp instead of turning soggy.
How to Adapt These Bars for Different Needs
Make Them Gluten-Free
Use gluten-free graham-style crumbs in the crust and for the garnish. The texture stays close to the original, though some gluten-free crumbs bake up a little more fragile, so press the crust extra firmly into the pan before baking.
Swap the Butterscotch for Caramel
If you want a softer, less assertive flavor, use caramel chips or a thick caramel sauce in place of the melted butterscotch chips. You’ll lose some of the deep, almost toasted note, but the bars will taste smoother and a little more familiar.
Cut the Sweetness a Little
Reduce the topping drizzle or skip the graham crumb garnish if you want the bars a little less rich. I wouldn’t cut the sugar in the filling much further, because that changes the way the cheesecake sets and can leave the texture soft.
Storage and Reheating
- Refrigerator: Store covered for up to 5 days. The crust stays best in the first 2–3 days, then it softens a little from the filling.
- Freezer: These freeze well. Chill first, cut into bars, wrap tightly, and freeze for up to 2 months. Thaw in the fridge so the topping doesn’t weep.
- Reheating: No reheating needed. Serve cold straight from the fridge for the cleanest texture; warming these bars makes the filling loose and the crust less crisp.
Answers to the Questions Worth Asking
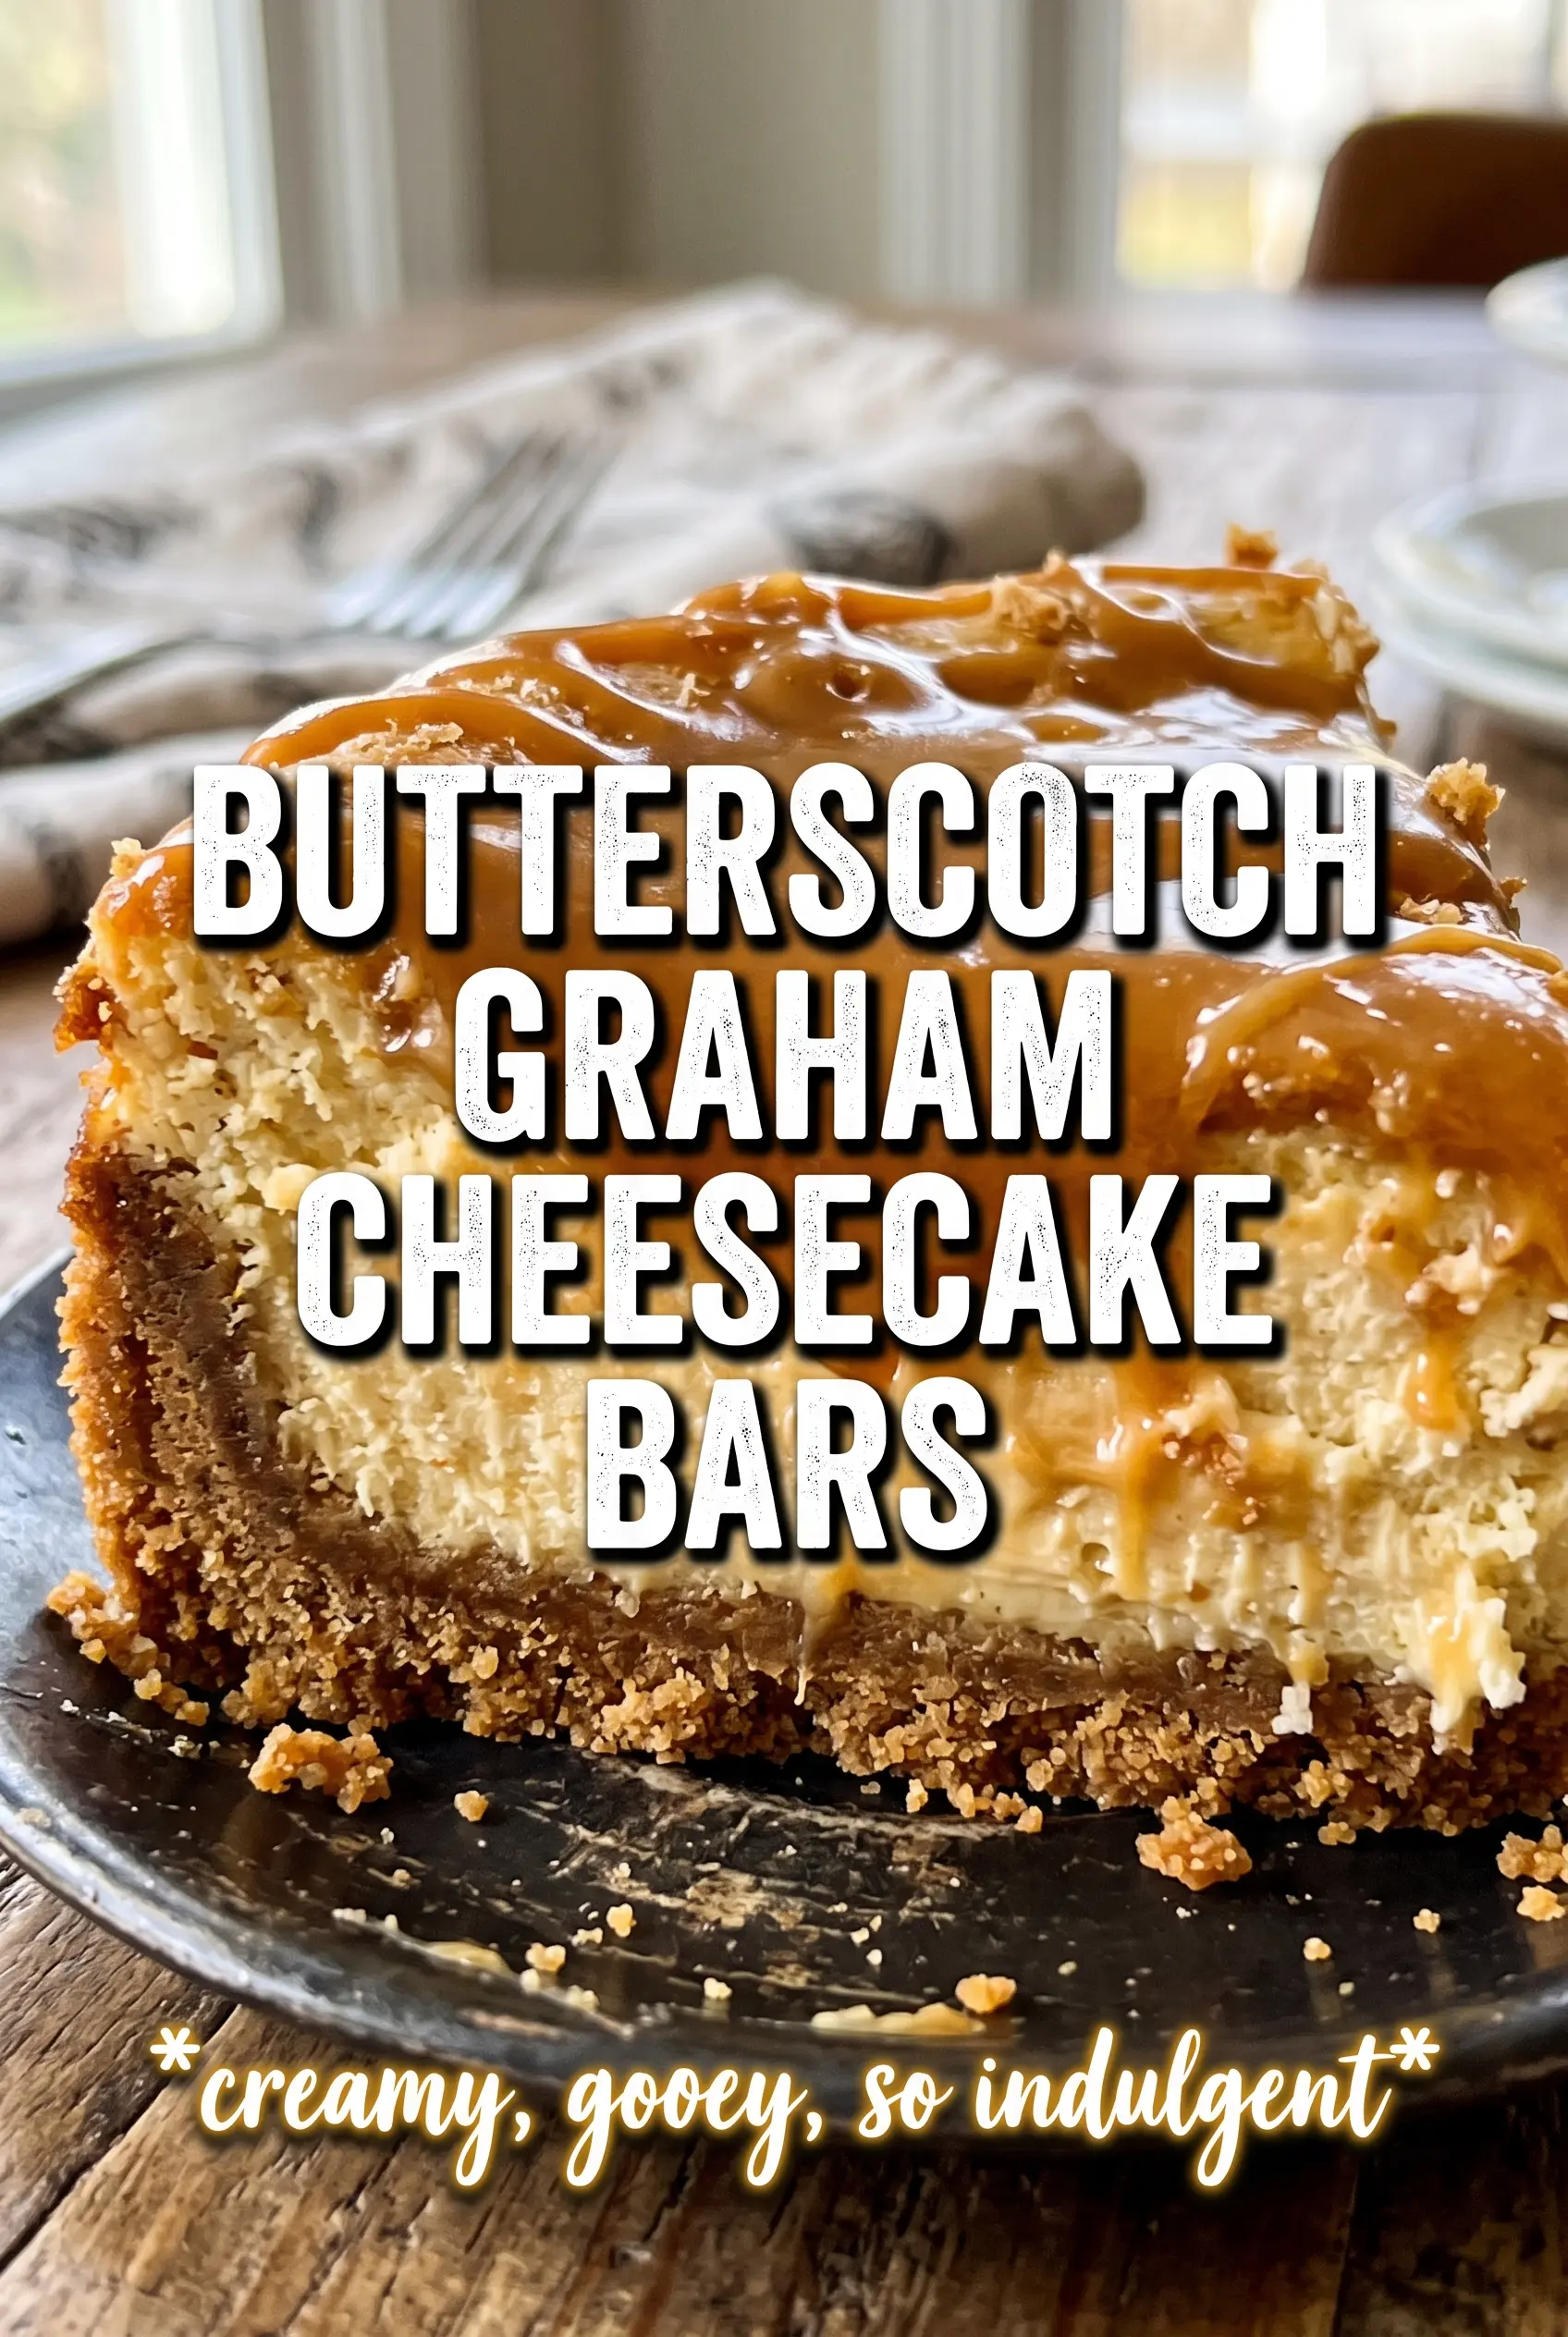
Butterscotch Graham Cracker Cheesecake Bars
Ingredients
Equipment
Method
- Preheat the oven to 325F, and line a 9x13 pan with parchment for easy lifting. Keep the pan ready at the counter as soon as it’s lined.
- Combine graham cracker crumbs, sugar, and melted butter, then press the mixture firmly into the pan. Press until the crust looks evenly packed with no loose spots.
- Bake the crust for 10 minutes at 325F, until it smells toasty and sets slightly. Watch for a lightly golden color around the edges.
- Beat the cream cheese and granulated sugar until smooth. Stop and scrape the bowl so the mixture is lump-free.
- Add the eggs one at a time, beating after each addition. Mix just until incorporated so the batter stays silky.
- Stir in sour cream, vanilla, melted butterscotch chips, and butterscotch extract until fully combined. The batter should look glossy and uniform.
- Pour the cheesecake filling over the baked crust, spreading it into an even layer. Make sure the surface is level before baking.
- Bake for 30-35 minutes at 325F until the center is just set. Look for a slight jiggle in the middle with no wet wobble.
- Cool the bars to room temperature, then refrigerate for 3 hours to firm up. The top should feel fully chilled and sliceable.
- Melt the butterscotch chips with the heavy cream until smooth, then drizzle over the chilled bars. Finish by scattering crushed graham crackers on top while the drizzle is still glossy.