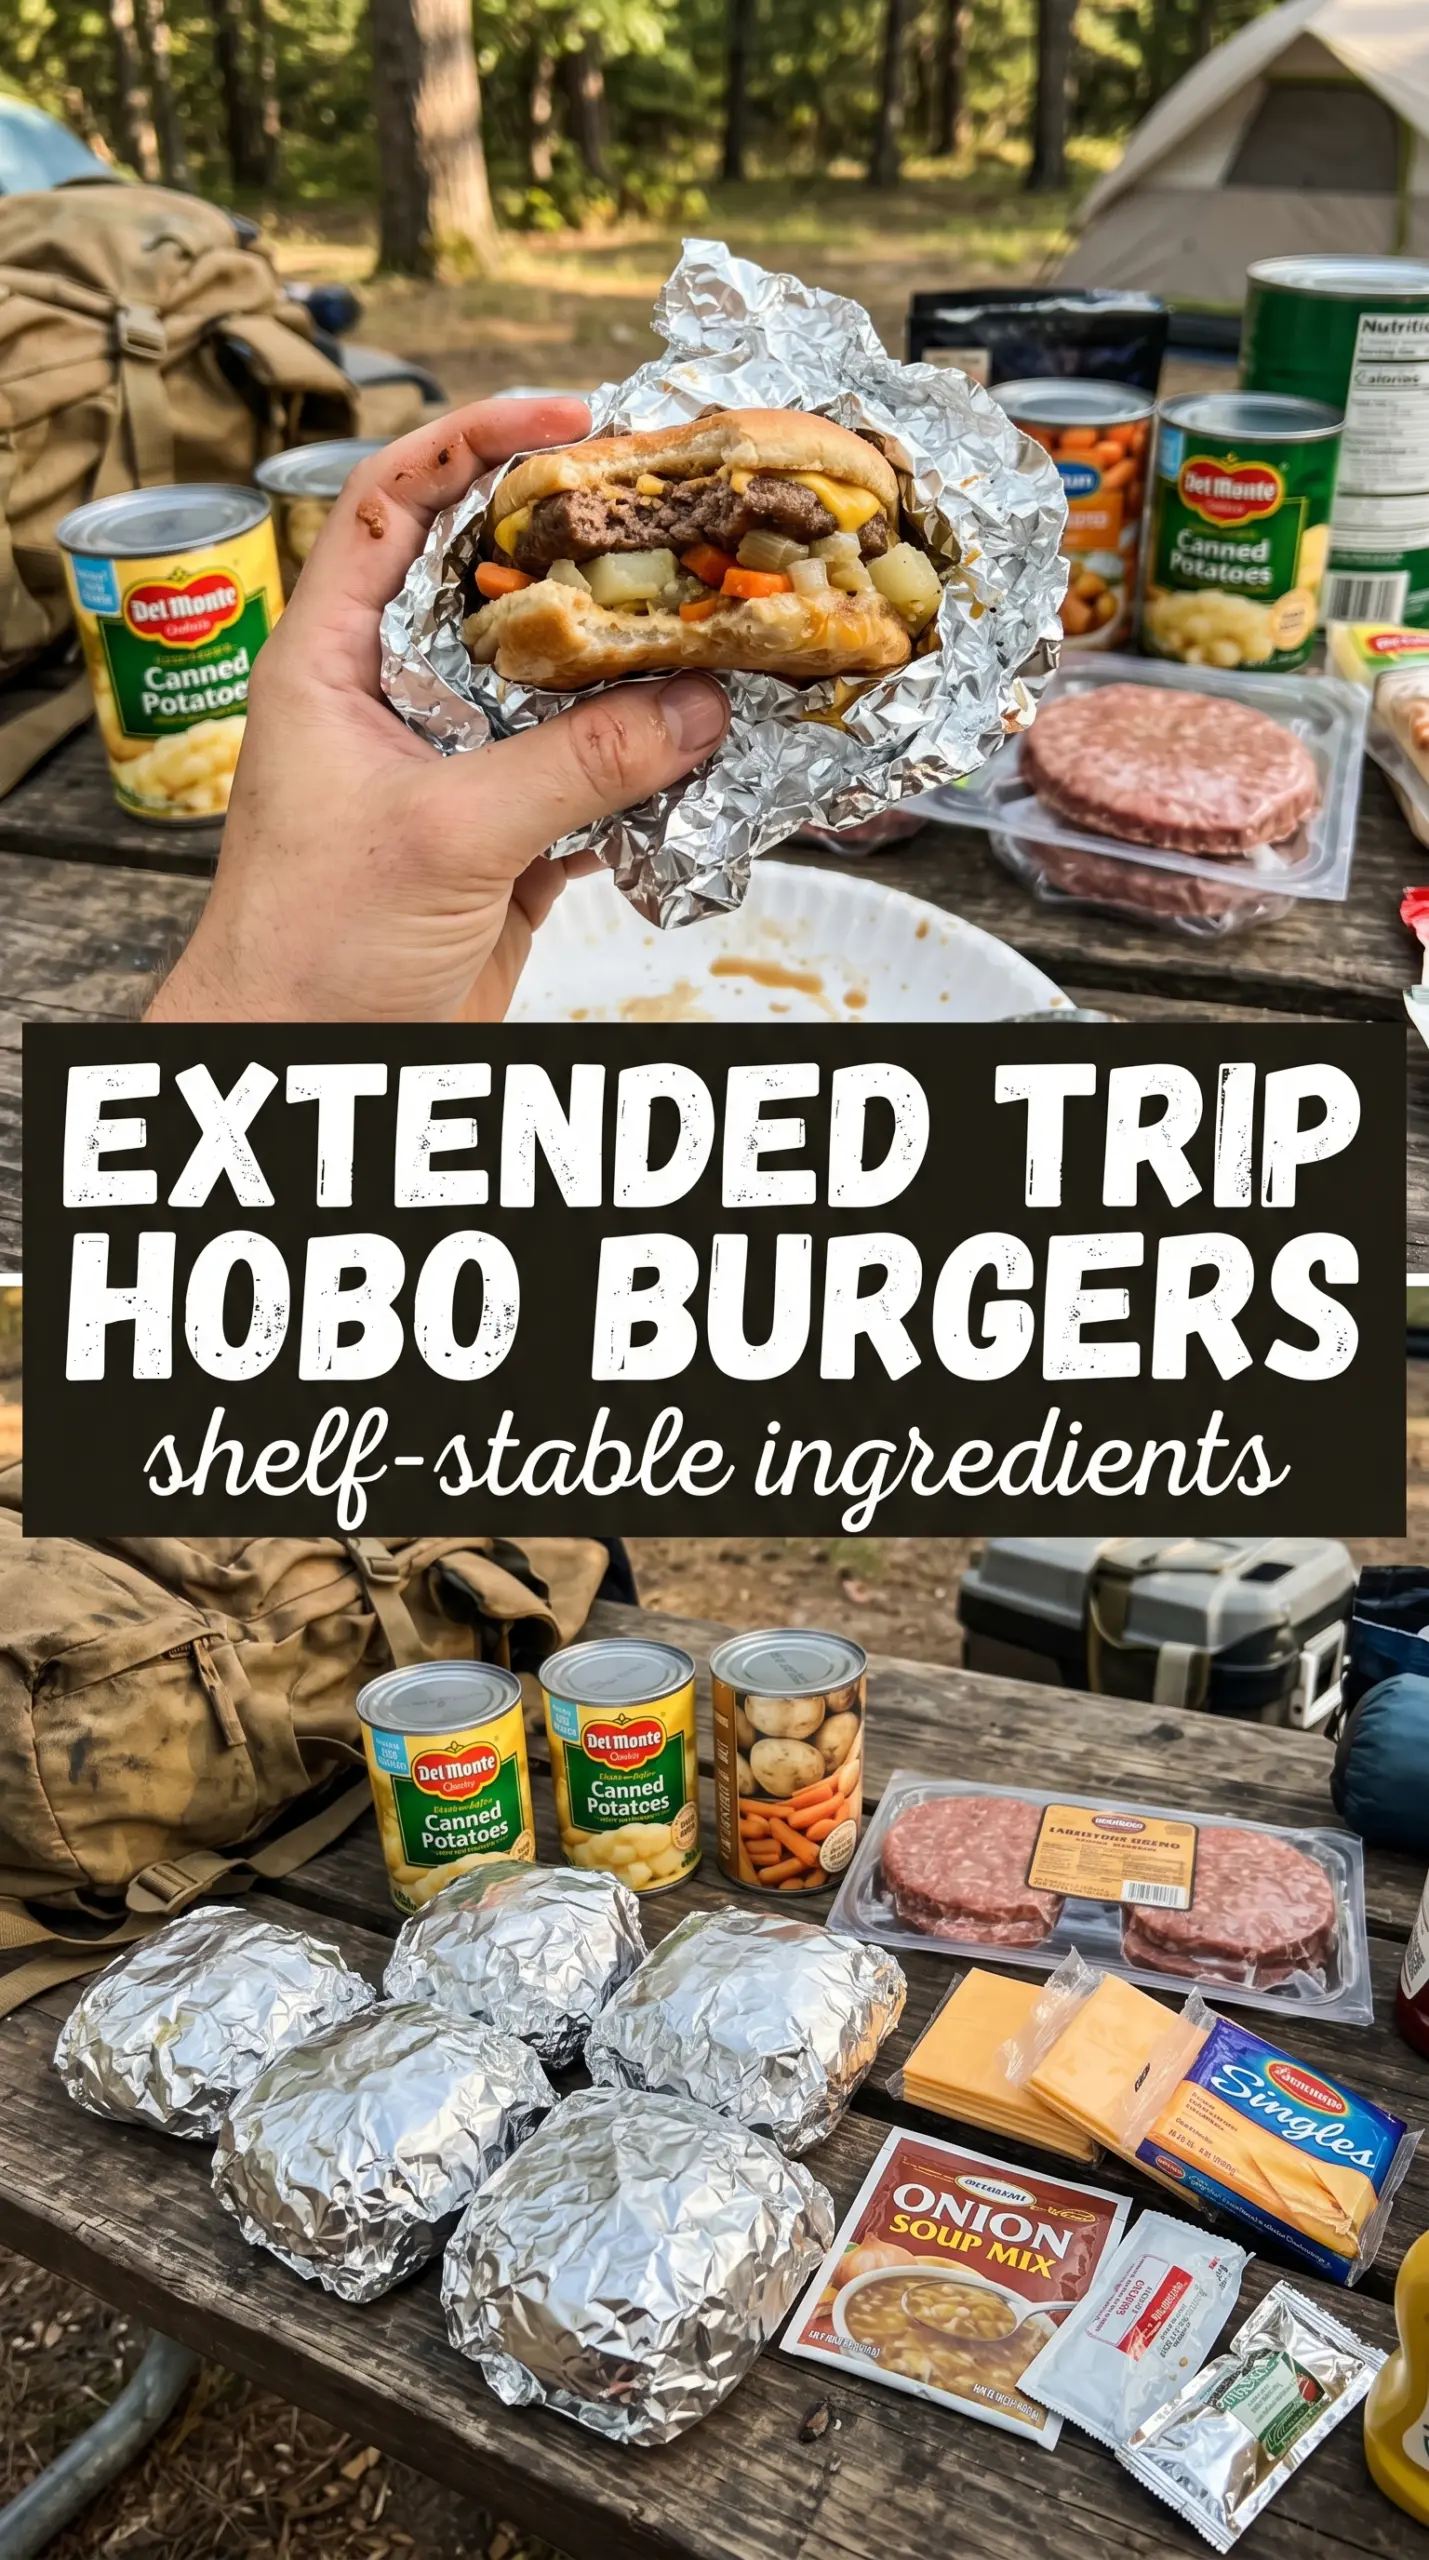
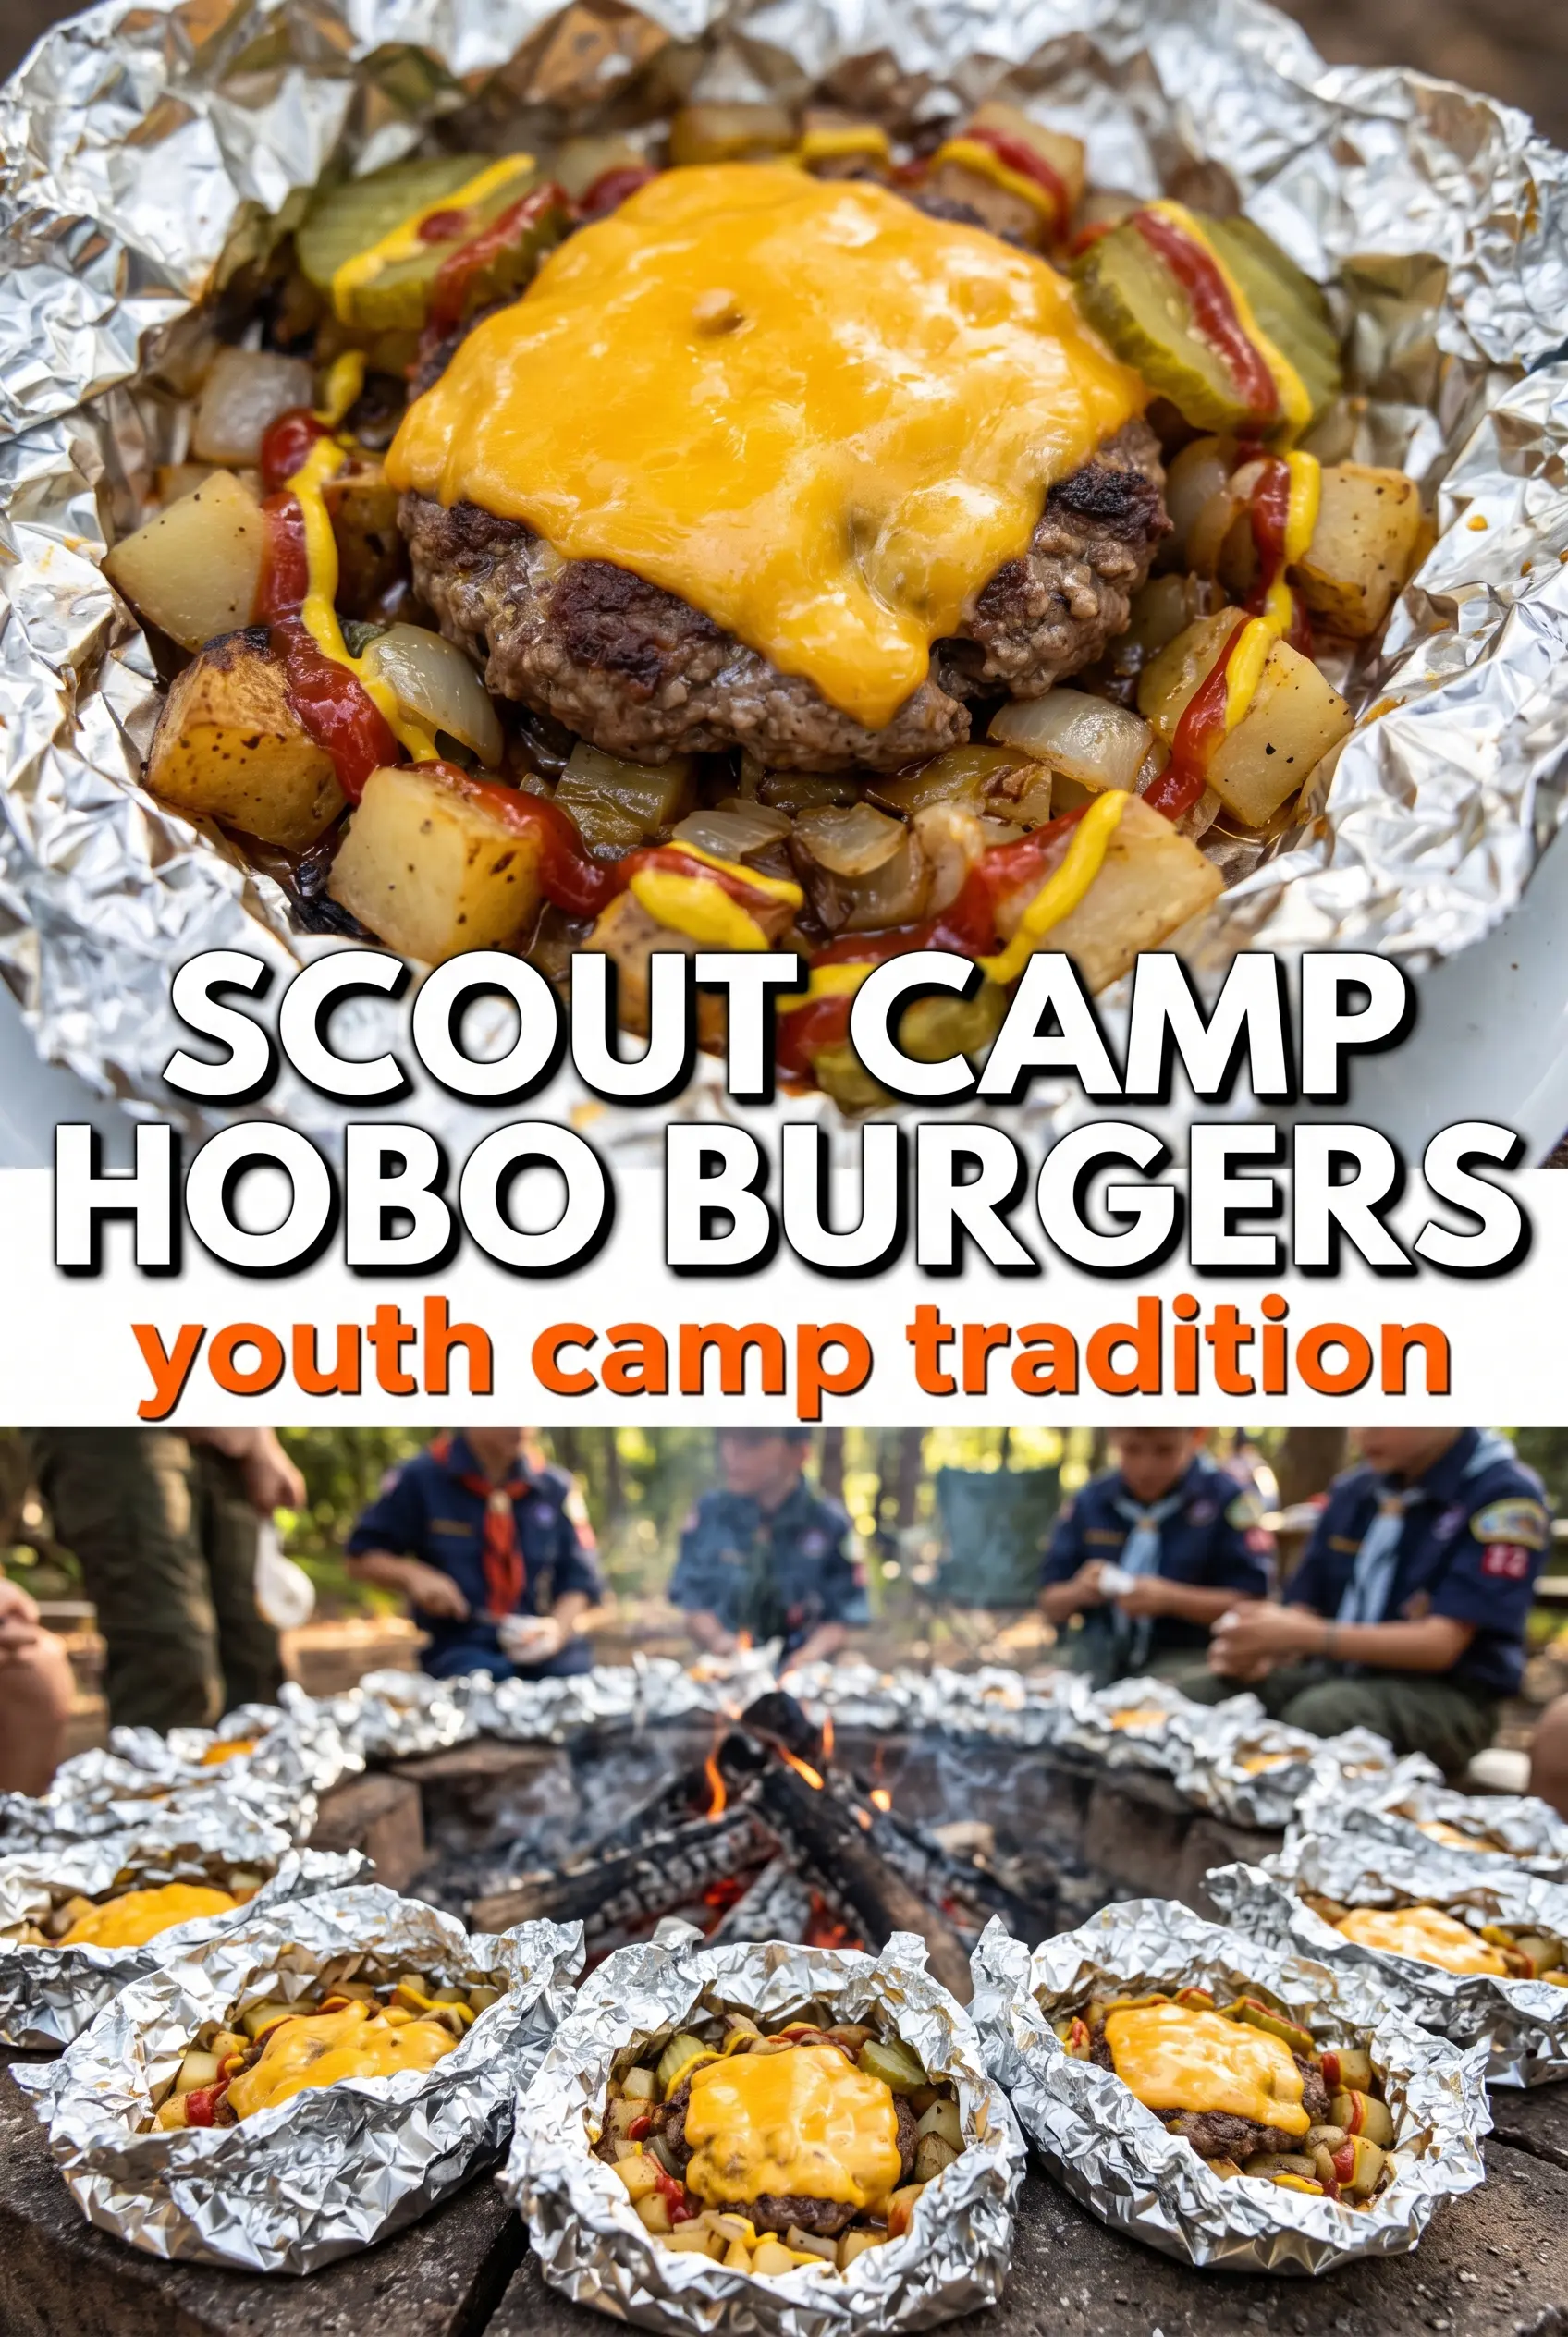
Campfire cheeseburger hobo packets give you the best parts of a backyard burger and a foil-packet dinner in one tidy bundle: juicy beef, tender potatoes, softened onions, and melted cheddar all cooking together over the fire. When they’re done right, the foil opens to a little burst of steam and a burger that tastes like it had a lot more effort behind it than it actually did.
The trick is building the packet so the potatoes get enough heat without turning the beef dry. Thin-sliced potatoes go on the bottom where they can sit close to the heat and absorb a little fat and seasoning, while the burger stays nestled on top and cooks through from the trapped steam. The ketchup and mustard don’t just add flavor; they also keep the packet from tasting flat, which matters when you’re cooking outdoors and not using a skillet.
Below I’ll walk through the small details that make these packets work on a campfire grate, plus the easiest swaps if you want to change up the vegetables or make the whole thing gluten-free.
The potatoes were tender, the burger stayed juicy, and the cheese melted perfectly when I resealed the foil for the last few minutes. My kids loved opening their own packets.
Like this campfire cheeseburger hobo packet meal? Save it to Pinterest for your next no-fuss fire-cooked dinner with cheesy, foil-steamed comfort.
The Part Most Foil Packet Burgers Get Wrong
The common mistake with foil packet burgers is treating everything like it cooks at the same speed. Potatoes need a head start, onions need enough time to soften, and the burger patty needs enough contact with steam and heat to cook through without turning leathery. If you pile thick potato chunks under a thick patty, the burger will be done before the potatoes have a chance.
Thin slices solve that problem. They cook fast enough to match the beef, and they also create a flatter base so the packet heats evenly instead of acting like a little dome. The other thing worth paying attention to is the seal: tight foil keeps the steam inside, which is what softens the vegetables and melts the cheese cleanly at the end.
What Each Ingredient Is Actually Doing Here
- Ground beef — Use an 80/20 blend if you can. A little fat keeps the packet juicy and helps flavor the potatoes below it. Lean beef works, but the filling tastes drier unless you add extra cheese or a little more sauce.
- Potatoes — Slice them thin, about 1/8 inch, so they soften in the same cook time as the burger. Waxy potatoes hold their shape best, but any potato works if the slices are even. Thick chunks are the fastest way to end up with a raw potato and an overcooked patty.
- Onion — Onion does a lot of work here because it releases moisture and sweetens as it cooks. Yellow onion is the most forgiving choice, but white onion is fine if that’s what you have.
- Tomatoes — Add them on top of the patty so they soften without disappearing. If your tomatoes are very juicy, scoop out some seeds first so the packet doesn’t get watery.
- Cheddar cheese — A sliced cheddar melts cleanly and gives you that burger-shop finish. Pre-shredded cheese can work, but slices melt more evenly in the short sealed-rest at the end.
- Heavy-duty foil — This is one place where the sturdy version matters. Thin foil tears easier on a campfire grate and leaks steam, which slows everything down and makes cleanup miserable.
Building the Packet So the Burger and Potatoes Finish Together
Layer the vegetables where the heat hits first
Start with the sliced potatoes and onions directly on the foil, then season them lightly so the salt can help pull out a little moisture. That first layer catches the heat and steams underneath the burger, which is what gets the potatoes tender in time. If the potatoes are stacked too high, they cook unevenly, so spread them into a thin, even bed.
Set the patty flat and keep it thin
Form the beef into four thin patties instead of one thick mound. Thin patties cook through at the same pace as the vegetables and stay tender inside the sealed packet. Pressing them too compactly makes them dense, so shape them just enough to hold together.
Seal well, then leave the packet alone
Fold the foil tightly so steam stays trapped inside. Place the packets over medium heat on the grate and flip once halfway through so the bottom doesn’t scorch before the potatoes soften. If you keep opening the foil, you lose the steam that’s doing most of the cooking.
Finish with cheese after the beef is cooked through
Open the packets carefully because the steam is hot and powerful. Add the cheddar slices, then reseal the foil for a minute or two until the cheese turns glossy and starts to melt over the patty. That last short rest also lets the juices settle so the first bite doesn’t run all over the packet.
How to Make These Packets Fit the Trip You’re Cooking For
Make it gluten-free by skipping the buns
The packets themselves are naturally gluten-free as long as your condiments are, so the easiest move is to serve everything straight from the foil. You still get the burger feel, just without the bread, and the potatoes take over the role of the carb side.
Swap in turkey or chicken for a lighter packet
Ground turkey or chicken works, but they need a little help because they don’t bring the same fat or beefy flavor. Add a touch more mustard, keep the patties thin, and cook until the center reaches a safe temperature without drying out.
Add mushrooms or bell peppers for a fuller vegetable mix
Sliced mushrooms and peppers fit neatly into the foil and add a little more color and flavor. Mushrooms release moisture, so keep the slices moderate and don’t crowd the packet if you want the potatoes to brown at the edges instead of steaming in excess liquid.
Storage and Reheating
- Refrigerator: Store leftovers in an airtight container for up to 3 days. The potatoes soften a bit more after chilling, but the flavor stays good.
- Freezer: I don’t recommend freezing the finished packets. The tomatoes and potatoes turn mushy after thawing, and the texture never comes back cleanly.
- Reheating: Reheat in a covered skillet over low heat or in a 325°F oven until hot. The mistake is blasting it over high heat, which dries out the beef before the center warms through.
Answers to the Questions Worth Asking
Campfire Cheeseburger Hobo Packets
Ingredients
Equipment
Method
- Form ground beef into 4 thin patties and season with salt and pepper. Keep them thin so they cook through inside the packets.
- Lay out 4 sheets heavy-duty aluminum foil. Fold-free, wide foil helps you seal the packets tightly.
- On each foil sheet, layer sliced potatoes and onions. Aim for even coverage so everything finishes cooking at the same time.
- Place a burger patty on top of the potato-onion layer for each packet. Press lightly so the patty sits flat.
- Add tomato slices over each patty. This creates moisture and keeps the vegetables tender.
- Drizzle each packet with ketchup and mustard. Use an even drizzle so the flavor distributes throughout.
- Fold the foil into sealed packets. Crimp edges tightly to prevent juices from leaking.
- Place the packets on a campfire grate over medium heat. Arrange them evenly with space so heat circulates around each packet.
- Cook for 25-30 minutes total, flipping halfway through at 12-15 minutes. The packets should be actively steaming when opened for the cheese step.
- Open the packets and place cheese slices on top of the burgers. Add cheese while hot so it melts quickly.
- Reseal the packets briefly to melt the cheese, about 2-3 minutes. Look for melted cheese edges that start to stretch.
- Let the packets cool for 5 minutes before serving. This firms up the juices slightly so the layers hold together.
- Serve the cheeseburger hobo packets as-is or on hamburger buns. If using buns, spoon contents directly into each one.