Golden campfire hash browns need a hot skillet, a little patience, and enough fat to let the potatoes fry instead of steam. When they’re done right, the edges turn crisp and lacy while the center stays tender, with onions tucked through every bite and just enough seasoning to keep the whole pan from tasting flat. That contrast is what makes them worth building a breakfast around.
The trick with campfire cooking is managing heat that changes as the coals settle. Frozen hash browns work better than fresh potatoes here because they’re already shredded and dry enough to brown quickly, but they still need space in the pan. If you pile them up or stir too often, you lose the crust before it has time to form.
Below, I’ll walk through the skillet setup that gives you the best browning, the seasonings that actually matter, and a few simple ways to change these up when you want them cheesy, heartier, or a little more hands-off.
The hash browns came out crisp on the bottom and never turned soggy, even with the onions mixed in. I kept the skillet moving around the fire and they browned up in about 18 minutes just like you said.
Campfire hash browns are the kind of skillet potatoes that go from side dish to breakfast centerpiece fast.
The Reason Campfire Hash Browns Get Soggy Instead of Crisp
The problem usually isn’t the potatoes. It’s the heat. Over a campfire, the skillet often sits in a zone that’s hot enough to soften the hash browns but not hot enough to dry and brown them quickly, so you end up with a soft layer at the bottom and steam trapped on top. A cast iron skillet helps because it holds heat once it gets there, but it still needs a steady bed of coals or a grate position that keeps the pan from hovering over weak flame.
The second mistake is crowding. Frozen hash browns release moisture as they cook, and diced onion does the same. Spread everything out in an even layer and let the first side sit long enough to form a crust before you start flipping. If you keep chasing them around the pan, the best texture never has a chance to develop.
What the Frozen Potatoes and Onion Are Actually Doing Here
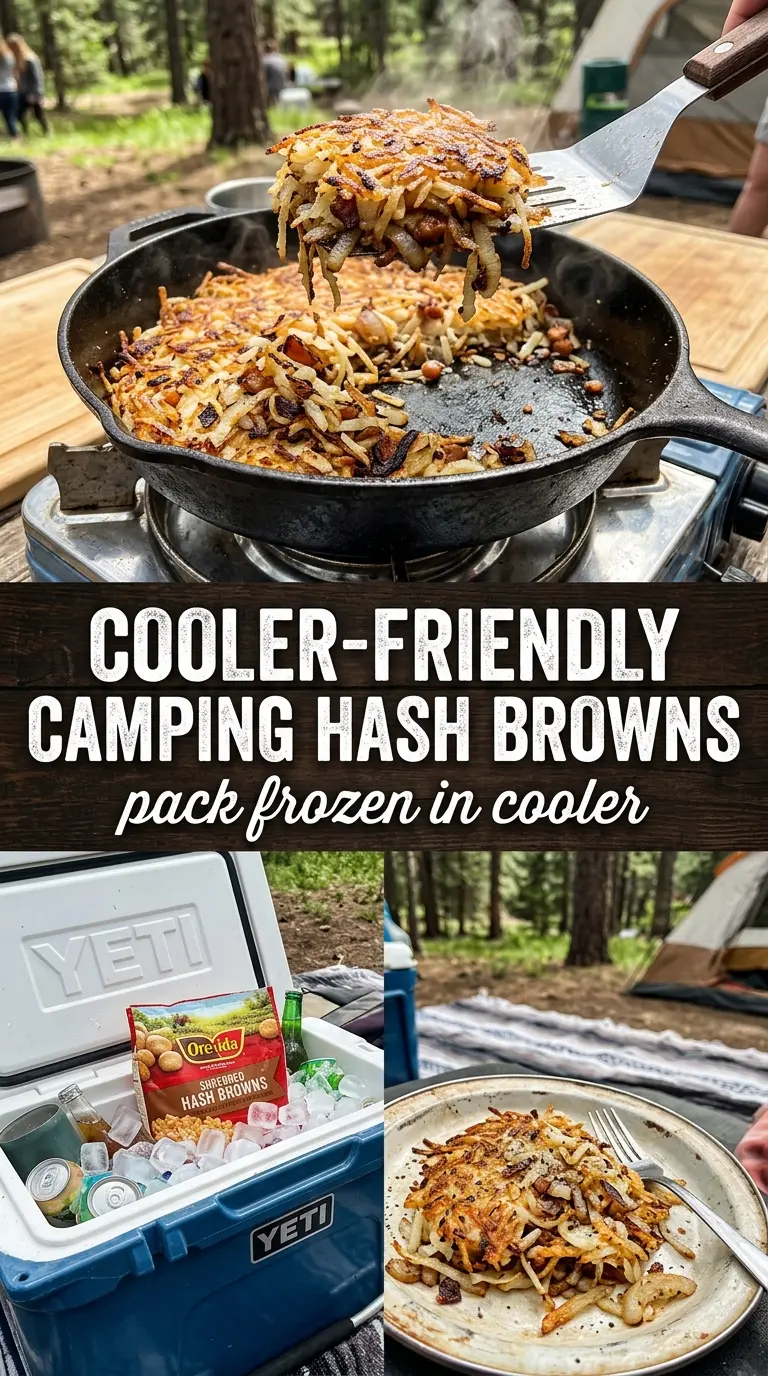
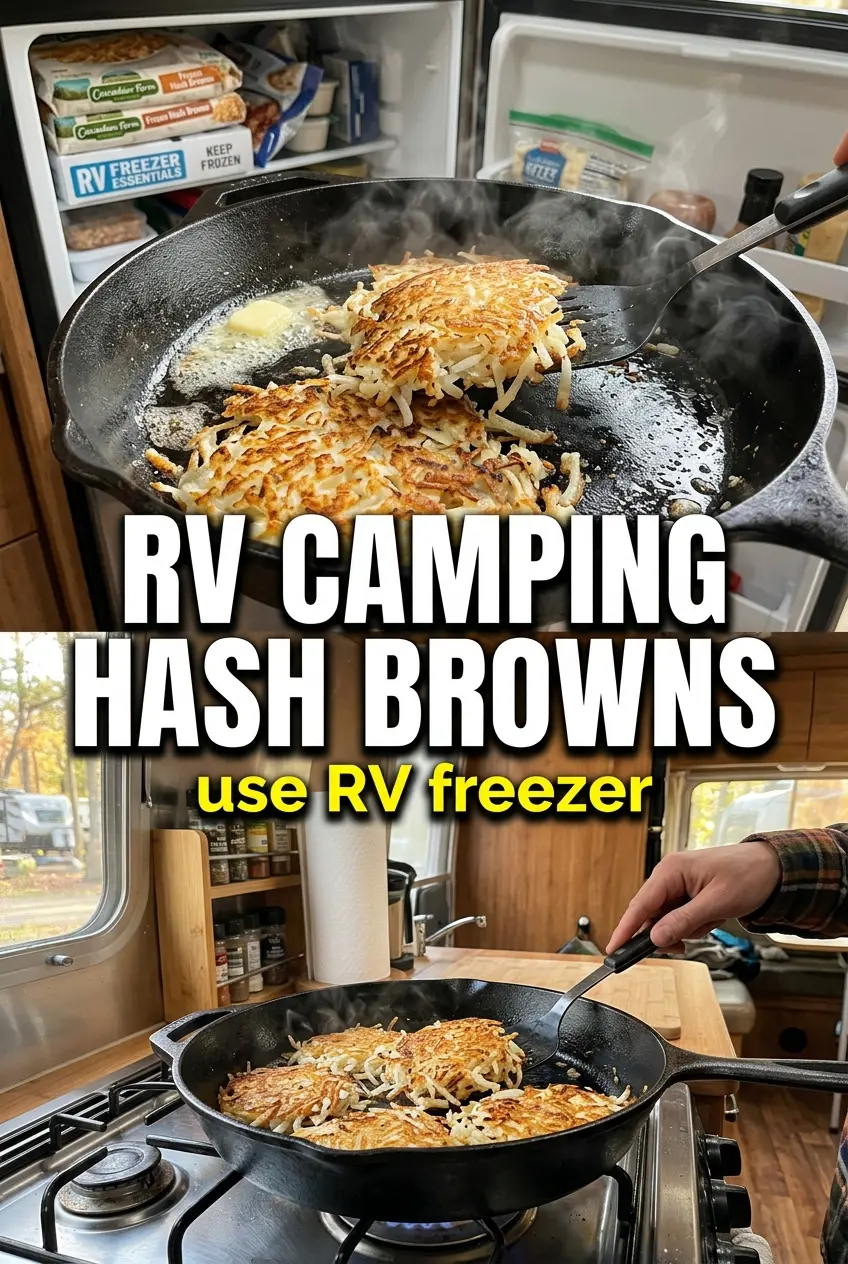
- Frozen hash browns — These are the backbone of the recipe because they’re already shredded and partially dried. Fresh potatoes can work, but they usually need extra rinsing, drying, and handling to get the same crisp result. Let them thaw just enough to break apart if they’re clumped, but don’t let them get wet.
- Onion — Diced onion melts into the potatoes and gives the skillet some sweetness and depth. Chop it small so it softens in the same time the potatoes brown. Bigger pieces tend to stay crunchy while the potatoes are ready.
- Butter or oil — This is what carries the heat and helps the bottom brown instead of sticking. Butter gives a richer campfire flavor, but oil tolerates a little more heat if your fire runs hot. A mix of both works well if you want flavor and a better browning window.
- Paprika and garlic powder — These season the whole pan without needing fresh herbs or extra steps. Garlic powder gives background savory flavor, while paprika adds color and a little warmth. Smoked paprika works too if you want a deeper fire-kissed taste.
- Cheese and green onions — These are best added at the end so they stay on top instead of disappearing into the pan. Cheese melts over the hot potatoes, and green onions give a fresh finish that keeps the whole dish from feeling heavy.
How to Build the Crispiest Pan Over a Campfire
Getting the Skillet Hot Enough
Set the cast iron skillet over a stable fire grate and let the fat heat before the potatoes go in. You want the butter melted and actively shimmering, not browned and smoking hard. If the fire is weak, wait longer than you think you need to; underheated cast iron is the fastest route to pale potatoes. A hot pan gives you immediate sizzle when the hash browns hit the surface, and that sizzle is the start of the crust.
Spreading the Potatoes in One Even Layer
Add the hash browns and onion, then press them into the skillet without packing them down tightly. A loose but even layer lets moisture escape while the bottom fries. Season right away so the salt can start drawing out flavor, then leave the mixture alone long enough for the bottom to set. If the pan sounds wet and quiet instead of active, the heat is too low or the skillet is overcrowded.
Flipping for Color, Not Just Movement
After 15 minutes or so, lift an edge with a spatula and check for a deep golden crust. Don’t flip on a timer alone; flip when the bottom releases in sections and the edges look crisp. Turn the potatoes in larger pieces if you can, because too much stirring breaks the crust into scraps. Once both sides are browned and the center is tender, take the skillet off the fire before you add cheese so the residual heat melts it without burning the bottom.
Three Ways to Change Campfire Hash Browns Without Losing the Crunch
Cheesy Hash Browns
Add shredded cheese only after the potatoes are fully crisp and the skillet is off the hottest part of the fire. If you add it too early, the cheese shields the potatoes from browning and can turn greasy before it melts. This version gives you a richer, more filling skillet with the same crispy base.
Dairy-Free Version
Use oil instead of butter and keep the heat moderate so the potatoes brown without smoking the pan. You’ll lose the buttery finish, but the texture stays the same and the paprika still gives the skillet plenty of character. If you want extra richness, a little more oil at the start works better than trying to add fat later.
Heartier Breakfast Skillet
Fold in cooked bacon, sausage, or diced ham after the potatoes have started to crisp so the meat warms through without watering down the pan. Pre-cooked meat is the key here; raw meat needs a different cooking method and would throw off the timing. This turns the hash browns into a full camp breakfast base.
Gluten-Free and Naturally Camp-Friendly
This recipe is naturally gluten-free as written, so the main job is checking any add-ins like sausage seasoning or shredded cheese blends for hidden fillers. That makes it a reliable option for mixed groups because the base recipe doesn’t need special flour swaps or binders.
Storage and Reheating
- Refrigerator: Store leftovers in an airtight container for up to 3 days. They’ll soften a bit, but the flavor holds up well.
- Freezer: You can freeze them, though the texture won’t be as crisp after thawing. Cool completely, wrap well, and reheat from frozen in a skillet or oven for the best result.
- Reheating: Reheat in a hot skillet with a thin film of oil over medium heat. The mistake most people make is using the microwave, which turns the potatoes soft and steamy instead of bringing back the crust.
Answers to the Questions Worth Asking
Campfire Hash Browns
Ingredients
Equipment
Method
- Heat butter or oil in a large cast iron skillet over a campfire until it shimmers and coats the pan surface.
- Add frozen hash browns and diced onion, then spread into an even layer across the skillet so they contact the hot metal.
- Season with salt, pepper, garlic powder, and paprika, sprinkling evenly over the hash browns.
- Cook for 15-20 minutes, flipping occasionally, until the potatoes are golden brown and visibly crisp at the edges.
- Top with shredded cheese and green onions if desired, then cover briefly for 1-2 minutes just until the cheese melts.
- Serve hot straight from the skillet as a side dish or breakfast base.