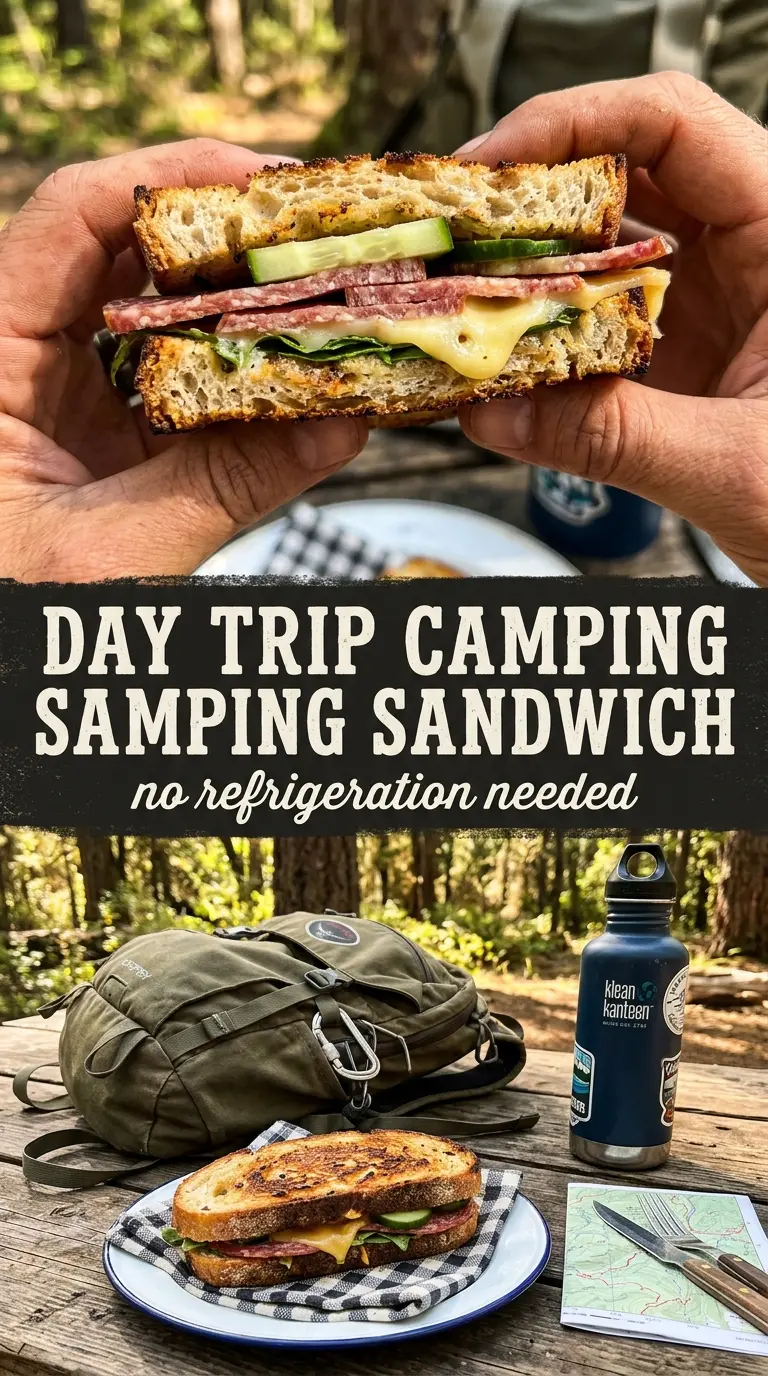
Toasted bread, melted cheese, and smoky campfire heat turn a simple sandwich into the kind of meal people remember from a trip outside. The best campfire sandwich has crisp, buttery bread on the outside and a hot, stretchy center that holds together when you cut it open. It feels casual, but when it’s done right, it eats like a real lunch, not an afterthought.
The trick is building it so the bread browns before the cheese leaks out. Butter goes on the outside only, and the sandwich gets layered with cheese against the bread so the heat has something to anchor to. Medium fire matters here. Too hot and the bread burns before the center melts; too low and you end up with dry bread and barely warmed meat.
Below you’ll find the little details that make this work over a grate instead of a skillet, plus a few easy ways to change the fillings without losing that crisp, melty finish.
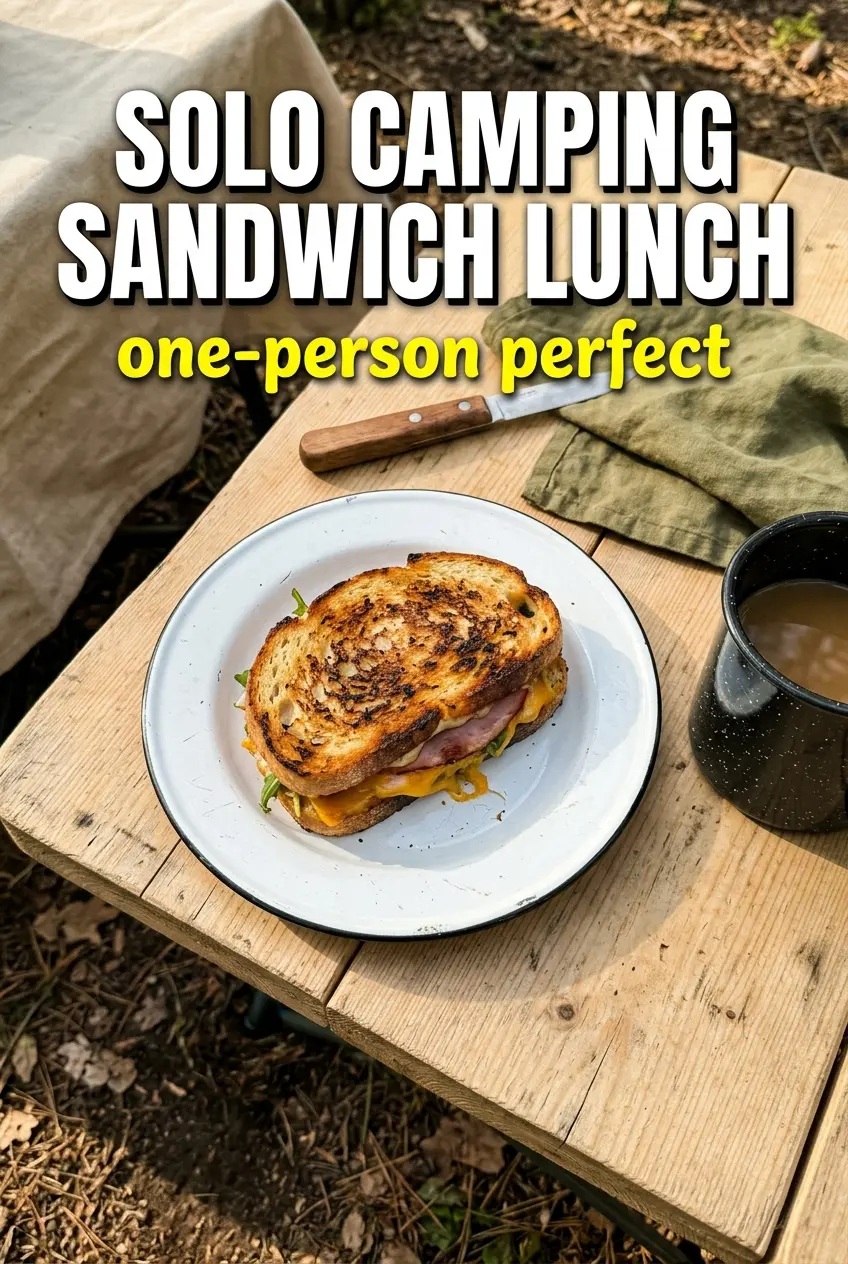
The bread got that deep golden crust over the fire, and the cheese melted all the way through without the turkey drying out. My kids asked for a second round before we even packed up the camp chairs.
Love the smoky, melty campfire sandwich? Save this one for easy outdoor lunches that need almost no cleanup.
The Part That Stops the Sandwich From Burning Before It Melts
The biggest mistake with campfire sandwiches is treating the grate like a skillet. A campfire throws heat in uneven bursts, so the bread can go from pale to scorched fast if the fire is too hot or the sandwich sits right over active flames. What you want is steady medium heat from coals or a controlled fire bed, with enough distance that the butter has time to brown instead of blacken.
Layering matters more than people think. Cheese on both sides of the filling helps glue the sandwich together and gives the heat a direct path to the center. If you put meat directly against the bread, the sandwich is more likely to slide apart when you flip it and the cheese won’t melt into that sealed, cohesive layer.
What Each Ingredient Is Actually Doing in This Sandwich
- Bread — Use sturdy sandwich bread that can handle butter and direct grate heat without collapsing. Soft white bread works, but thicker slices or country-style sandwich bread give you better structure and a cleaner flip over the fire.
- Cheese — Cheddar gives you a sharper bite, while Swiss melts a little silkier and stays mild. If you want the filling to hold together, keep cheese in two layers so it melts into the meat instead of slipping out the sides.
- Ham and turkey — The deli meats bring the salty, savory center and warm through quickly over the fire. Thin slices work best because they heat before the bread overcooks; thick-cut meat needs more time and can make the sandwich awkward to bite.
- Butter — Softened butter spreads evenly and creates the crisp, browned exterior. Cold butter tears the bread, and melted butter tends to soak in too fast, which can leave the sandwich greasy instead of crisp.
- Mustard or mayo — These are optional, but they add moisture and a little tang if you want the sandwich to feel less plain. Use a thin layer so the bread still browns well; too much sauce can make the filling slide.
Building It So the Bread Browns Before the Cheese Escapes
Butter the outside, not the filling
Spread softened butter on one side of each bread slice, all the way to the edges. That outer layer is what gives you the browned crust, and it needs to be even so the bread cooks at the same pace. If the butter is clumpy or uneven, the dark spots will show up before the rest of the bread is ready.
Stack it for stability
Build each sandwich with butter-side out and cheese touching the bread on both sides of the filling. Start with bread, then cheese, ham, turkey, more cheese, and the top slice of bread. The cheese on the outside helps lock everything together as it melts, which keeps the sandwich from falling apart when you turn it on the grate.
Grill with patience, not flame
Place the sandwiches over medium heat and let the first side develop a golden crust before moving them. If the fire is licking up around the edges, wait a few minutes or shift the grate higher. Flip once, gently, with a spatula, and keep cooking until both sides are toasted and the cheese feels soft when you press the center.
Cut while the cheese is still flowing
Take the sandwiches off the heat and let them sit for a minute, just long enough for the filling to settle. Then cut them in half and serve right away. If you wait too long, the cheese starts to firm up and you lose that hot, stretchy middle that makes this sandwich worth making over a fire.
Three Ways to Adjust a Campfire Sandwich Without Losing the Crunch
Gluten-Free Version
Swap in a sturdy gluten-free sandwich bread that can handle buttering and flipping without crumbling. The flavor stays the same, but the bread usually needs a gentler turn and a slightly lower heat so the crust sets before the slices dry out.
Dairy-Free Sandwich
Use a dairy-free butter substitute and a meltable plant-based cheese. The result will still toast well, but the filling won’t have quite the same stretch, so keep the heat moderate and give it a little extra time for the center to warm through.
Vegetarian Campfire Sandwich
Skip the ham and turkey and add sliced tomato, roasted peppers, or a thin layer of sautéed mushrooms. You’ll lose some of the salty deli-meat backbone, so the cheese and any mustard become more important for keeping the sandwich from tasting flat.
Storage and Reheating
- Refrigerator: Wrap leftovers tightly and refrigerate for up to 2 days. The bread softens a bit, but the sandwich still reheats well.
- Freezer: Freezing isn’t ideal once the sandwich is cooked because the bread turns dry and the cheese can separate. If you need to prep ahead, assemble the sandwiches uncooked, wrap them well, and chill them for the same day instead.
- Reheating: Reheat in a skillet or over a low campfire grate until the bread crisps back up and the center is hot. Don’t use high heat, or the outside will burn before the middle warms through.
Answers to the Questions Worth Asking
Campfire Sandwich
Ingredients
Equipment
Method
- Butter one side of each bread slice, keeping the coating even so it toasts uniformly.
- Build sandwiches with butter-side out by layering bread, cheese, ham, turkey, cheese, then bread on top.
- If using mustard or mayo, spread a thin layer on the bread before building so it doesn’t squeeze out while grilling.
- Place sandwiches on the campfire grate over medium heat, arranging them so they aren’t crowded and can brown evenly.
- Grill for 4-5 minutes per side until the bread is golden and the cheese is fully melted, with visible browned grill marks.
- Remove sandwiches from the heat, cut in half, and serve hot while the cheese is still stretchy.