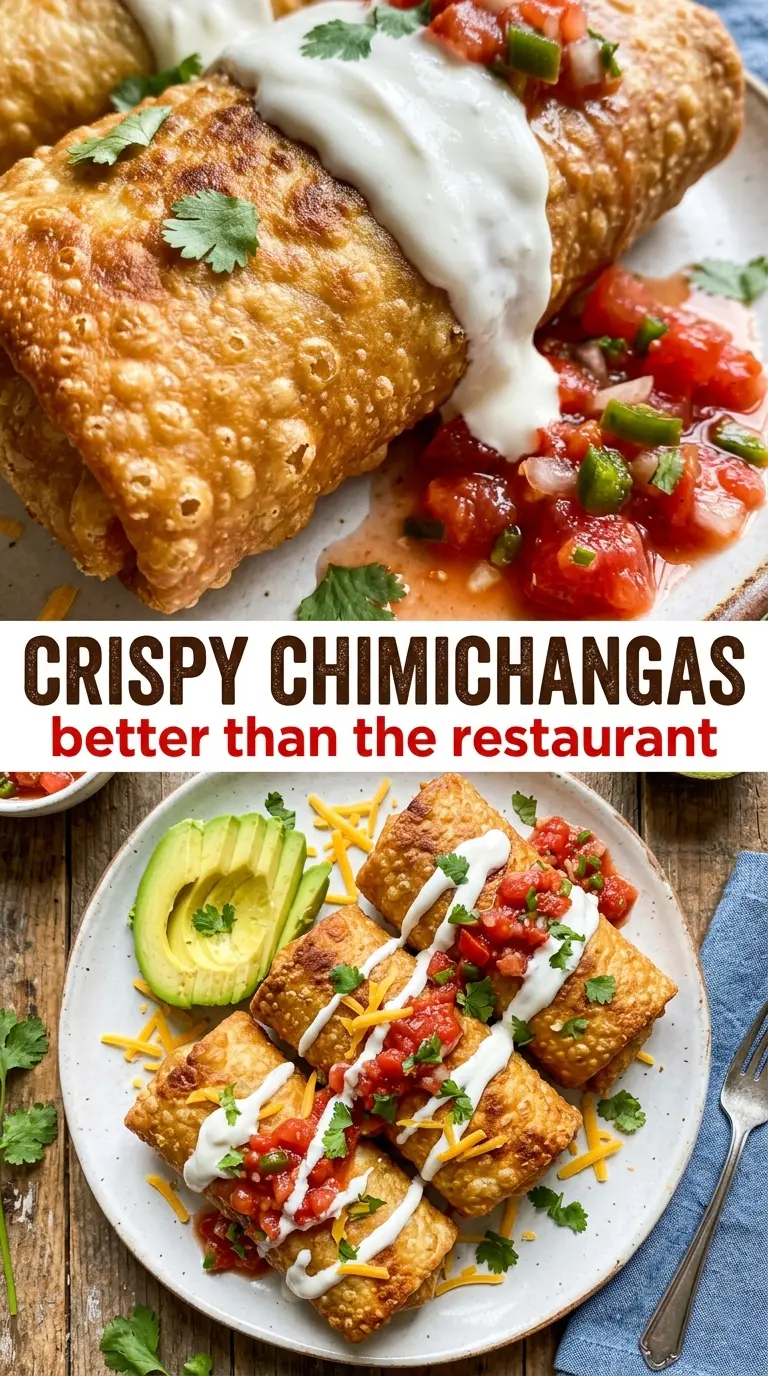
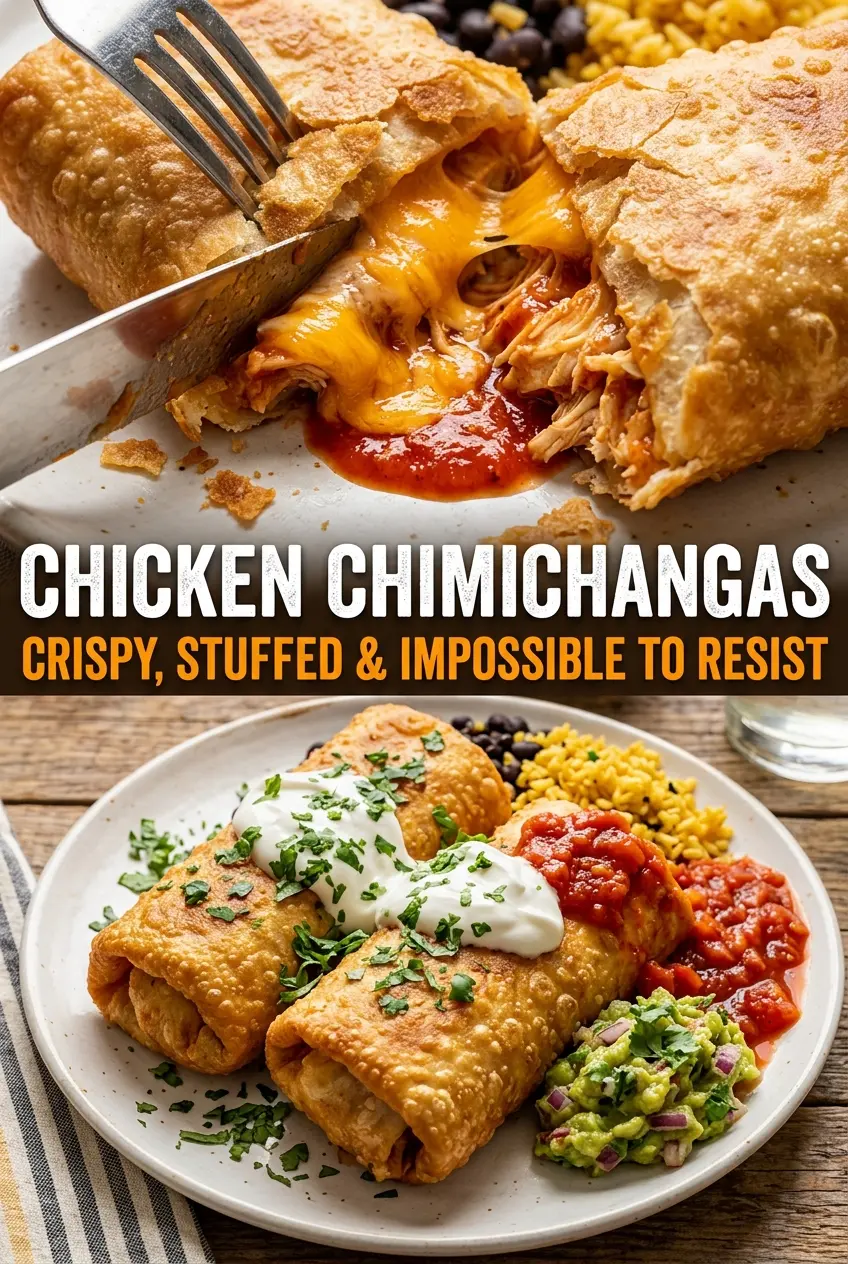
Chicken chimichangas earn their place at the table because that first bite gives you everything at once: a crisp, crackly shell, hot seasoned chicken, melty cheese, and just enough rice and beans to make the filling feel hearty without turning heavy. The best versions don’t leak, don’t go soggy, and don’t taste like a plain burrito that took a bath in oil. When they’re done right, the outside stays audibly crisp while the inside stays soft, steamy, and well-seasoned.
The key is balance. The filling needs enough salsa to flavor the chicken, but not so much that it turns wet and blows out the tortilla in the fryer. Warming the tortillas slightly before rolling helps them fold cleanly instead of cracking, and rolling them tightly keeps the seams sealed long enough to crisp up. If you’ve ever ended up with a greasy chimichanga or a split tortilla, the fix is usually in the filling texture and the roll, not the oil.
Below, I’ll walk through the little decisions that make these work every time, including the difference between frying and baking, how to keep the seam sealed, and what to serve alongside them so the whole plate feels complete.
The tortilla got that perfect shattering crunch and the filling stayed neat instead of spilling everywhere. I baked them, and they still came out golden with the cheese melted all the way through.
Save these crispy chicken chimichangas for the nights when you want a crunchy Tex-Mex dinner with a molten center.
The Tortilla Only Stays Crispy If the Filling Isn’t Wet
The biggest mistake with chimichangas is treating the filling like a saucy burrito. A little salsa goes a long way here, but too much liquid softens the tortilla from the inside before the outside has a chance to crisp. You want the chicken coated, not swimming. The rice and beans help absorb moisture and keep the filling substantial, which is why this version holds together better than an all-chicken roll.
Seam placement matters too. When the seam goes down into the oil first, it gets a head start sealing itself shut. If the tortilla opens, it’s usually because the roll was loose or the filling was piled too close to the edge. Keep the filling centered, tuck the sides in firmly, and roll it with enough tension that the package feels snug in your hands.
What Each Ingredient Is Doing in This Chimichanga
- Shredded chicken — Cooked chicken breast or thigh both work, but the meat should be shredded into small, even pieces so it packs tightly and eats cleanly. Rotisserie chicken is the easiest shortcut here and it holds flavor well.
- Mexican rice and black beans — These bulk up the filling and help catch the melted cheese. If you skip them, the chimichanga can feel flat and overstuffed with chicken alone, which makes rolling harder and the texture less balanced.
- Taco seasoning and salsa — This is the flavor backbone. Use a thick salsa rather than a watery one; if yours is thin, drain off a little liquid first so the filling doesn’t turn soggy.
- Monterey Jack cheese — This melts smoothly without getting oily or grainy. If you swap it, use another good melting cheese like cheddar-Jack or mild cheddar, and shred it yourself if you can, since pre-shredded cheese doesn’t melt quite as cleanly.
- Flour tortillas — Use the 12-inch burrito size. Smaller tortillas won’t hold this filling without tearing, and cold tortillas crack when you fold them, so warm them briefly in a dry skillet or microwave until pliable.
- Oil for frying — Neutral oil with a high smoke point gives you an even, crisp shell without competing flavor. If you bake instead, brush the tortillas generously with oil so they can brown instead of drying out.
Rolling, Frying, and Getting That Shatteringly Crisp Shell
Build the Filling First
Mix the chicken with taco seasoning and salsa until every piece is coated, then fold in the rice, beans, and cheese. The filling should look moist and cohesive, not runny. If the mixture looks wet enough to spoon into a bowl, it’s too loose for frying and needs a few minutes to sit so the rice and beans can absorb excess sauce.
Roll It Tight and Keep the Seams Under Control
Lay the tortilla flat and place the filling in the center, leaving a border around the edges. Fold the sides in first, then roll from the bottom up with firm pressure so the chimichanga feels compact. A toothpick through the seam helps if the tortilla is fighting you, but the real seal comes from the tight roll and the first seam-side-down contact with the oil.
Fry Until the Surface Turns Deep Gold
Heat the oil to 375°F before the chimichangas go in. If the oil is cooler, the tortillas soak it up and turn heavy; if it’s too hot, the outside browns before the inside heats through. Fry seam-side down first for 2 to 3 minutes, then turn carefully and fry the other side until the shell is evenly golden and blistered. Drain them on paper towels or a rack right away so the crust stays crisp.
Bake When You Want Less Mess
For a baked version, brush the chimichangas all over with oil and bake at 425°F until the surfaces are golden and the edges look firm, flipping halfway through. Baked chimichangas won’t shatter quite the way fried ones do, but they still crisp up well if the tortilla is well-oiled. If they look pale after baking, give them another minute or two rather than pulling them too early.
How to Adapt These for Different Nights and Different Kitchens
Baked Chimichangas for a Lighter Finish
Brush every side of the rolled tortillas with oil and bake on a sheet pan until deeply golden. You’ll lose a little of the dramatic crackle from frying, but you still get a crisp shell and a much easier cleanup.
Gluten-Free Swaps That Still Hold Together
Use certified gluten-free tortillas and check that your taco seasoning is gluten-free too. The texture won’t be identical to standard flour tortillas, so warm them gently and handle them carefully to keep them from tearing.
Make Them Spicier or Milder
Stir chopped jalapeños or a spoonful of chipotle in adobo into the chicken mixture for heat, or use mild salsa and a little extra cheese if you want a softer flavor. The base recipe handles both directions without changing the rolling or cooking method.
Storage and Reheating
- Refrigerator: Store leftovers in an airtight container for up to 3 days. The tortilla softens a bit, but the filling stays tasty.
- Freezer: Freeze fully cooled chimichangas wrapped individually in foil and then placed in a freezer bag for up to 2 months. Reheat from frozen for the best texture instead of thawing first.
- Reheating: Reheat in a 400°F oven or air fryer until the shell crisps back up and the center is hot. The common mistake is using the microwave, which turns the tortilla rubbery and leaves the filling unevenly heated.
Answers to the Questions Worth Asking
Chicken Chimichangas
Ingredients
Equipment
Method
- Mix shredded chicken with taco seasoning and salsa until well combined, so every shred looks evenly coated.
- Lay tortillas flat and pile Mexican rice, black beans, seasoned chicken, and Monterey Jack cheese in the center of each, keeping the filling centered and not overfilled.
- Fold sides in and roll tightly like a burrito to keep the filling from leaking, securing the roll with a toothpick.
- Heat about 2 inches of vegetable oil to 375°F in a deep skillet until the oil is hot enough to sizzle immediately around the tortilla edge.
- Fry chimichangas seam-side down for 2-3 minutes until golden, watching for crisp browning at the seam.
- Turn and fry another 2-3 minutes until all sides are crispy and deep golden, then drain on paper towels.
- Alternatively, brush chimichangas with oil and bake at 425°F for 20-22 minutes, flipping halfway, until golden.
- Remove toothpicks and serve immediately with sour cream, guacamole, and pico de gallo.