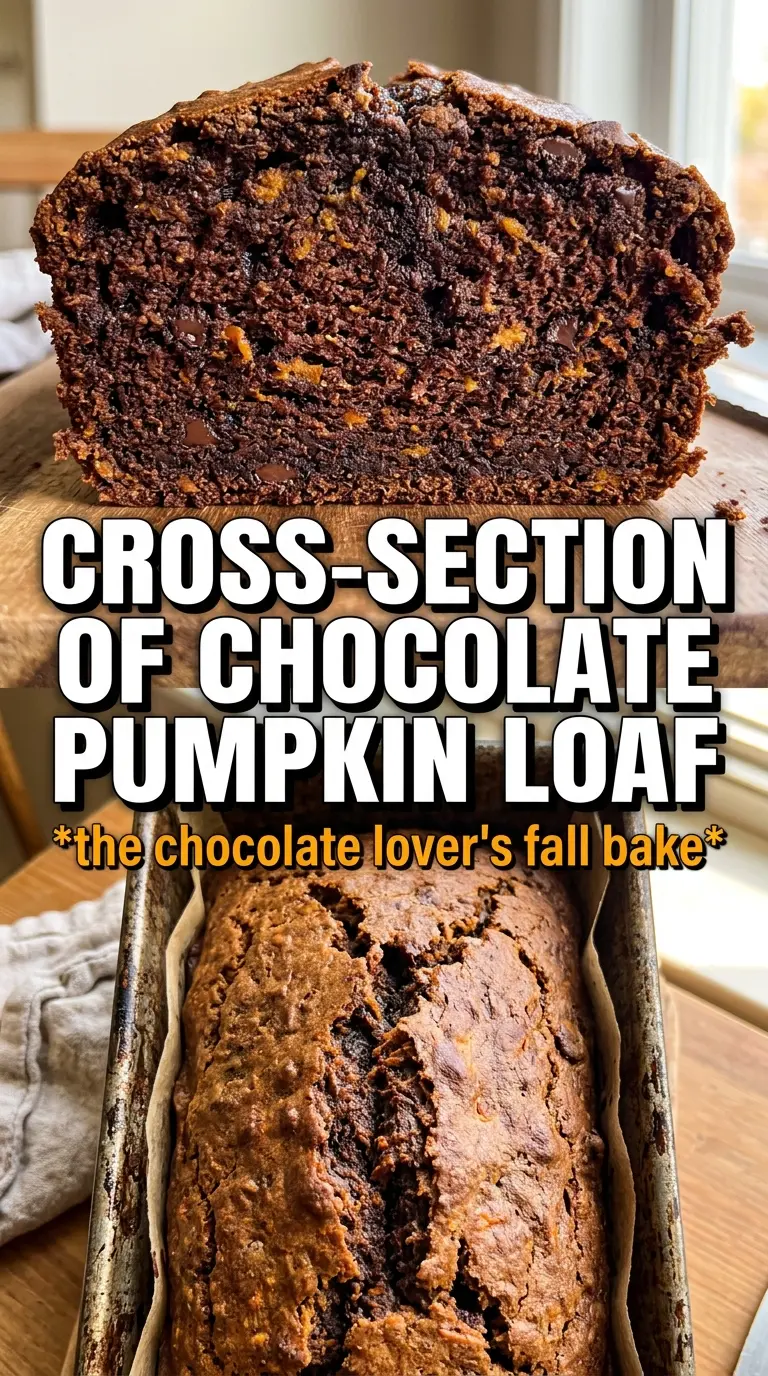
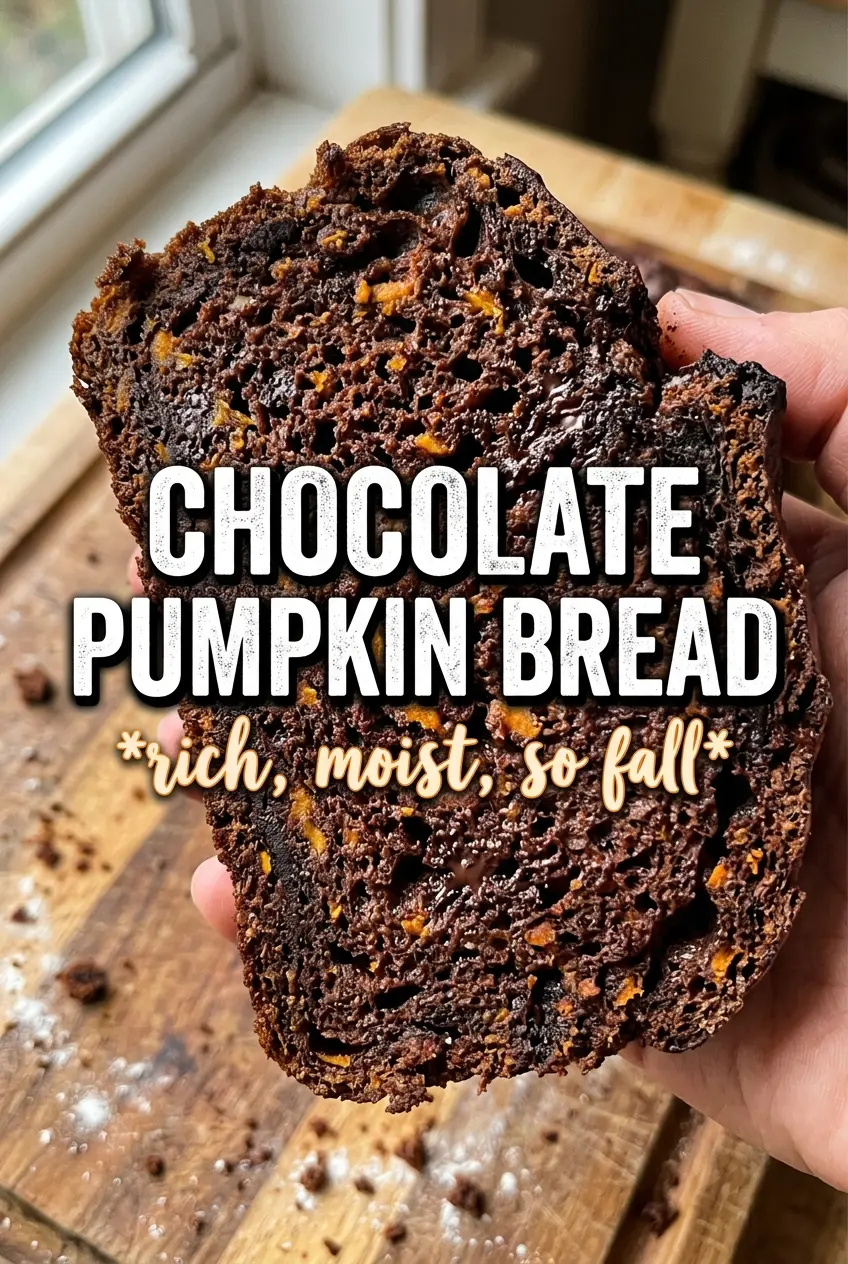
Chocolate pumpkin bread bakes up with a deep, moist crumb, a soft chocolate scent, and enough pumpkin to keep every slice tender for days. The chocolate doesn’t sit on top of the pumpkin here; it folds right into the loaf, which gives you a brownie-like richness without turning the bread heavy. Add the melted glaze and a handful of chips on top, and each slice looks bakery-worthy with almost no extra work.
What makes this version worth keeping around is the balance. Pumpkin puree brings moisture and structure, cocoa brings intensity, and the combination of baking soda and baking powder gives the loaf enough lift to stay light instead of dense. The batter comes together quickly, but the method matters: whisk the wet ingredients until smooth, then fold the dry ingredients in just until the flour disappears. Overmixing is the easiest way to make quick bread tough, and this batter should stay soft and spoonable.
Below, I’m walking through the small details that matter most — from how to keep the loaf from sinking in the center to the best way to drizzle the glaze so it sets without sliding off.
The loaf came out incredibly moist, and the chocolate chips stayed melty without sinking to the bottom. I loved that the glaze set enough to slice cleanly after about 20 minutes.
Save this chocolate pumpkin bread for the days when you want a tender cocoa loaf with melty chips and a glossy chocolate finish.
The Trick to Keeping Chocolate Pumpkin Bread from Baking Up Heavy
The biggest mistake with chocolate pumpkin bread is treating it like cake batter and beating it too much. Once the flour goes in, the batter needs only enough folding to disappear into the pumpkin mixture. That protects the loaf from turning tight and gummy in the middle.
The other failure point is the pan size. A 9×5 loaf pan gives this batter room to rise and bake through evenly. If you use a smaller pan, the center tends to lag behind the edges, which means the outside gets dry before the middle is set.
- Cocoa powder — Use natural cocoa powder here, not Dutch-process. This recipe relies on baking soda and pumpkin for lift, and natural cocoa gives the best balance with that leavening.
- Pumpkin puree — Use plain pumpkin puree, not pumpkin pie filling. Pie filling already contains sugar and spices, which throws off both the texture and the flavor.
- Chocolate chips — Dividing them matters. Some go into the batter so every slice has pockets of chocolate, and the rest go on top so the loaf looks finished straight out of the oven.
What Each Ingredient Is Doing in This Loaf
- All-purpose flour — This gives the loaf structure without making it stiff. Bread flour would make the crumb tougher, and cake flour would be too soft for a loaf this dense with pumpkin.
- Vegetable oil — Oil keeps the bread moist even after it cools. Butter will work, but the crumb won’t stay quite as tender on day two.
- Brown sugar — This adds a deeper molasses note that fits the cocoa and pumpkin. If you only use white sugar, the loaf tastes flatter and dries out a little faster.
- Eggs — Three eggs give the bread enough lift and help it set cleanly. They also keep the texture from collapsing under all that pumpkin puree.
- Chocolate glaze — The butter and cream make the melted chips smooth enough to drizzle instead of seize into a thick paste. If it looks too stiff, warm it for just a few seconds at a time until it flows.
Mixing the Batter, Baking the Loaf, and Finishing the Top
Building the Dry Base
Whisk the flour, cocoa, baking soda, baking powder, spices, and salt together until the color looks even all the way through. Cocoa tends to clump, and if you leave pockets behind, you’ll get bitter dry spots in the finished loaf. This is the easiest place to fix texture before the wet ingredients ever go in.
Making the Pumpkin Mixture Smooth
Whisk the pumpkin puree, both sugars, oil, eggs, and vanilla until the mixture looks glossy and thick, with no streaks of egg visible. The sugar should start dissolving into the pumpkin, which helps the batter bake up smooth instead of grainy. If it still looks separated, keep whisking for another 30 seconds before adding the dry ingredients.
Folding Without Toughening the Crumb
Add the dry ingredients to the pumpkin mixture and fold just until you stop seeing dry flour. The batter will look thick, and that’s exactly what you want. Fold in 1 cup of the chocolate chips, then stop; if you keep stirring after that, the loaf can turn dense and pull away from the pan oddly as it bakes.
Knowing When the Center Is Done
Scrape the batter into the prepared pan, scatter the remaining chips over the top, and bake until a toothpick comes out clean or with a few moist crumbs. The loaf should spring back lightly in the center when touched. If the top browns too fast before the middle sets, lay a loose piece of foil over it for the last 15 minutes.
Glazing at the Right Moment
Let the bread cool for 15 minutes before drizzling on the glaze. If it’s too hot, the glaze melts straight off; if it’s completely cold, it won’t settle into that glossy finish as neatly. Spoon it over the loaf in slow ribbons so some runs down the sides and some stays on top.
How to Tweak This Chocolate Pumpkin Bread Without Losing the Good Parts
Dairy-Free Version
The loaf itself is already dairy-free, so the only swap is the glaze. Use dairy-free butter and a splash of oat milk or coconut cream instead of cream. The glaze will still set nicely, though it may stay a touch softer than the original.
Less Sweet, More Bitter Chocolate
Cut the granulated sugar to 1/2 cup and use bittersweet chips instead of dark chocolate chips. The bread will taste a little more grown-up and the pumpkin spice will stand out more, but the crumb stays tender.
Gluten-Free Swap
Use a 1:1 gluten-free baking blend that includes xanthan gum. The loaf may bake a little faster around the edges, so start checking a few minutes early and pull it when the center tests done.
Make It into Muffins
Divide the batter among lined muffin cups and bake until the centers spring back and a tester comes out with a few moist crumbs. You’ll get faster baking and more of those chocolate-chip edges, but you lose the dramatic slice-and-drizzle look of the loaf.
Storage and Reheating
- Refrigerator: Store tightly covered for up to 5 days. The crumb actually gets a little fudgier on day two.
- Freezer: Freeze slices or the whole loaf, wrapped well, for up to 2 months. Skip the glaze if you’re freezing the loaf whole and add it after thawing.
- Reheating: Warm slices for 10 to 15 seconds in the microwave or a few minutes in a low oven. Too much heat dries out the edges before the center softens.
Answers to the Questions Worth Asking
Chocolate Pumpkin Bread
Ingredients
Equipment
Method
- Preheat oven to 350F and grease a 9x5 loaf pan.
- Whisk together all-purpose flour, cocoa powder, baking soda, baking powder, pumpkin pie spice, cinnamon, and salt.
- Whisk pumpkin puree, granulated sugar, brown sugar, packed, vegetable oil, eggs, and vanilla extract until smooth.
- Fold the flour mixture into the pumpkin mixture until just combined, then fold in 1 cup chocolate chips.
- Pour batter into the prepared pan and scatter the remaining chips on top.
- Bake at 350F for 60-65 minutes until a toothpick comes out clean.
- Cool for 15 minutes, then drizzle with the chocolate glaze.
- Melt chocolate chips, butter, and cream together until smooth, then drizzle over the loaf.