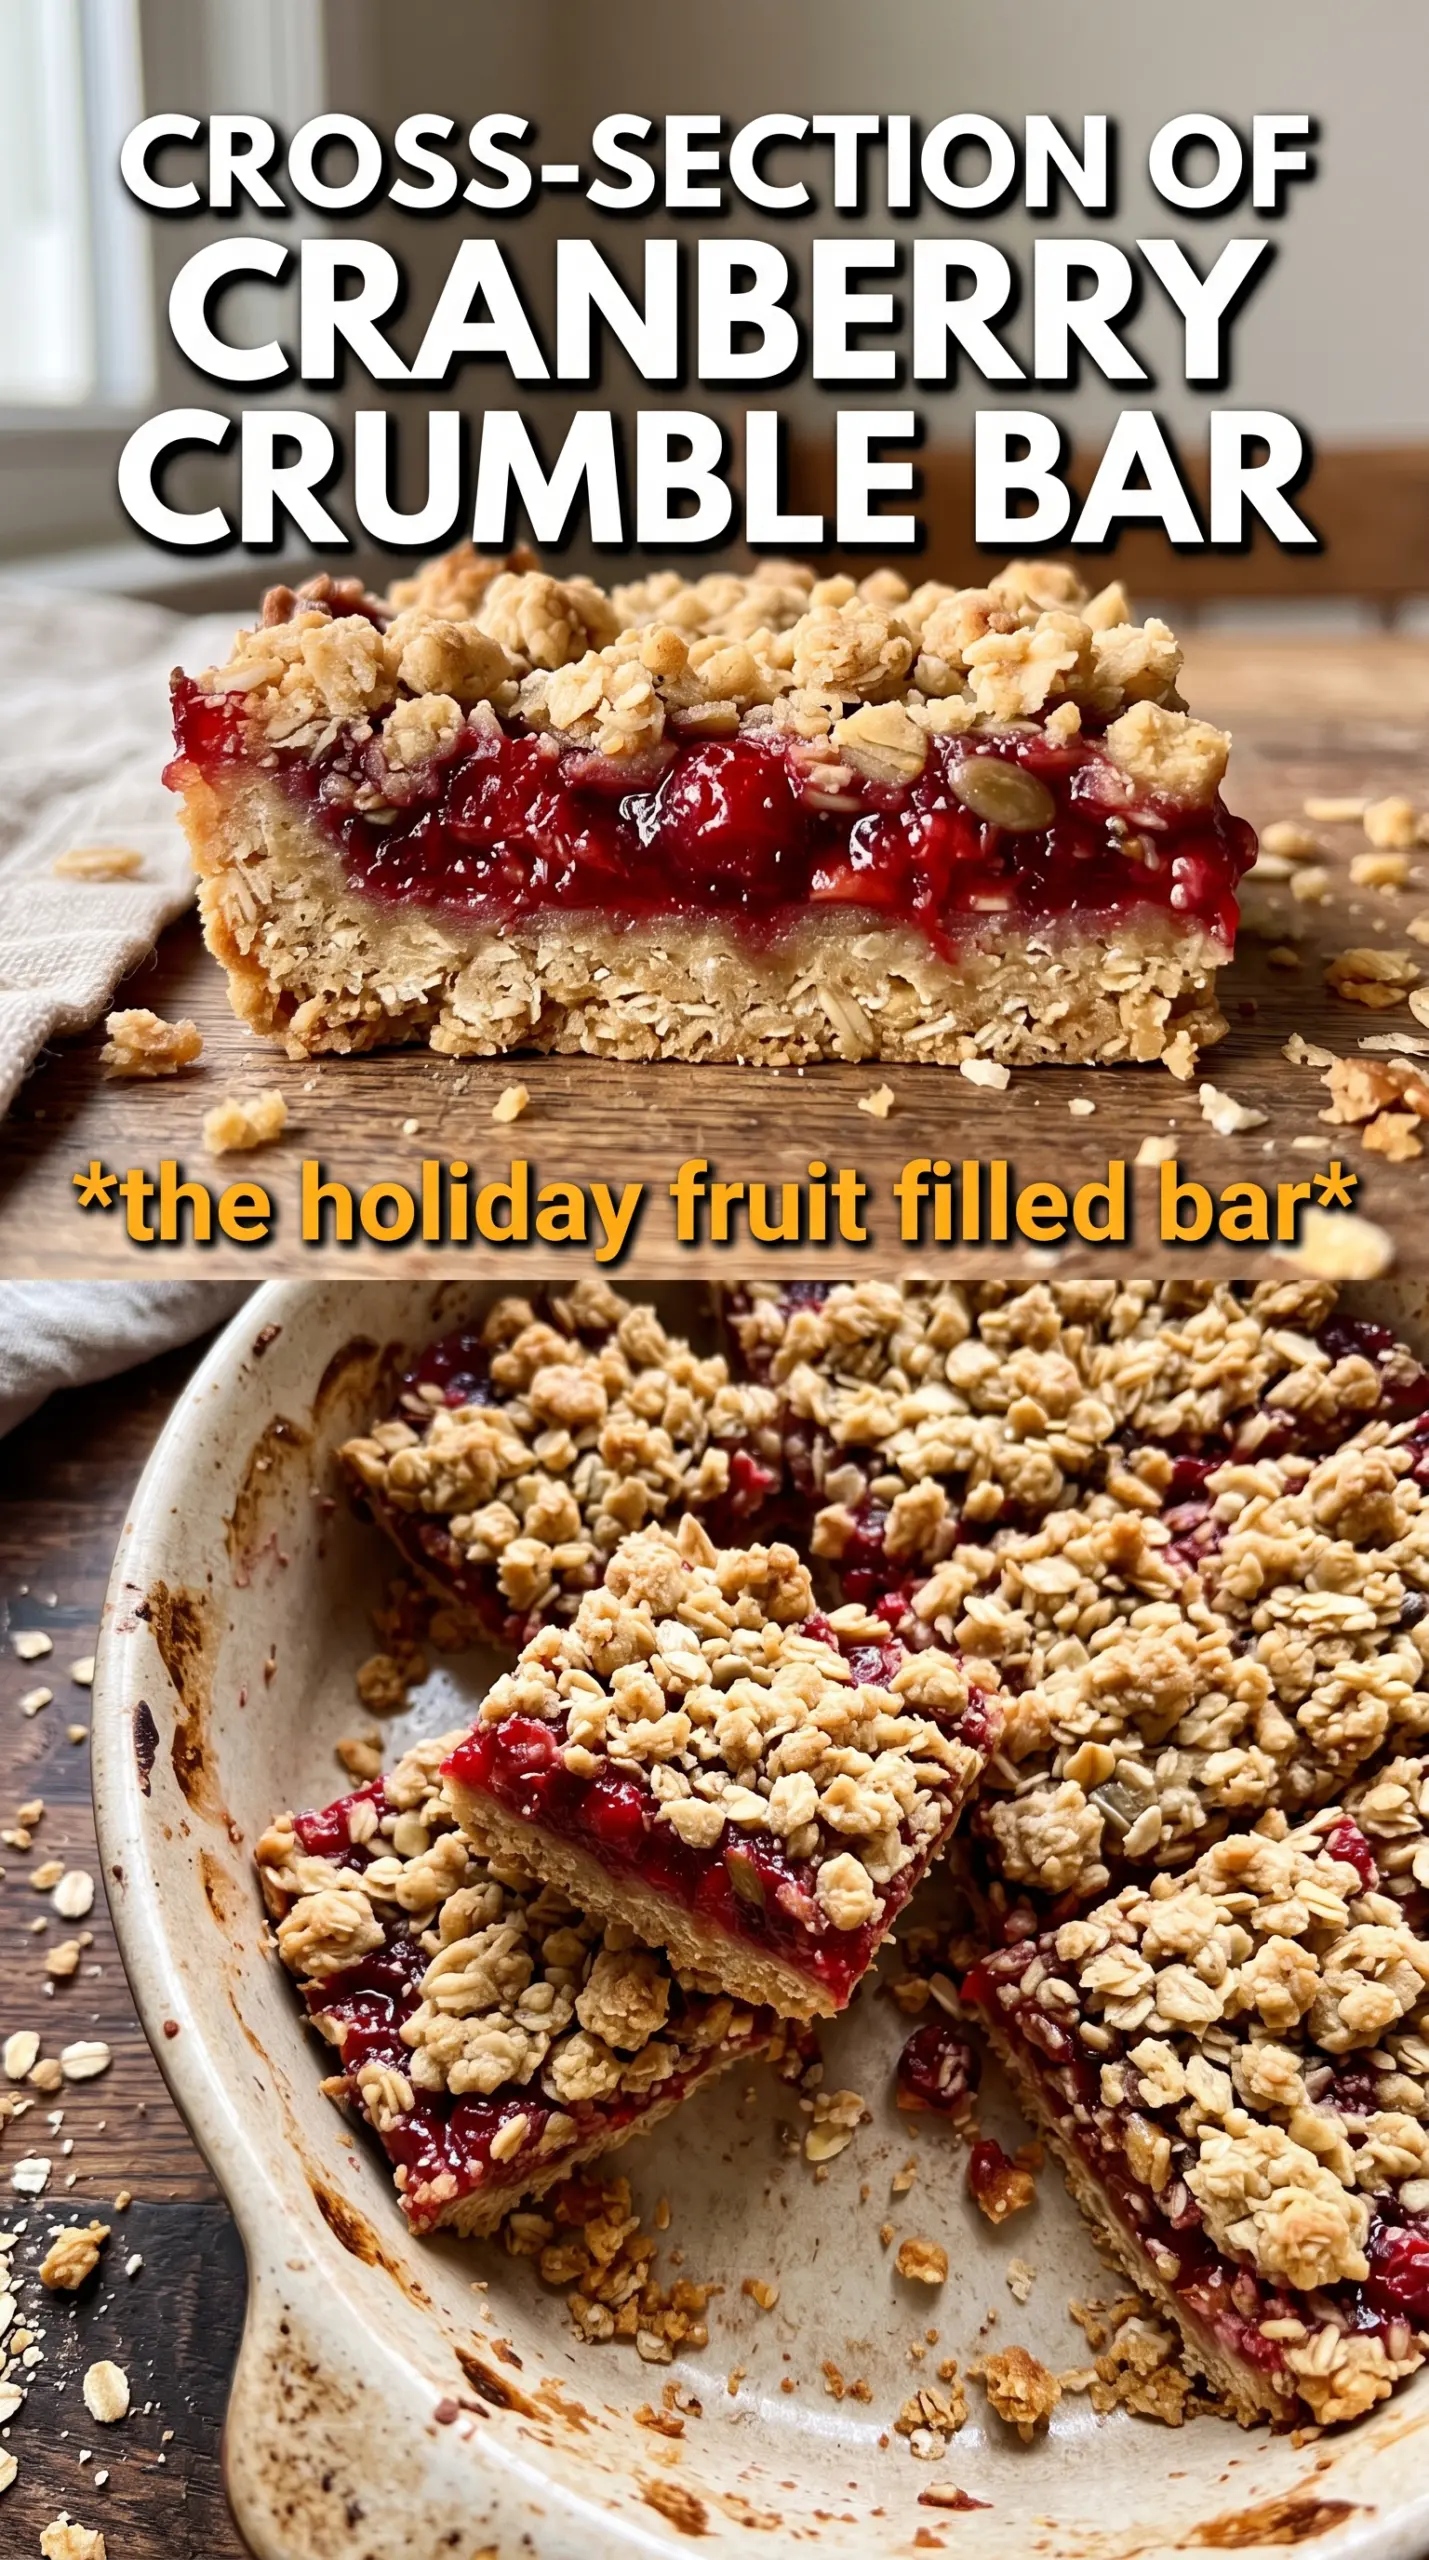
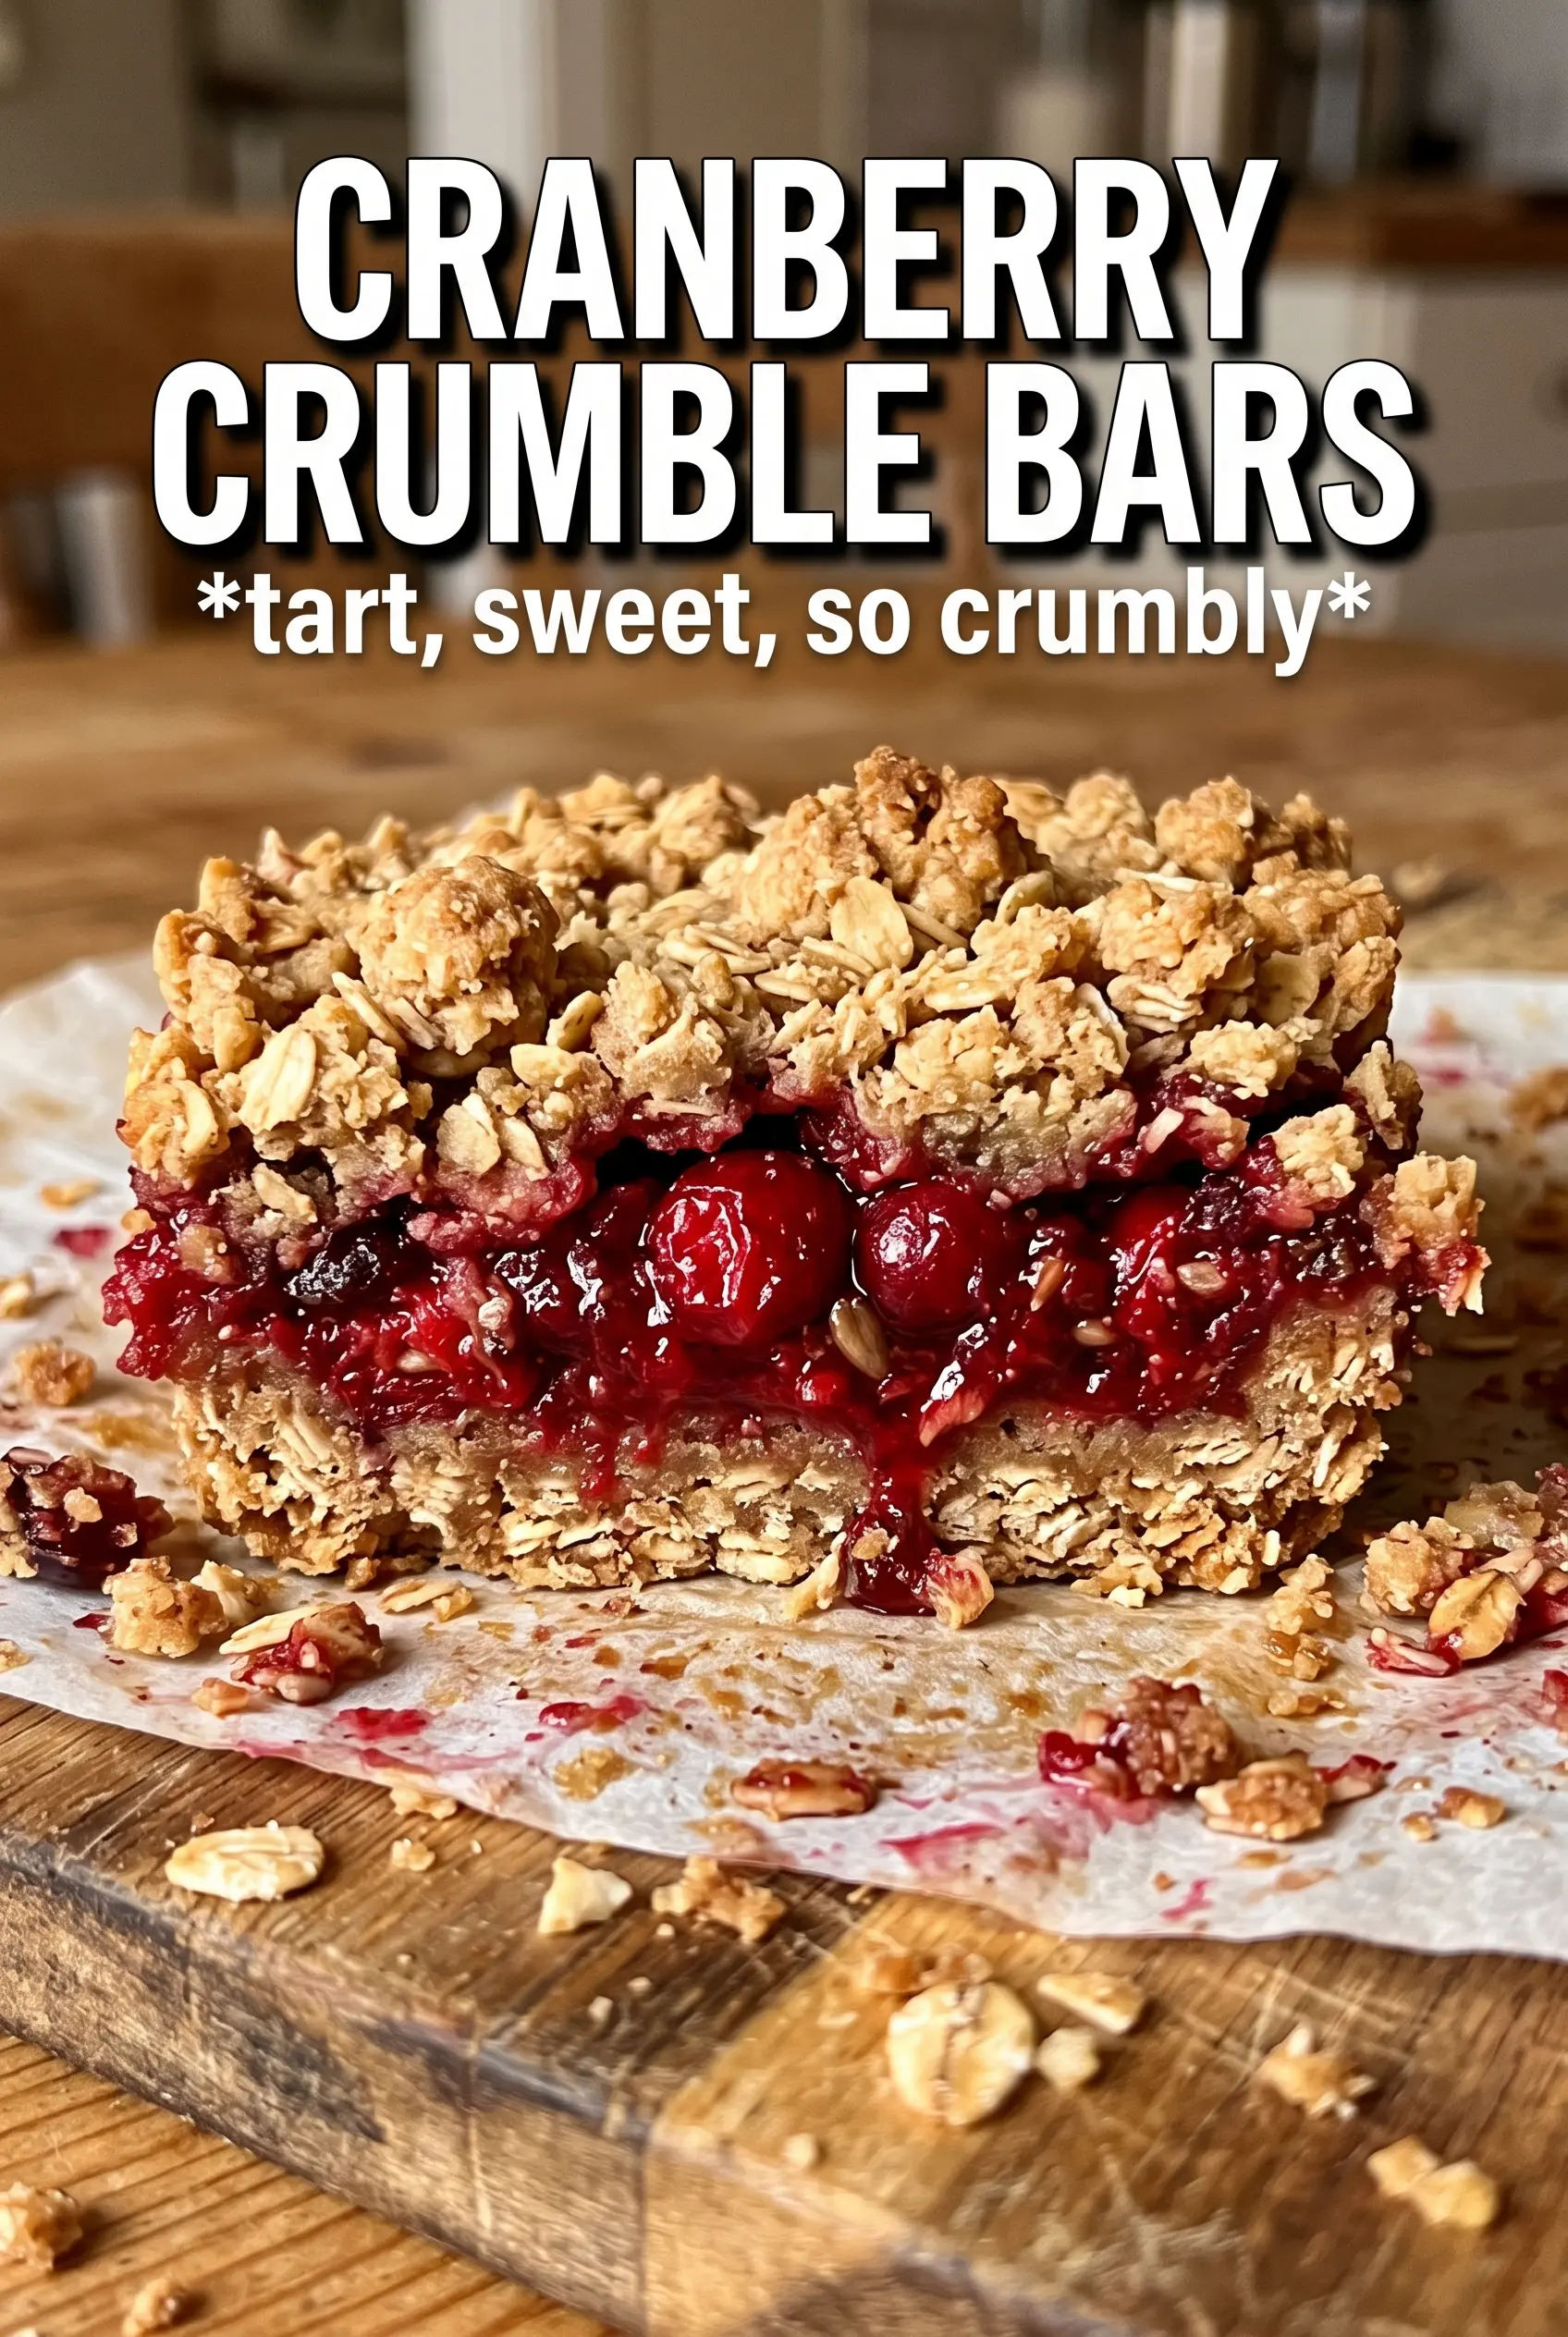
These cranberry crumble bars bake up with a buttery oat base, a bright ruby filling, and a golden top that stays tender instead of turning hard and dry. The contrast is what keeps me coming back to them: crisp at the edges, jammy in the middle, and just sturdy enough to slice cleanly once they cool. They look polished on a platter, but they still taste homemade in the best way.
The trick is in the balance. The crust and crumble use the same mixture, but part of it gets pressed firmly into the pan so it bakes into a sturdy foundation before the filling goes on. The cranberry layer cooks on the stove first, which matters because raw cranberries release a lot of moisture in the oven. Thickening it ahead of time keeps the bars from weeping or turning soggy under the topping.
Below you’ll find the small details that make these bars slice neatly, how to keep the crumble sandy instead of paste-like, and a few smart swaps if you need to work with what you’ve got on hand.
The cranberry layer set up beautifully and the bars cut into clean squares once they cooled. I loved that the orange zest kept the filling bright instead of overly tart.
Save these cranberry crumble bars for the days when you want a buttery oat crust, a thick cranberry-orange center, and a dessert that slices cleanly.
The Part That Keeps the Filling from Sinking Into the Crust
The biggest mistake with fruit bars is rushing the layers. If the base goes into the oven under-pressed, it crumbles when you cut the bars. If the filling is too loose, it slides into the crust and leaves you with a gummy middle instead of a clean, jammy layer. Prebaking the bottom layer for just 10 minutes gives it enough structure to hold the cranberry filling without turning dense.
The other thing that matters here is cooling. Cranberry filling thickens as it sits, and these bars need that set-up time before slicing. Cut them while they’re warm and the layers will smear. Wait until they’re completely cool and you get those neat bakery-style squares with the filling holding its shape.
- Pressing part of the crumble firmly into the pan — This is what gives the bars a base that slices instead of collapsing. Use the bottom of a measuring cup or your fingers to pack it down evenly.
- Cooking the filling before baking — Cranberries need heat to burst and release their pectin. Thickening them on the stove keeps the bars from going watery in the oven.
- Cooling completely — The bars finish setting as they cool. If you want clean edges, let them come all the way to room temperature before dusting and slicing.
What Each Ingredient Is Actually Doing in These Bars
- Rolled oats — They give the crumble its nubby texture and help it bake into something with more character than a plain flour crust. Quick oats can work in a pinch, but the bars won’t have the same hearty bite.
- All-purpose flour — This binds the oat mixture so it holds together once baked. You need it for structure; swapping in too much oat flour makes the crust sandy and fragile.
- Cold unsalted butter — Cold butter is what creates the crumbly texture. If it softens too much before baking, the topping can turn greasy and compact instead of tender and sandy.
- Cranberries — Fresh or frozen both work well here. Frozen cranberries don’t need to be thawed first, which is handy, but they may need the full cook time on the stove to thicken properly.
- Orange juice and zest — The juice loosens the filling just enough to cook evenly, while the zest brings the brightness that keeps the cranberries from tasting sharp or one-note. Don’t skip the zest if you want the filling to taste rounded.
- Cornstarch — This is the thickener that helps the filling set into bars instead of spoonable sauce. It needs a full simmer with the fruit so it can activate and thicken cleanly.
Building the Layers So the Bars Slice Cleanly
Mix the Crumble Until It Looks Like Wet Sand
Stir the oats, flour, brown sugar, cinnamon, and salt together first so the butter coats everything evenly. Cut in the cold butter until you have clumps ranging from pea-size to coarse crumbs; if the mixture turns into a paste, the bars will bake up heavy instead of crumbly. Stop when you can squeeze a handful and it barely holds together.
Give the Base Its Head Start
Press about two-thirds of the mixture into the lined pan in an even layer. Pack it firmly enough that it won’t lift when you spread the filling, then bake it until the surface looks set and a little matte. That short bake keeps the bottom from tasting raw under the fruit.
Cook the Cranberries Until They Go Jammy
Stir the cranberries, sugar, orange juice, zest, cornstarch, and cinnamon together over medium heat. The berries will pop, then the mixture will turn glossy and thick, almost like loose jam. Pull it off the heat once it coats the spoon; if it stays thin in the pan, it’ll stay thin in the bars.
Finish with a Loose, Golden Crumble
Spread the hot filling over the baked base, then scatter the remaining crumble over the top without packing it down. Bake until the top is golden at the edges and the cranberry layer is bubbling through in spots. Let the pan cool all the way before dusting with powdered sugar so the sugar stays pretty instead of dissolving into the surface.
How to Adapt These Bars Without Losing the Texture
Make Them Gluten-Free
Use a cup-for-cup gluten-free flour blend in place of the all-purpose flour, and check that your oats are certified gluten-free. The bars will still hold together, but the crumb may be a little more delicate, so let them cool fully before lifting them from the pan.
Swap in Frozen Cranberries
Frozen cranberries work just as well as fresh, and you don’t need to thaw them first. They may take a minute or two longer to break down on the stove, but that’s a good trade for keeping cranberry bars in your freezer for whenever you need them.
Reduce the Sweetness a Little
If your cranberries are especially tart, keep the filling as written. If you prefer a sharper, less-sweet bar, reduce the granulated sugar by 2 to 3 tablespoons. Don’t cut much more than that or the filling can taste thin instead of bright.
Storage and Reheating
- Refrigerator: Store in an airtight container for up to 5 days. The crumble softens a little in the fridge, but the bars stay sliceable and the flavor gets even better by day two.
- Freezer: These freeze well. Wrap the cut bars individually, then store them in a freezer-safe container for up to 2 months. Thaw in the refrigerator so the filling doesn’t turn watery on the counter.
- Reheating: These are best served at room temperature, not hot. If you want to warm one slightly, use just a few seconds in the microwave; too much heat will loosen the cranberry layer and melt the powdered sugar right off the top.
Answers to the Questions Worth Asking
Cranberry Crumble Bars
Ingredients
Equipment
Method
- Preheat the oven to 375F and line a 9x13 pan with parchment paper so the bars lift out cleanly.
- In a bowl, combine rolled oats, all-purpose flour, brown sugar, cinnamon, and salt.
- Add cold unsalted butter, then cut it into the dry ingredients until the mixture forms even, crumbly clumps with no large wet chunks.
- Press 2/3 of the oat mixture firmly into the prepared pan to form a tight base.
- Bake the base for 10 minutes until it looks slightly set and lightly fragrant.
- In a saucepan over medium heat, combine cranberries, granulated sugar, orange juice, orange zest, cornstarch, and cinnamon.
- Simmer for 8-10 minutes, stirring, until the mixture thickens into a glossy, spreadable filling.
- Spread the cranberry filling over the hot base to the edges in an even layer.
- Crumble the remaining oat mixture over the filling so it’s covered in a dense, even top layer.
- Bake for 25-28 minutes at 375F until the top is golden and the filling looks set at the edges.
- Cool the bars completely before slicing so the filling won’t run.
- Dust with powdered sugar and slice into 16 bars.