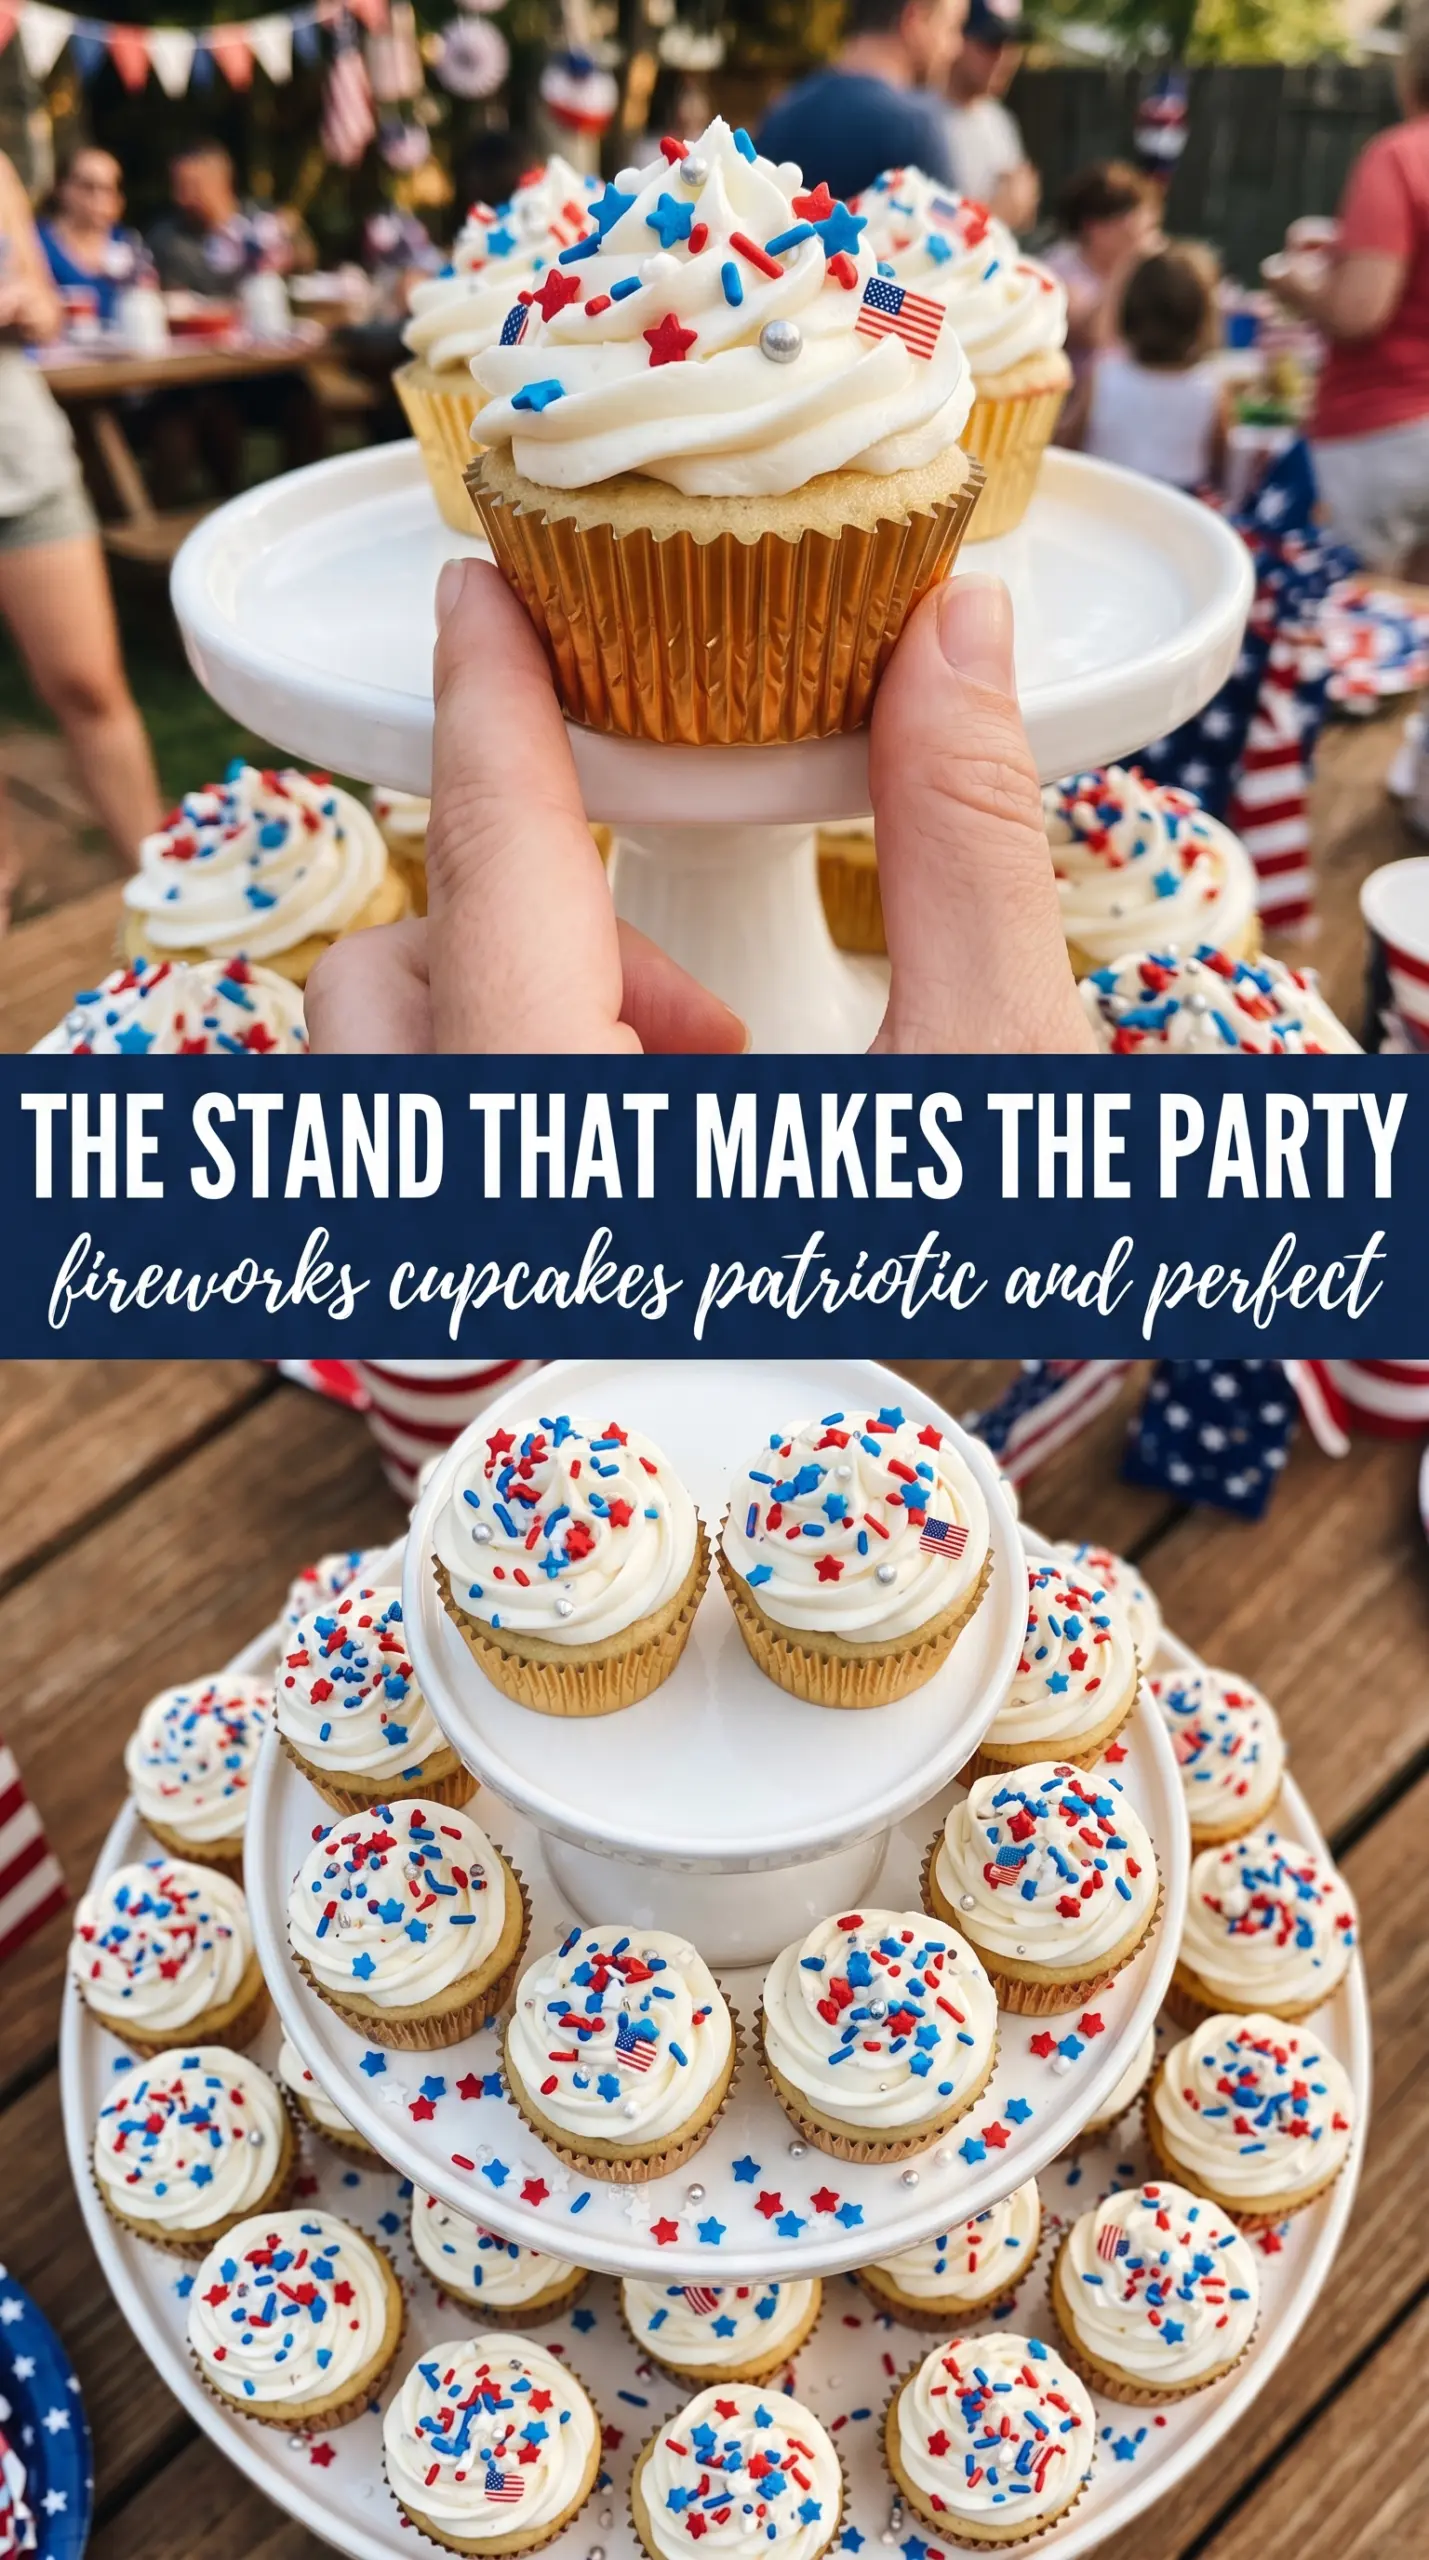
Tall swirls of vanilla buttercream make these Fireworks Cupcakes feel like the kind of dessert people line up for before they even grab dinner. The contrast is what makes them stand out: a soft, familiar cake base under a dramatic frosting peak that holds its shape, catches every sprinkle, and looks festive from across the table.
The trick is in the buttercream. Whipping the butter long enough before the sugar goes in gives you a lighter, smoother frosting that pipes into those high, tidy peaks instead of slumping after a few minutes. Gel food coloring keeps the red and blue vivid without thinning the frosting, and a star tip gives the swirl those sharp ridges that make the sprinkle coating look even better.
Below, I’ve included the easiest way to get a true tri-color swirl in one piping bag, plus the small detail that keeps the cupcakes from getting messy before the sparkler picks go in.
The frosting held those tall swirls perfectly, and the red, white, and blue colors stayed bright even after sitting out for the party. My kids kept asking for the one with the biggest sprinkle pile.
These Fireworks Cupcakes are made for tall buttercream swirls, bright sprinkles, and a party-ready finish that looks extra special with almost no decorating fuss.
The Part That Makes the Frosting Hold Its Firework Shape
The frosting on these cupcakes has to stand up straight. That means the butter needs enough whipping time to turn pale and airy before the powdered sugar goes in, and the finished buttercream has to be thick enough to hold a tall star tip swirl without sliding down the cake. If the butter is still dense, the frosting ends up heavy and the peak collapses after piping.
The other mistake is overloading the frosting with liquid. Heavy cream helps the buttercream move through the bag, but too much turns a sharp swirl into a soft mound. Stop adding cream as soon as the frosting is smooth and pipeable. It should feel plush, not loose.
- White or vanilla cake mix — The boxed mix keeps the base simple and reliable, which matters here because the decorating is the star. Bake it just until the centers spring back so the cupcakes stay tender and don’t dry out under the frosting.
- Unsalted butter — This is what gives the buttercream its structure and rich dairy flavor. Use softened butter, not melted butter, or the frosting won’t whip up with enough air to hold a tall peak.
- Powdered sugar — This sweetens and stabilizes the frosting at the same time. Sifting it helps, especially if your kitchen is humid or the sugar has clumps.
- Gel food coloring — Gel is the right choice because it gives strong red and blue color without thinning the buttercream. Liquid coloring can soften the frosting and make the swirl harder to pipe cleanly.
- Heavy cream — This loosens the frosting just enough to make it smooth and silky. Add it a tablespoon at a time; once the buttercream looks glossy and holds a clean ridge, stop there.
What Each Ingredient Is Actually Doing in This Recipe
- Primary ingredient (the star) — Quality matters most. Choose the best you can find.
- Cooking medium (oil, butter, or broth) — This carries flavors and prevents dryness.
- Seasonings (salt, pepper, spices, herbs) — Layer flavors so nothing overpowers. Build depth gradually.
- Aromatics (garlic, onion, herbs) — Cook with fat to bloom flavors. Become the foundation.
- Supporting ingredients — Complement the main ingredient without overpowering it.
- Sauce or liquid (if applicable) — Brings flavors together. Balance richness with acid.
- Acid (lemon, vinegar, wine, or other) — Brightens and prevents flat-tasting results.
- Final finish (garnish, glaze, or sauce) — Prevents one-dimensional taste and adds visual appeal.
Building the Swirl, One Color at a Time
Mixing the Buttercream Until It Fluffs Up
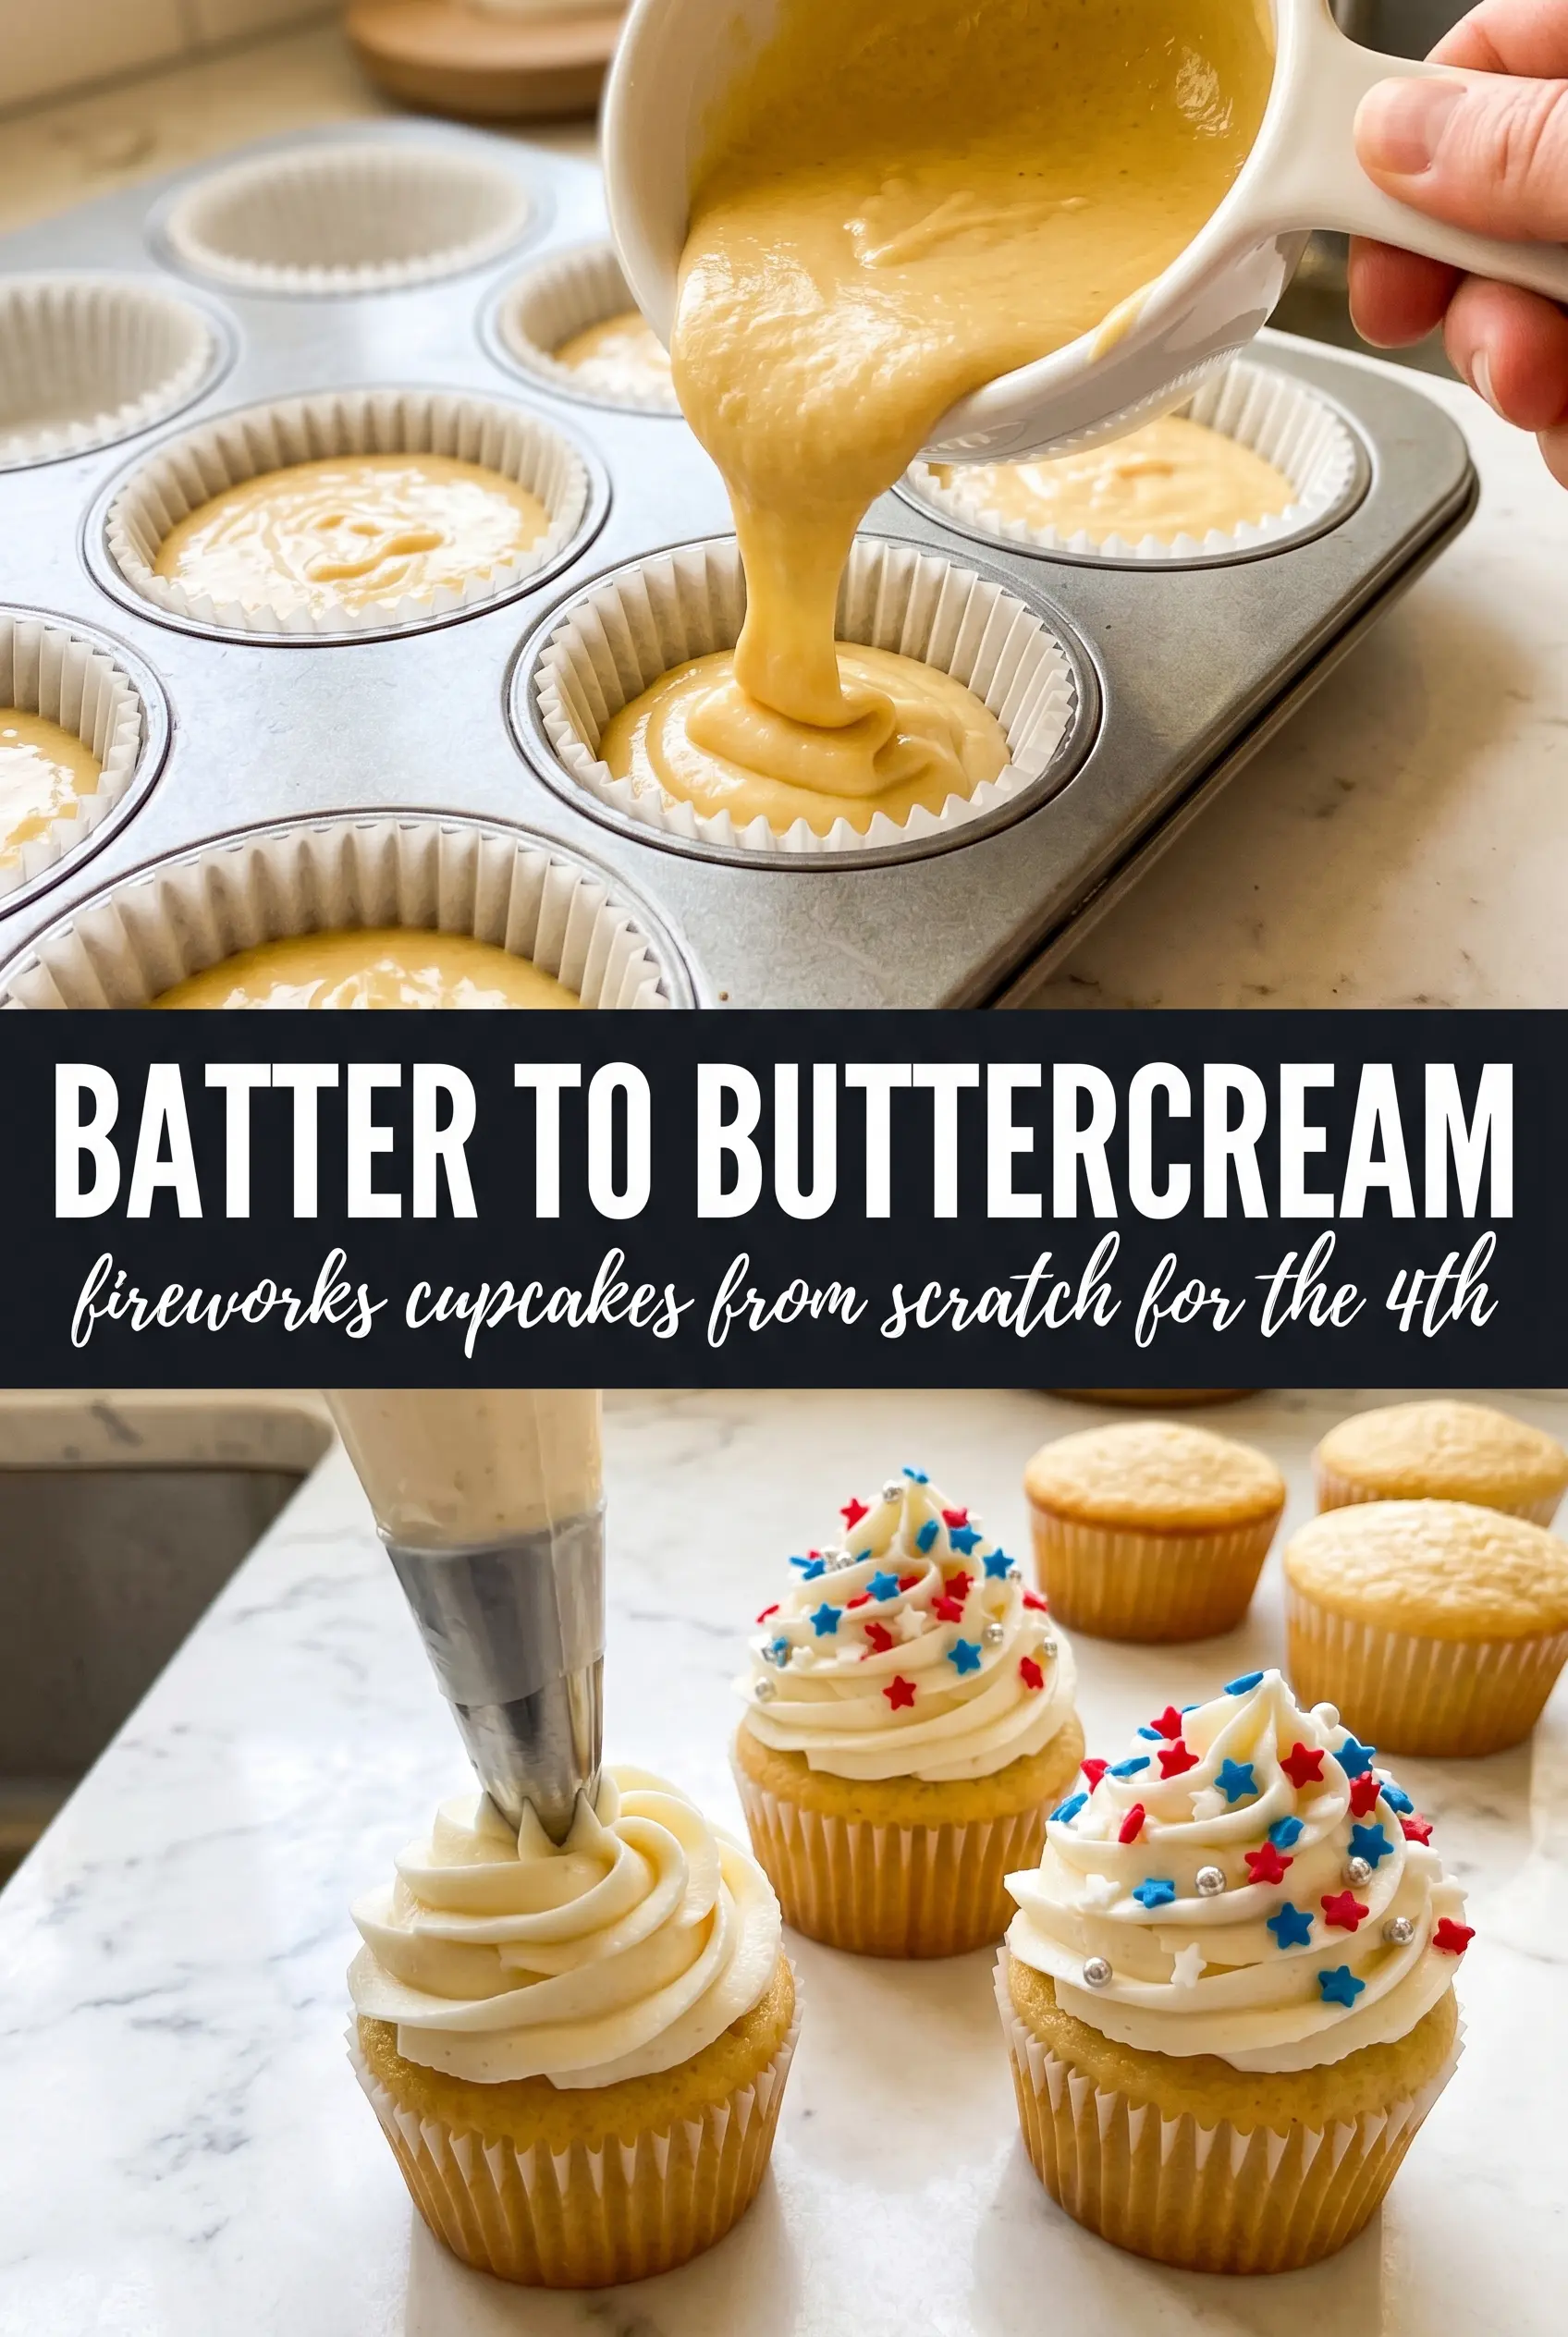
Start by beating the softened butter until it looks pale and a little fluffy before adding anything else. That step matters because air whipped into the butter is what gives the frosting lift. Once the powdered sugar goes in, the mixture may look stiff and crumbly for a minute before it comes together, so keep mixing and scrape the bowl. If it still seems too thick after everything is incorporated, add cream slowly, one tablespoon at a time.
Turning One Batch into Three Colors
Divide the finished buttercream into three portions, leaving one plain and tinting the others red and blue with gel coloring. Stir each portion thoroughly so the color is even all the way through; streaky frosting will muddy the swirl. The colors should look a touch deeper than you want on the cupcake because the white frosting in the bag softens the final effect. If the red starts to look pink, add a little more gel, not more frosting.
Piping the Tall Peak
Fit a piping bag with a large star tip and spoon the three colors in side by side so they run the length of the bag. Pipe straight down onto the center of each cooled cupcake, then circle once around the base and build upward into a tall peak. The most common problem here is warm cupcakes, which melt the frosting before the shape sets. Wait until they’re completely cool to the touch, then decorate.
Make them with a store-bought shortcut
Use boxed cupcakes and canned frosting if you need a faster route, but expect a softer swirl and less control over the height. To improve the look, beat the canned frosting for a minute or two to lighten it, then chill it briefly so it pipes cleaner.
Dairy-free version
Swap the butter for a plant-based butter that’s meant for baking and use a dairy-free milk or cream in place of heavy cream. The frosting will still hold a swirl, but it may be a little softer, so chill it for 10 minutes if it starts to slump in the bag.
Different color scheme
Keep the same piping method and swap the red and blue for any two gel colors you want. This works for birthdays, school colors, or holidays, and the tri-color effect still looks dramatic as long as one portion stays white.
Sparkler-free finish
If you don’t want sparkler picks, finish the cupcakes with extra star sprinkles or a small flag pick instead. The cupcake still reads as festive, and you avoid the timing pressure of lighting sparklers right before serving.
Storage and Reheating
- Refrigerator: Store decorated cupcakes in a covered container for up to 3 days. The frosting will firm up, but the cake stays soft if the container is sealed well.
- Freezer: Freeze the unfrosted cupcakes for up to 2 months. Wrap them individually, then thaw at room temperature before frosting so the buttercream doesn’t slide on condensation.
- Reheating: These don’t need reheating. If the cupcakes were frozen, let them thaw fully before decorating; frosting cold cupcakes traps moisture and makes the buttercream look grainy.
Answers to the Questions Worth Asking
Fireworks Cupcakes
Ingredients
Equipment
Method
- Bake cupcakes according to package directions in lined muffin tins, then let cool completely on a wire rack before frosting.
- Beat softened unsalted butter until fluffy, about 1-2 minutes, then gradually add powdered sugar while mixing.
- Add vanilla extract and heavy cream, then beat on high for 3 minutes until very light and fluffy.
- Divide buttercream into three portions, leaving one white and coloring one red and one blue with gel food coloring.
- Load a piping bag fitted with a large star tip with all three colors side by side for a tri-color swirl.
- Pipe a tall swirled peak of frosting onto each cooled cupcake using the star tip to create height.
- Shower each cupcake with red, white, and blue star sprinkles, then insert a sparkler pick into the center and serve.