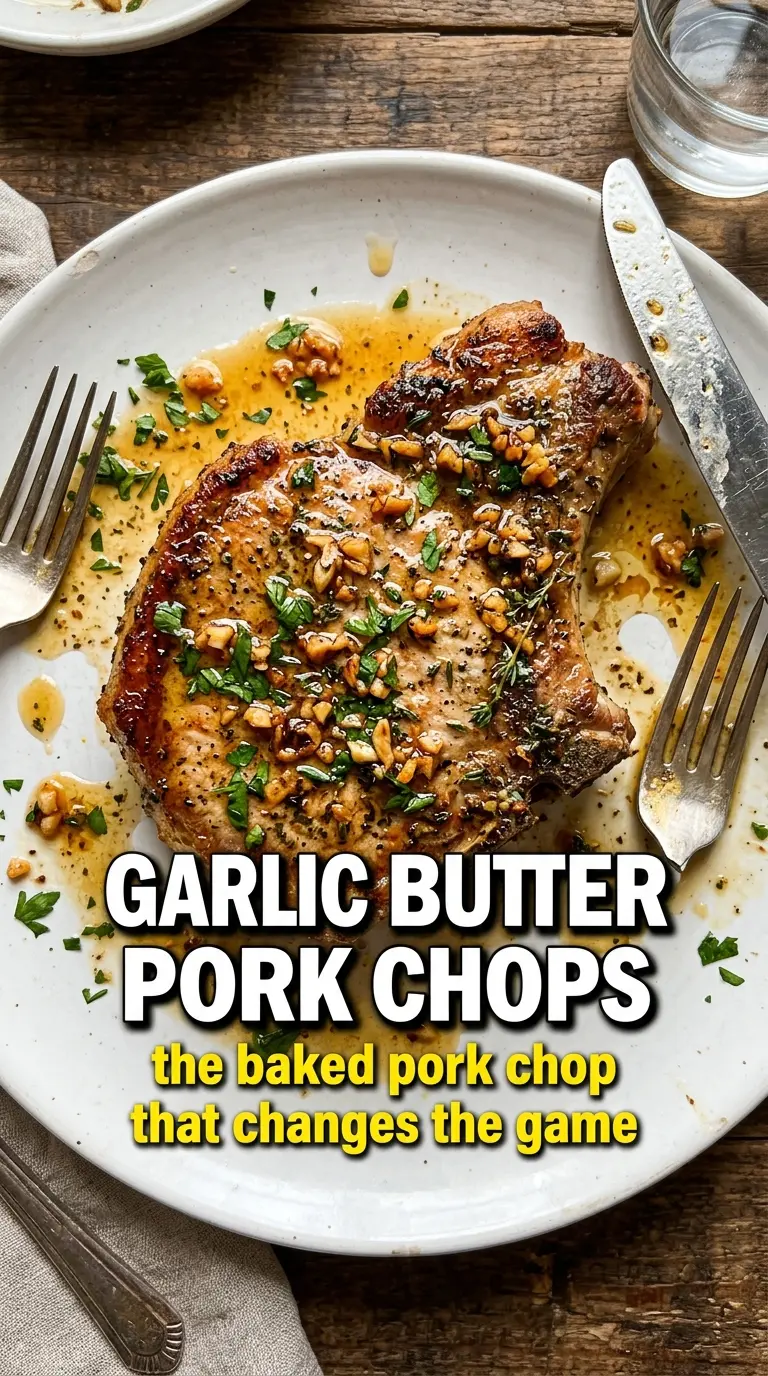
Pork chops baked in garlic butter come out with a glossy, savory crust and a tender center when the pan and timing are handled the right way. The butter pools around the meat, so every bite gets a little browned garlic, paprika warmth, and that clean pop of lemon at the end. It’s the kind of dinner that feels much bigger than the effort it takes, which is exactly why it earns repeat status.
The key is keeping the pork chops thick enough to stay juicy and baking just until they hit 145°F in the center. Bone-in chops hold onto heat better than thin boneless ones, and the garlic butter does its best work when it’s poured over seasoned meat before baking, not after. A quick baste halfway through helps the top stay glossy and keeps the pan juices moving around the chops instead of drying out in one corner.
Below, I’ve broken down the part that matters most: how to keep pork chops from drying out, what each ingredient is doing, and how to adapt the dish if you need a different cut or want to stretch it into another meal.
The garlic butter pooled around the chops and turned into the best pan sauce. I used a thermometer and pulled them right at 145, and they were juicy all the way through instead of dry at the edges.
Save these garlic butter baked pork chops for the nights when you want juicy pork and a browned butter pan sauce with almost no cleanup.
The Fastest Way to Dry Out Pork Chops, and How This Pan Fixes It
Pork chops get blamed for being dry, but the real problem is usually thin cutlets, too much heat, or cooking them until the center is gray and overdone. Thick bone-in chops give you a wider margin, and baking them in a butter bath keeps the surface from scorching before the middle catches up. The butter also carries the garlic and paprika across the meat in a way dry seasoning never will.
The other important detail is the thermometer. Once pork hits 145°F, pull it. If you wait for the center to look fully opaque in the oven, you’ll almost always go past the sweet spot by the time it rests. A brief rest after baking lets the juices settle back into the meat instead of spilling onto the cutting board.
What Each Ingredient Is Actually Doing in This Dish
Bone-in pork chops: These hold onto moisture better than thin boneless chops and tolerate the oven a little more gracefully. A 1-inch chop is the sweet spot here. Thinner chops can work, but you’ll need to start checking early because they can go from juicy to dry fast.
Unsalted butter: This is the base of the sauce and the carrier for everything else. Unsalted butter gives you control over the seasoning, and it browns a little at the edges in the oven, which adds depth. Salted butter works in a pinch, but cut back on the added salt until you taste the pan juices.
Garlic, parsley, lemon juice, and paprika: Garlic is the backbone, parsley keeps the butter from tasting flat, lemon brightens the richness, and paprika gives the pork a warmer color and a little savory edge. Fresh garlic matters here because it perfumes the butter as it bakes. Dried parsley won’t give the same lift, so use it only if that’s what you have.
Lemon slices for serving: They don’t just look nice on the plate. A squeeze over the hot pork wakes up the butter and keeps the whole dish from tasting heavy. If your lemon is extra sharp, use a little less juice in the butter mixture so the balance stays clean.
How to Keep the Pork Juicy From First Sear to Final Rest
Seasoning the Chops Evenly
Pat the pork chops dry before seasoning them so the salt can cling instead of sliding off on surface moisture. A dry surface also helps the butter mixture coat the meat instead of pooling and slipping into the pan immediately. Season both sides well, since the butter will mellow the salt once it melts in the oven.
Building the Garlic Butter
Mix the melted butter with garlic, parsley, lemon juice, and paprika until it looks evenly flecked and fragrant. Don’t let the butter get hot enough to cook the garlic before it goes into the oven; you want it raw and fresh so it can roast gently on the meat. If the garlic is clumped, it tends to sit in one spot and brown too hard instead of flavoring the whole surface.
Baking Until the Edges Turn Gold
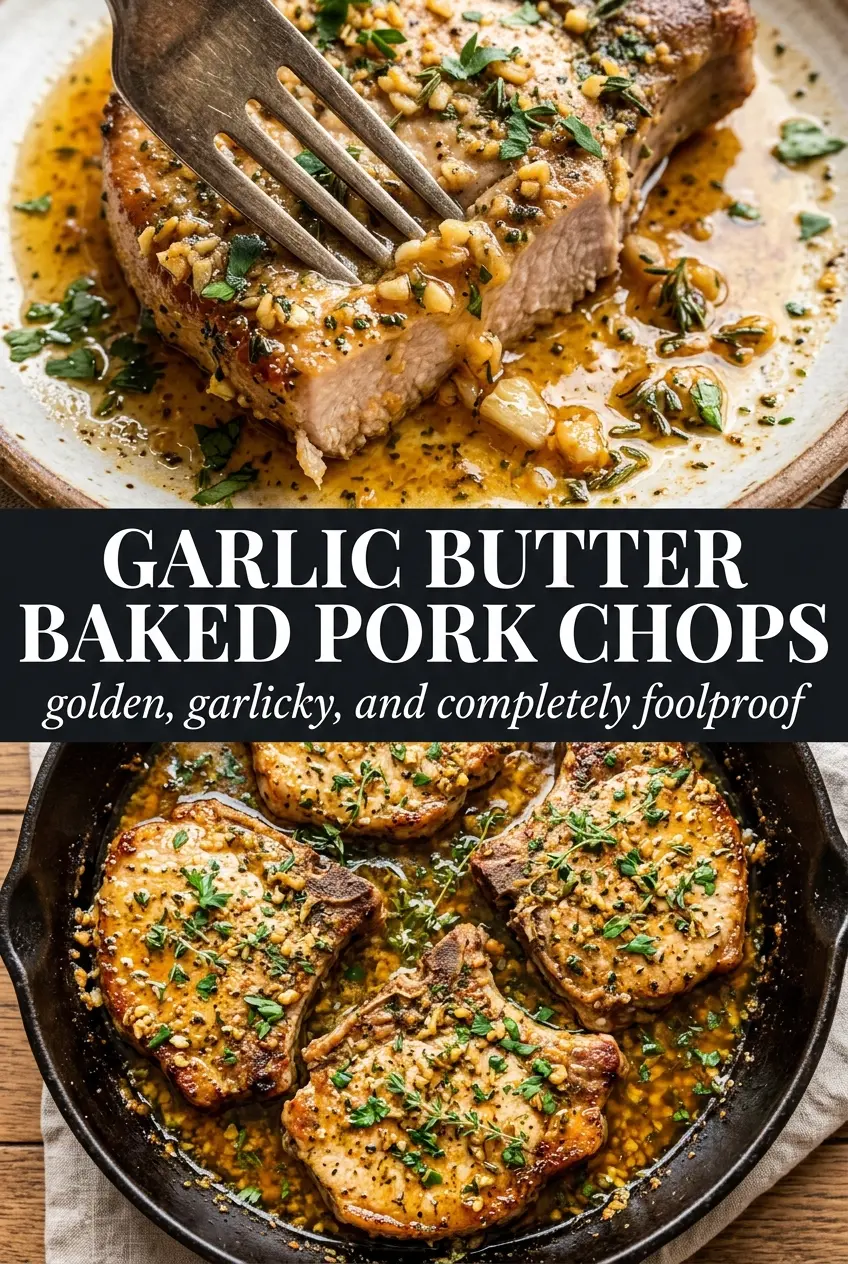
Pour the butter over the chops and spoon it across the tops so each one gets coated. Bake at 400°F until the edges are golden and the thickest part reaches 145°F. If the tops brown too quickly before the center is done, lay a loose piece of foil over the dish for the last few minutes. That keeps the butter from over-reducing while the pork finishes.
Basting for a Glossy Finish
Halfway through cooking, spoon the pan drippings back over the chops. This keeps the top from looking dry and helps the garlic butter stay glossy instead of separating into a greasy layer and a dark bottom. The drippings should look golden and smell nutty, not bitter; if the garlic bits are getting too dark, shorten the remaining bake time by a minute or two.
Three Ways to Make These Pork Chops Work for Your Kitchen
Use boneless chops if that’s what you bought
Boneless pork chops work, but they cook faster and dry out sooner, so start checking them several minutes early. You’ll lose a little of the protective buffer that the bone gives you, but the garlic butter still helps keep the meat tender. Choose thicker boneless chops if you can, since thin ones are much easier to overcook.
Make it dairy-free without losing the pan sauce idea
Use a plant-based butter with a neutral flavor and a fat content similar to real butter. The sauce won’t brown quite the same way, but it will still carry the garlic and paprika and leave you with a spoonable pan coating. Skip very salty vegan butters unless you’ve tasted them before, because some of them throw off the seasoning fast.
Add a little heat without changing the method
A pinch of red pepper flakes or a small dash of cayenne turns the butter into something sharper and warmer. Add it to the melted butter so the heat spreads evenly instead of landing in one bite. The pork still tastes like garlic butter pork chops, just with more bite at the back of the palate.
Stretch it into a second meal
Leftover pork chops slice cleanly once they’re chilled and work well over rice, mashed potatoes, or a simple green salad. Reheat gently so the meat doesn’t tighten up, then spoon any pan juices over the top. That last bit matters more than the chop itself because it brings the garlic butter flavor back to life.
Storage and Reheating
- Refrigerator: Store leftovers in an airtight container for up to 3 days. The butter will firm up, but the flavor stays good.
- Freezer: You can freeze cooked pork chops, but the texture softens a bit after thawing. Wrap tightly and freeze for up to 2 months for the best quality.
- Reheating: Reheat covered in a 300°F oven with a spoonful of the pan juices or a splash of water until just warmed through. High heat dries pork out fast, so skip the microwave if you want to keep the chops juicy.
Answers to the Questions Worth Asking
Garlic Butter Baked Pork Chops
Ingredients
Equipment
Method
- Preheat the oven to 400°F and grease a baking dish to prevent sticking.
- Mix melted butter with minced garlic, chopped parsley, lemon juice, and paprika.
- Season the pork chops with salt and black pepper on both sides, then place them in the baking dish.
- Pour the garlic butter mixture over each pork chop, ensuring both sides get coated and some pools around them.
- Bake for 18–22 minutes at 400°F until the internal temperature reaches 145°F and the tops look golden.
- Baste once during cooking with pan drippings so the surface stays glossy, then serve with lemon slices.