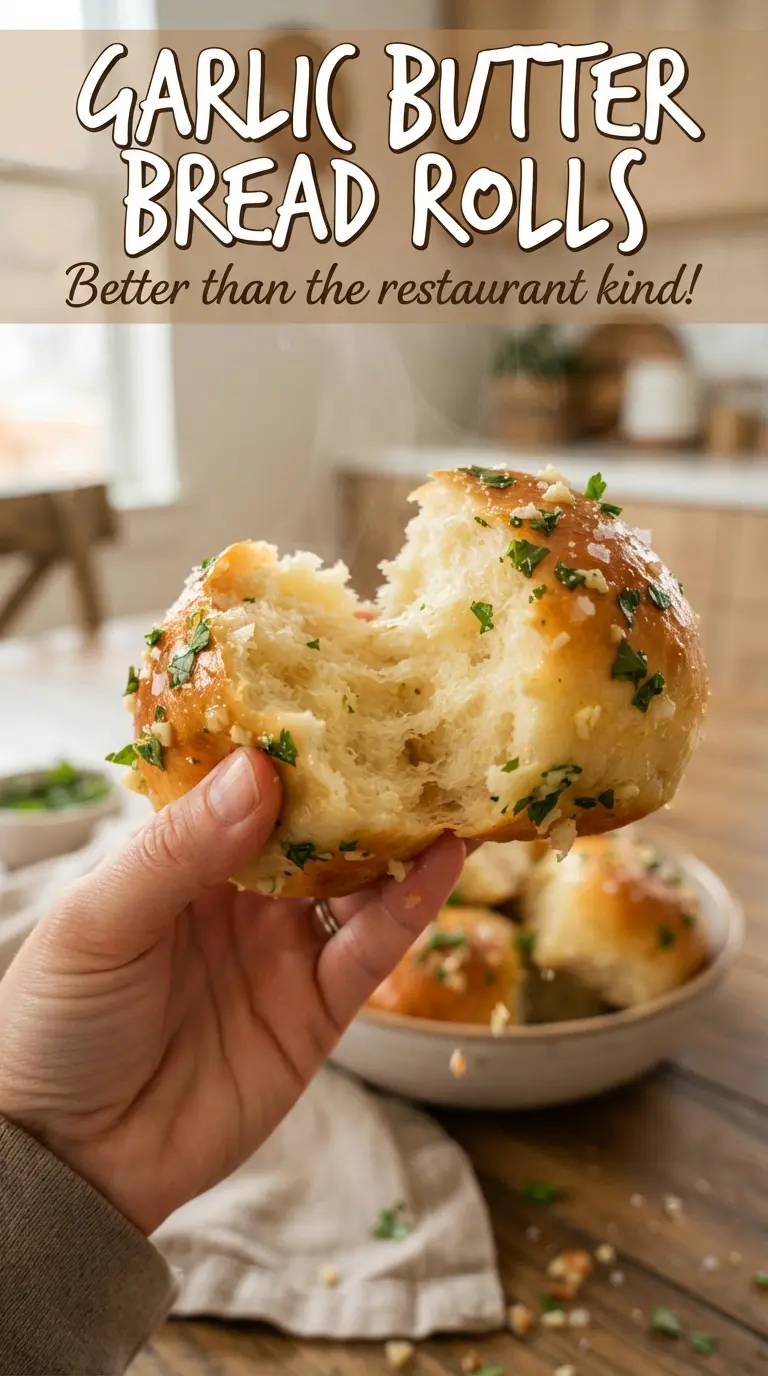
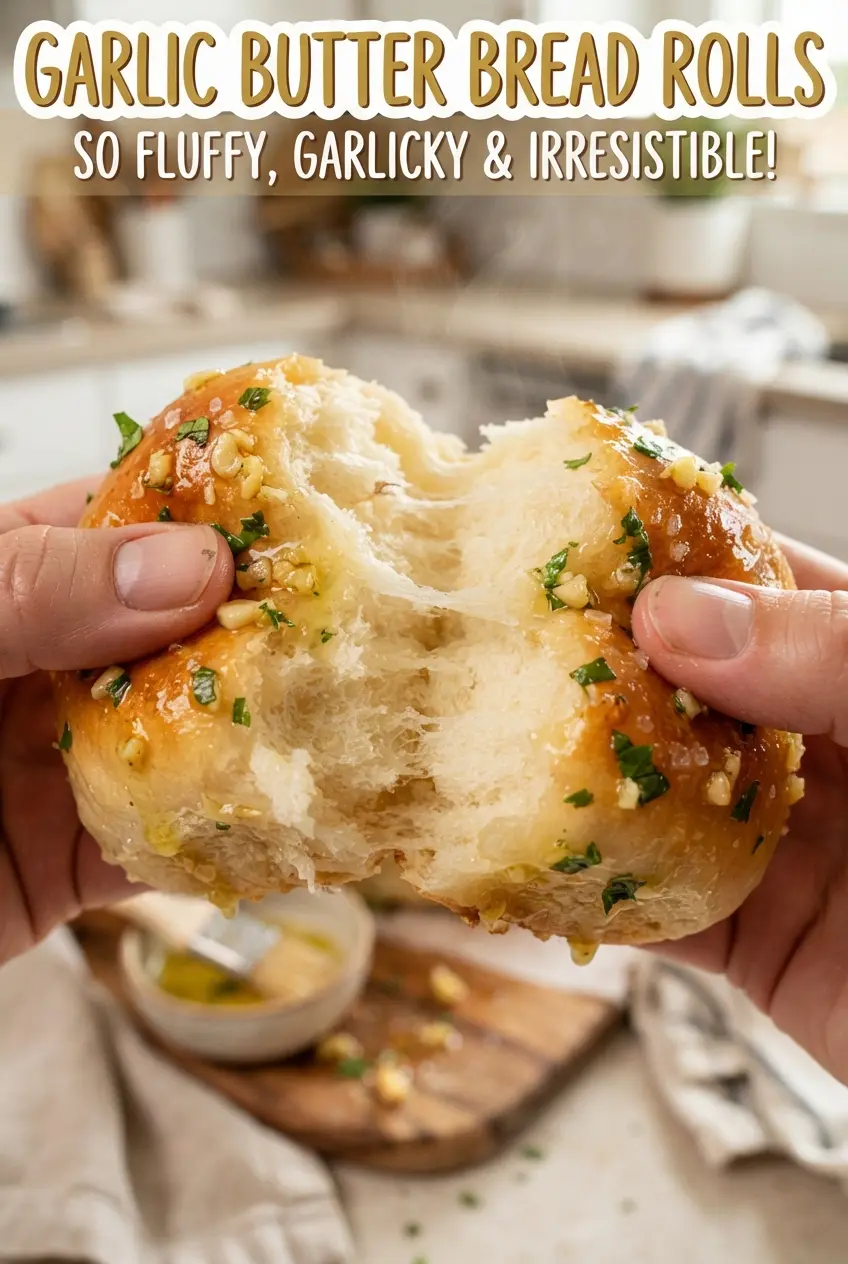
Garlic butter bread rolls come out soft, pull-apart, and glossy with a finish of warm butter, garlic, and parsley that sinks into every crack between the rolls. The tops bake up golden, but the inside stays fluffy and tender, which is exactly what you want when a side dish needs to disappear fast at the table.
The dough here is built for a light, enriched crumb. Warm milk feeds the yeast, the egg and butter keep the texture soft, and the first rise gives the rolls enough strength to puff without turning dense. Baking them close together in a 9×13 pan helps them rise upward instead of outward, so each roll stays tall and tender.
Below, I’ve included the one step that keeps the rolls airy instead of heavy, plus the garlic butter finish that turns a basic pan of dinner rolls into something people tear into before they’ve even reached their plates.
The rolls baked up super fluffy, and the garlic butter soaked into the tops without making them soggy. I loved that the bottoms stayed soft but still held together for pulling apart.
Save these garlic butter bread rolls for the nights when you want a soft, pull-apart side with a golden top and a garlicky butter finish.
The Dough Needs Warmth, Not Heat
The biggest reason bread rolls turn out heavy is yeast that never gets going, or dough that overheats while kneading. The milk should be warm to the touch, around 110F, not hot enough to sting your finger. If it’s too hot, it can damage the yeast before the dough even starts. If it’s too cool, the rise takes forever and the rolls bake up tighter than they should.
This dough is enriched with butter and egg, which means it won’t feel as springy as a lean bread dough right away. That’s normal. After 6 to 8 minutes of kneading, it should smooth out and feel elastic, with just a little tackiness left. If it’s clinging hard to your hands, add flour sparingly; too much flour dries out the rolls and makes them crumbly instead of fluffy.
What Each Ingredient Is Doing in These Rolls
- Warm milk — Gives the yeast a friendly starting temperature and adds tenderness to the crumb. Whole milk works best, but any milk with some fat will still give you soft rolls.
- Instant yeast — Saves time and goes straight into the dough without proofing in a separate bowl. If you only have active dry yeast, use the same amount and expect the first rise to take a little longer.
- Butter — Goes into the dough for softness, then onto the finished rolls for shine and flavor. Use real butter here; margarine won’t give the same rich finish.
- Flour — All-purpose flour gives you a tender roll with enough structure to hold the pull-apart shape. Bread flour can be used if you want a chewier bite, but the rolls won’t feel quite as soft.
- Garlic and parsley — Stirred into the melted topping, they cling to the hot rolls and perfume the whole pan. Fresh garlic matters here because it gives a sharper, brighter finish than garlic powder.
Shaping and Baking the Rolls So They Rise Up, Not Out
Mixing the Dough
Stir the warm milk, yeast, and sugar first and wait for it to turn foamy. That foam tells you the yeast is active; if nothing happens after five minutes, the yeast is likely dead and the rolls won’t rise well. Once you add the egg, butter, salt, and flour, knead until the dough looks smooth and springs back slowly when pressed. A rough, shaggy dough at this stage needs more kneading, not more flour.
Letting the Dough Double
Cover the bowl and let the dough rise in a warm spot until it doubles in size, about an hour. The dough should look puffy and feel airy when you poke it. If your kitchen is cool, give it more time rather than forcing it with high heat, which can dry the outside and slow the center. This rise builds the light texture that makes these rolls tear apart instead of compressing into one heavy bun.
Forming the Pan of Rolls
Divide the dough into 12 even pieces and roll each one into a tight ball. Place them snugly in a greased 9×13-inch pan so they have support as they rise. During the second rise, they should puff up and start to touch. That close spacing is what gives you soft sides and a pull-apart finish instead of separate crusty rolls.
Baking and Finishing with Garlic Butter
Bake at 375F until the tops are deeply golden, about 18 to 20 minutes. If they’re pale, they’ll taste underbaked and doughy in the middle; if they get too dark, the crumb can dry out fast. Stir the melted butter with garlic and parsley while the rolls are still hot, then brush it over the tops so it soaks in. Finish with flaky salt right away so it sticks to the glossy butter instead of sliding off.
How to Change the Finish Without Losing the Soft, Pull-Apart Texture
Dairy-Free Garlic Butter Rolls
Use an unsweetened dairy-free milk and a plant-based butter that melts cleanly. The rolls will still rise and bake up soft, though the flavor will be a little less rich. Brush the tops while they’re hot so the garlic topping still sinks in instead of sitting on the surface.
Cheesy Garlic Rolls
Add a little shredded mozzarella or parmesan between the rolls or over the top during the last few minutes of baking. Parmesan gives a salty edge and a drier finish, while mozzarella adds stretch and a softer top. Don’t overload the pan, or the cheese can weigh down the rise.
Herb Swap for a Different Side Dish Mood
Swap some or all of the parsley for chopped chives, rosemary, or thyme. Chives keep the finish mild and fresh, while rosemary pushes the rolls toward a more savory, dinner-party feel. Use rosemary sparingly and chop it fine, since bigger pieces can taste woody on a soft roll.
Make-Ahead and Reheating
- Refrigerator: Store cooled rolls in an airtight container for up to 3 days. They’ll soften a little from the butter topping, but they’ll still reheat well.
- Freezer: Freeze baked rolls tightly wrapped for up to 2 months. Thaw at room temperature before reheating so the centers warm through without drying out.
- Reheating: Warm in a 300F oven, covered loosely with foil, until the rolls are hot. The most common mistake is blasting them in the microwave too long, which makes the crumb rubbery and tough.
Answers to the Questions Worth Asking
Garlic Butter Bread Rolls
Ingredients
Equipment
Method
- Whisk warm milk, instant yeast, and sugar, then let sit 5 minutes until foamy.
- (Visual cue) Look for bubbles/foam on the surface before continuing.
- Add egg, melted butter, salt, and all-purpose flour, then knead 6-8 minutes until smooth and elastic.
- (Visual cue) The dough should feel stretchy and hold together without being sticky.
- Cover the dough and let rise 1 hour until doubled in size.
- (Visual cue) The dough should look puffy and nearly doubled.
- Divide the dough into 12 balls and place them in a greased 9x13-inch pan, cover, and rise 30 minutes until puffy.
- (Visual cue) Balls should touch slightly and look light and aerated.
- Preheat the oven to 375F, then bake 18-20 minutes until golden brown.
- (Visual cue) The tops should be deeply golden with a set, springy surface.
- Stir melted butter with minced garlic and chopped parsley, then brush generously over the hot rolls.
- (Visual cue) The rolls will glisten as the butter soaks in.
- Sprinkle flaky sea salt over the top and serve warm.
- (Visual cue) Finish with a light, even snowfall of salt before pulling them apart.