Thick pork chops are at their best when the outside is deeply browned, the fat cap turns crisp, and the center stays juicy enough to cut with almost no effort. This version delivers that restaurant-style contrast by starting with a hard sear, then finishing with a fast butter baste that coats every surface in thyme, garlic, and rosemary. The result is a chop that tastes polished, not fussy.
The key is treating the fat cap like part of the main event instead of an afterthought. Rendering it first gives you that shatteringly crisp edge that makes the whole chop feel better seasoned and more complete. A heavy skillet matters here too, because thin pans lose heat fast and leave you with pale, steamed pork instead of a proper crust.
Below, I’ll show you exactly how to keep the chops from drying out, when to add the butter so it doesn’t burn, and why a short oven finish helps thick chops cook through without sacrificing the sear.
The fat cap crisped up beautifully and the butter baste gave the chops a proper steakhouse finish. I cooked them to 145 and they stayed juicy after the rest.
Save these crispy, thyme-butter basted pork chops for the night you want a steakhouse-style dinner without the steakhouse bill.
The Seared Fat Cap Is What Separates Great Pork Chops From Dry Ones
Most pork chops go wrong before they ever hit the oven. The pan isn’t hot enough, the chops are wet, or the fat cap gets ignored, which means you end up with gray edges and a soft strip of fat that never really cooks down. Starting vertically on the fat cap changes the whole dish. It gives you rendered flavor before the flat sides even touch the skillet.
That first vertical sear also helps the chop stand up to the high heat that comes next. Once the fat has started to render, the flat sides brown faster and more evenly. If the chop looks like it’s sticking, leave it alone for another 20–30 seconds. Properly seared meat releases when the crust is set.
What Each Ingredient Is Actually Doing in This Dish
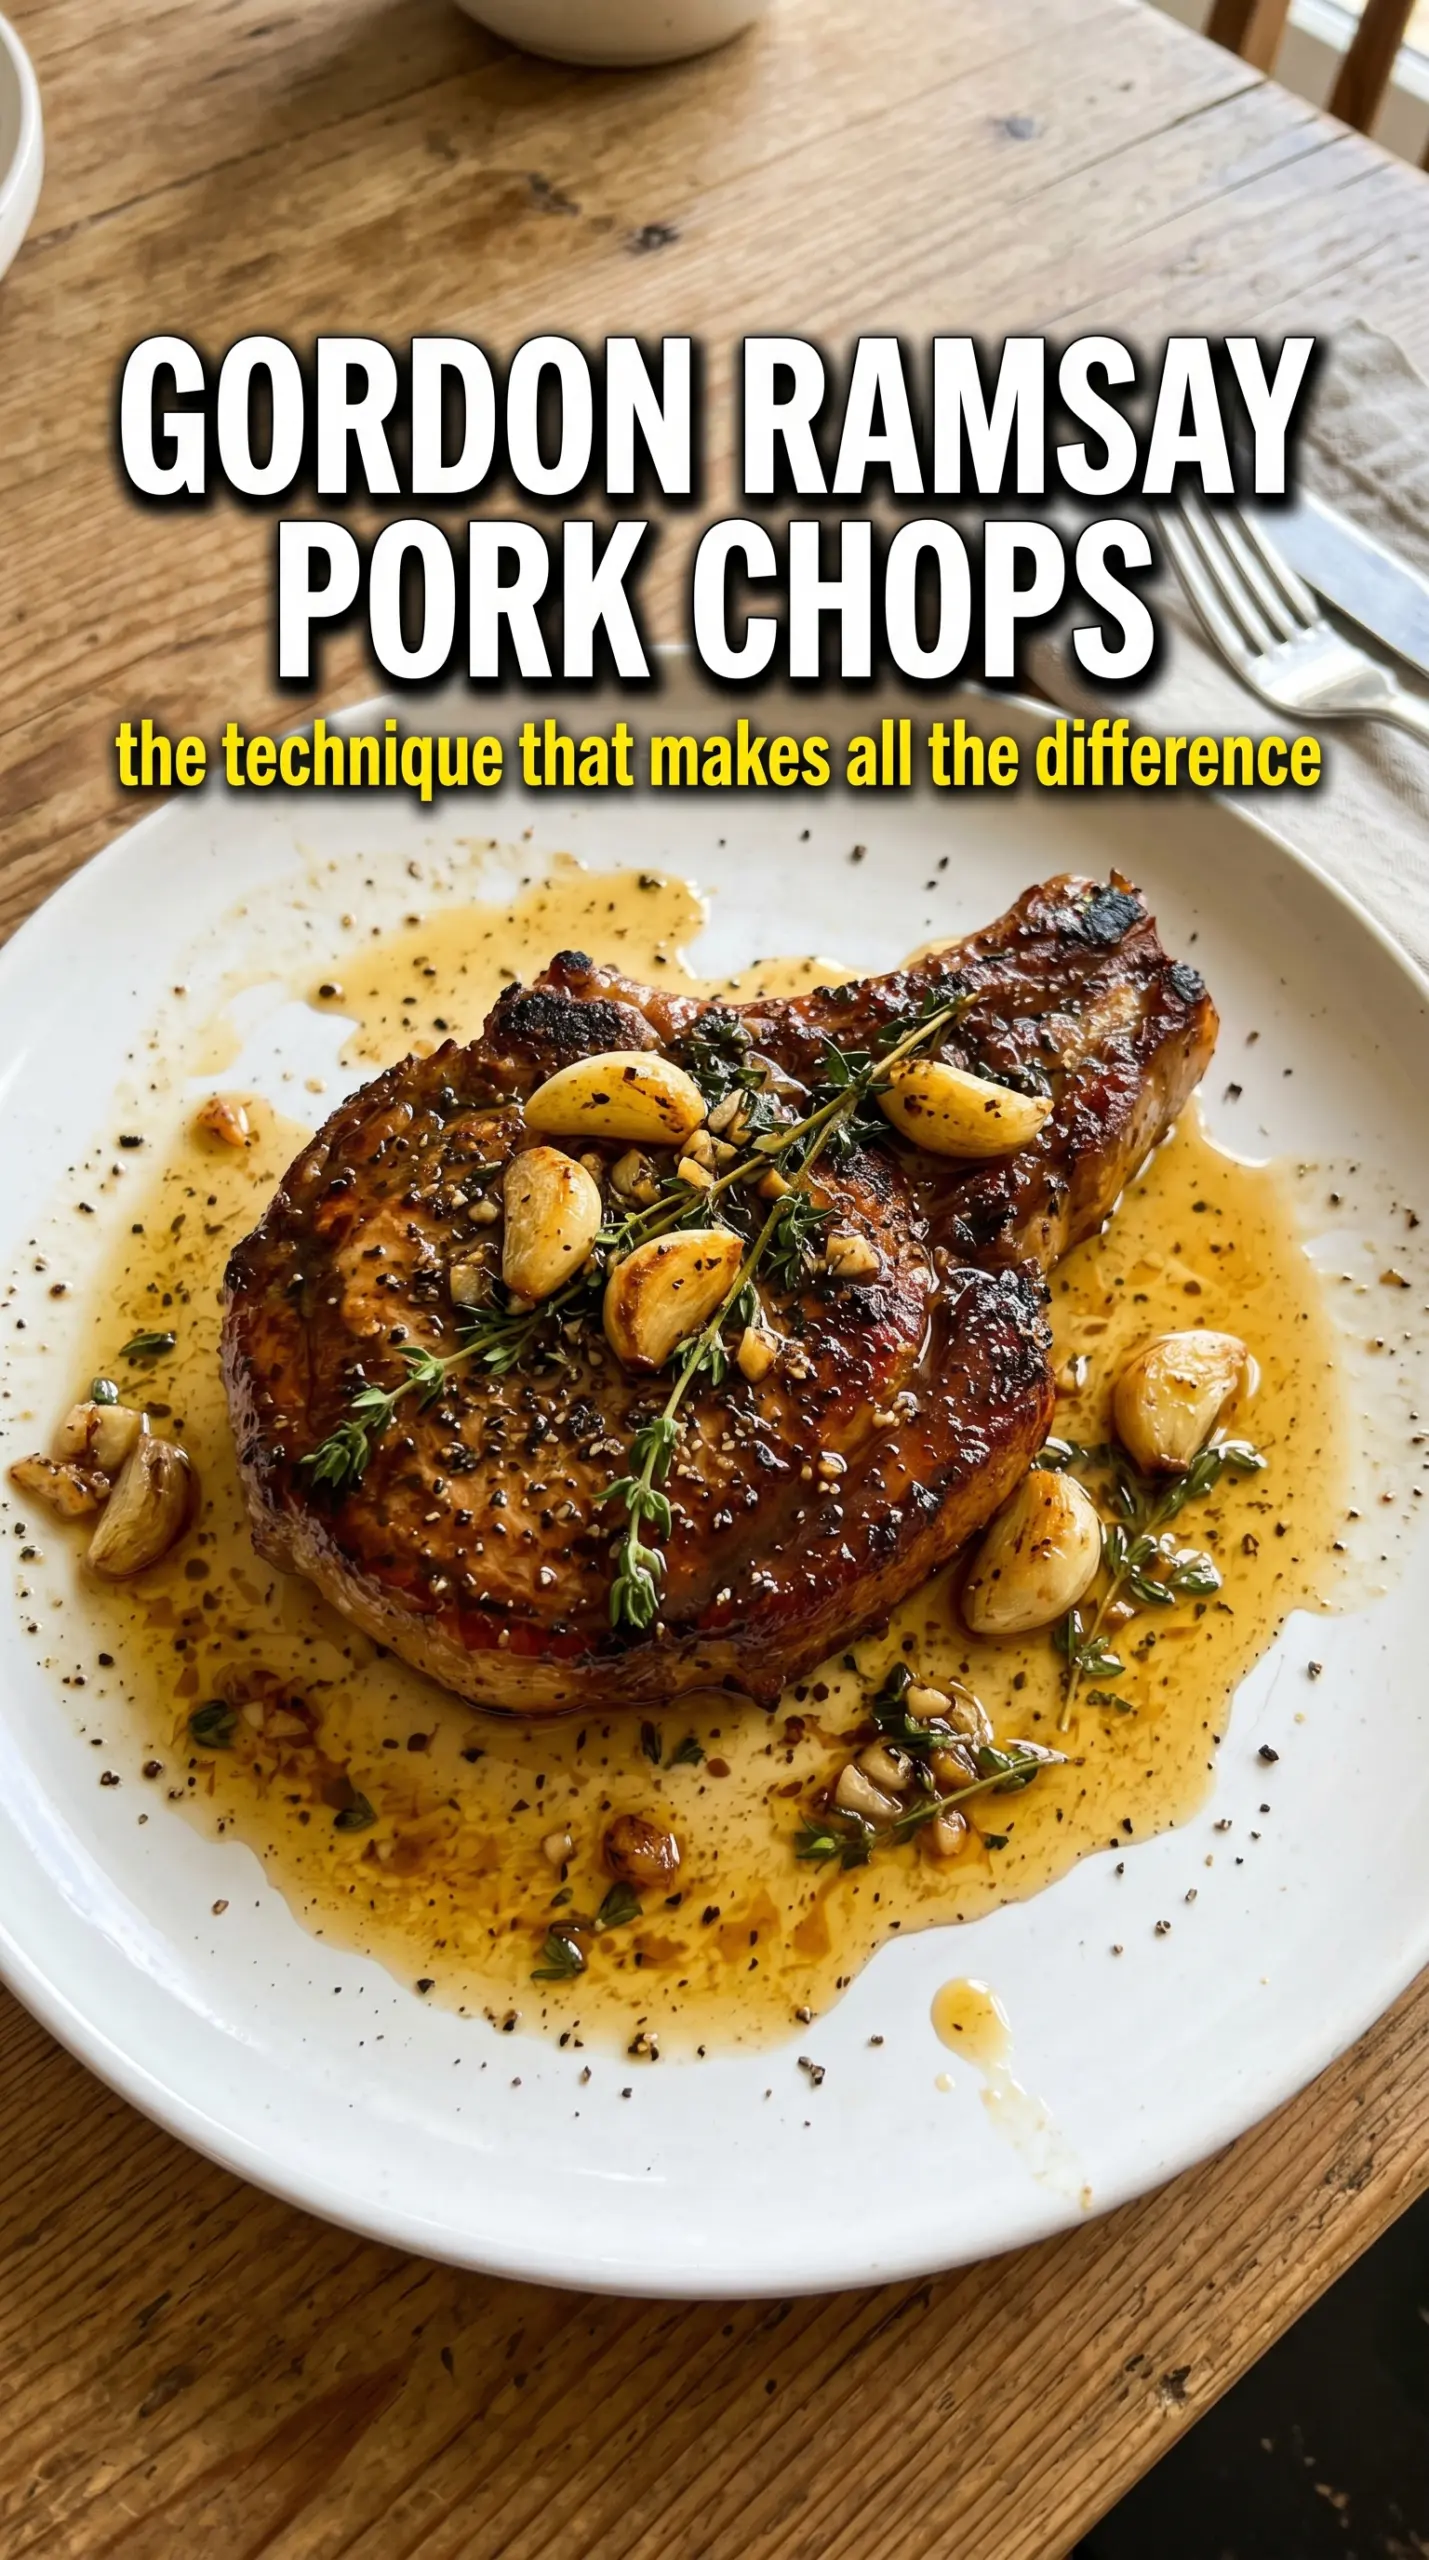
- Thick bone-in pork chops — The thickness gives you a buffer so the exterior can brown properly without overcooking the center. Bone-in chops also stay juicier and taste richer than thin boneless cuts. French-trimmed chops look elegant and give the fat cap room to crisp cleanly.
- Vegetable oil — This handles the initial high-heat sear better than butter would. You need a neutral oil with a higher smoke point so the pan can get screaming hot before the pork goes in.
- Butter — This is for the baste, not the sear. Butter carries the garlic and herbs across the meat and adds a glossy finish, but it burns fast if it goes in too early.
- Garlic, thyme, and rosemary — These aromatics perfume the butter without overpowering the pork. Lightly crushing the garlic releases enough flavor to infuse the fat; chopping it fine would make it more likely to scorch.
- Lemon juice — A small squeeze at the end wakes up the butter and cuts through the richness. Add it after the rest so it stays bright instead of cooking down in the pan.
How to Build the Crust, Baste the Butter, and Finish Without Drying Out the Pork
Dry, Season, and Let the Surface Warm
Pat the chops completely dry before seasoning. Any moisture on the surface turns into steam and steals browning from the pan. Letting them sit at room temperature for about 30 minutes helps them cook more evenly, but don’t leave them out long enough to get warm all the way through. A generous seasoning is part of the crust here, so season the edges and the fat cap too.
Get the Pan Hot Enough for Immediate Sizzling
Heat the oil in a heavy skillet until it’s just smoking. That first contact should sound aggressive. If the pork goes in quietly, the pan isn’t hot enough and the surface will tighten before it browns. Cast iron or another heavy pan is the right tool because it holds heat when the cold meat lands.
Render the Fat Cap Before You Sear the Flats
Stand the chops up and hold them on the fat cap for about 2 minutes. This is the part people skip, and it’s why the fat stays soft instead of crisp. After that, lay the chops flat and sear 3–4 minutes per side without moving them. If they stick, the crust isn’t ready yet; forcing them will tear off the best part.
Baste with Butter at the End, Not the Beginning
Add the butter, garlic, thyme, and rosemary once the chops are already browned. Tilt the pan and spoon the foaming butter over the meat for 2–3 minutes. The butter should smell nutty and aromatic, not burnt and bitter. If the garlic darkens too quickly, pull the pan off the heat for a few seconds and keep basting with the residual heat.
Finish in the Oven and Rest on a Rack
Move the skillet to a 400°F oven for 4–5 minutes, just until the thickest part of the chop hits 145°F. That short oven finish cooks the center without wrecking the crust you just built. Rest the chops on a wire rack for 5 minutes so the bottom doesn’t steam and soften. The lemon goes on after the rest, when the juices have settled and the surface is still hot.
How to Adapt These Pork Chops Without Losing the Steakhouse Finish
Bone-in to boneless
Boneless chops work, but they cook faster and dry out sooner. Reduce the oven time and start checking temperature early. You’ll still get a good sear, but you lose some of the juicy margin that the bone gives you.
Dairy-free version
Use olive oil or a dairy-free butter substitute for the baste, but keep the thyme, rosemary, and garlic in the pan. The finish won’t be quite as rich, but you’ll still get the same herb-scented, glossy coating.
No fresh rosemary or thyme
Dried herbs can work in a pinch, but use less because they’re more concentrated and can taste dusty if overused. Add them to the butter only briefly so they don’t burn in the hot fat.
Storage and Reheating
- Refrigerator: Store leftovers in an airtight container for up to 3 days. The crust will soften a bit, but the meat stays flavorful.
- Freezer: Freeze cooked pork chops for up to 2 months, wrapped tightly to prevent freezer burn. Thaw overnight in the fridge before reheating.
- Reheating: Warm gently in a 300°F oven, loosely covered, until just heated through. High heat dries pork fast, so skip the microwave if you want to keep the texture decent.
Questions I Get Asked About This Recipe

Gordon Ramsay Pan-Seared Pork Chops with Thyme Garlic Butter
Ingredients
Equipment
Method
- Bring the pork chops to room temperature for 30 minutes before cooking, then pat them completely dry and season generously with salt and coarse black pepper.
- Make sure the chops stay dry on the surface so the fat cap can turn shatteringly crisp when seared.
- Heat the vegetable oil in a heavy cast iron skillet over high heat until just smoking.
- Place the chops in the pan and sear the fat cap first by holding vertically for 2 minutes, then lay flat and sear 3–4 minutes per side.
- Add the butter, garlic, thyme, and rosemary, then tilt the pan and baste continuously for 2–3 minutes until the herbs are fragrant and the butter is foamy.
- Transfer the pan to a 400°F oven for 4–5 minutes, or until the pork reaches 145°F internally.
- Rest the chops for 5 minutes on a wire rack to let juices settle while the crust stays crisp.
- Squeeze the fresh lemon juice over the chops and serve immediately.