Green bean bundles earn their place on the table because they keep the beans bright and snappy while the bacon turns crisp and the glaze sinks into every crease. The result is a side dish that looks polished in the pan but still tastes like something you’d make for people who actually love to eat.
The key is the quick blanch before baking. It sets the color, softens the beans just enough, and keeps them from tasting harsh or squeaky under the bacon. The glaze matters too: brown sugar, butter, garlic, and soy sauce give you sweetness, salt, and a little depth without turning the whole dish cloying.
Below you’ll find the small details that make these bundles work, from how many beans to tuck into each bundle to how to keep the bacon from going rubbery. The finish is simple, but the timing makes all the difference.
The bacon crisped up right on schedule and the glaze turned sticky instead of watery. I served these with roast chicken and the pan was scraped clean.
Keep these green bean bundles handy for holiday sides, potlucks, and any dinner that needs a glossy bacon-wrapped upgrade.
The Trick to Keeping the Beans Bright Under the Bacon
The blanching step is what keeps this dish from eating tired. Green beans need a head start because the bacon and glaze take longer than the beans do, and if you skip the boil-and-ice-water move, you end up with dull, leathery beans by the time the bacon is done. The ice bath stops the cooking fast, so the beans hold their snap and stay green in the oven.
Wrapping a small handful instead of a big bundle matters too. Overstuffed bundles steam in the center and the bacon slips around instead of tightening up. Eight to ten beans is the sweet spot: enough to feel generous, small enough that the bacon cooks through and the glaze can reach every side.
What the Glaze Is Doing Besides Adding Sweetness
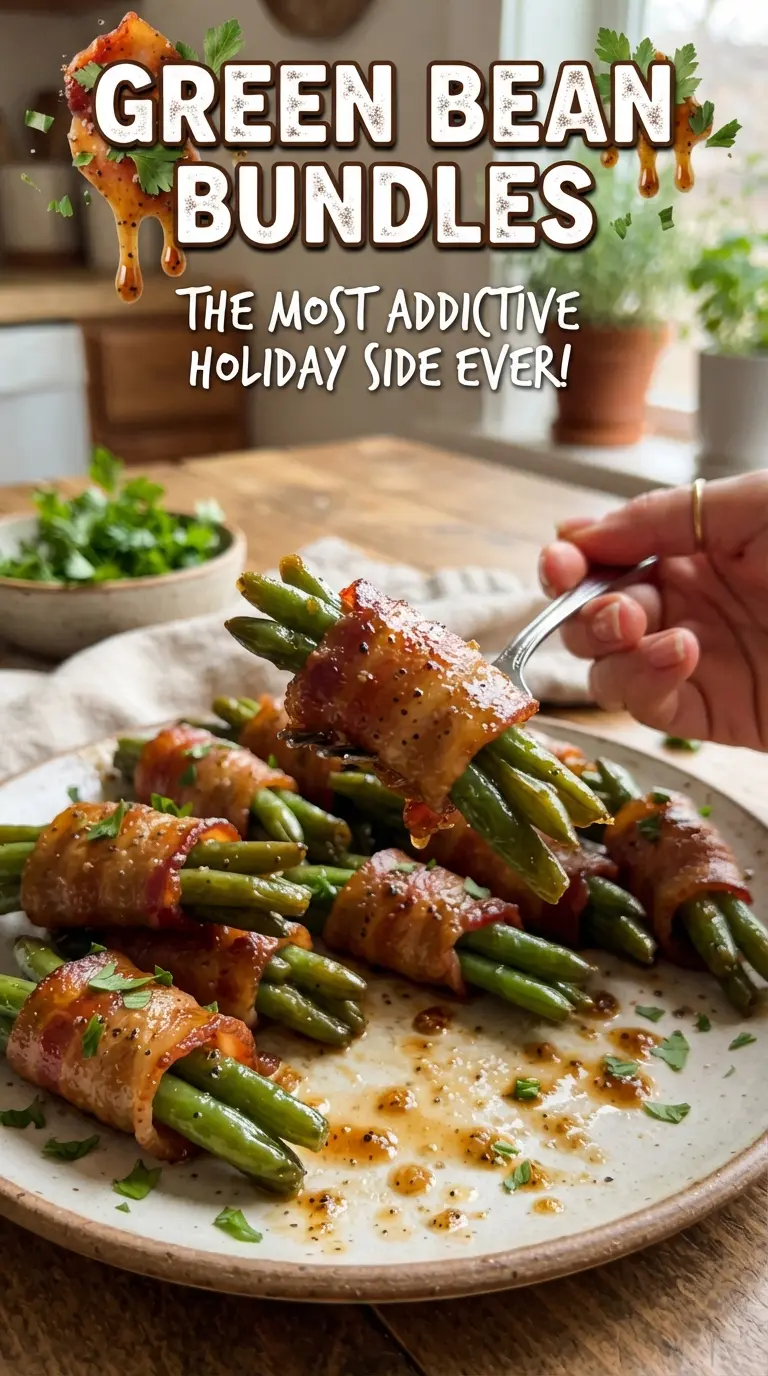
- Fresh green beans — Use fresh beans here; canned or frozen won’t hold the same snap or stay neat inside the bacon. Trim the ends and keep the beans roughly the same length so the bundles bake evenly.
- Bacon — Regular bacon wraps and crisps better than thick-cut, which can stay soft while the beans overcook. Cutting the slices in half gives you just enough bacon to secure each bundle without burying the vegetables.
- Brown sugar — This is what gives the glaze its sticky finish and helps it cling to the bacon instead of running straight to the bottom of the pan. Dark brown sugar brings a deeper molasses note; light brown sugar is fine if that’s what you have.
- Butter and soy sauce — Butter carries the glaze and helps it brown, while soy sauce keeps the sweetness from tasting flat. If you need a gluten-free version, use tamari in the same amount.
- Garlic — Fresh minced garlic gives the glaze a sharper finish than garlic powder. It cooks into the butter and sugar just enough to mellow without disappearing.
How to Build the Bundles So Nothing Slips Apart
Blanching for Color and Texture
Bring a pot of water to a boil, add the trimmed beans, and cook them for 3 minutes. They should look bright green and feel only slightly tender, not soft. Drain them immediately and plunge them into ice water so the carryover heat doesn’t keep cooking them. If you let them sit in the hot water too long, they’ll go limp and lose the crisp bite that makes this side worth serving.
Wrapping and Arranging the Bundles
Gather 8 to 10 beans at a time and wrap each bundle with a half slice of bacon, then place them seam-side down in the baking dish. That seam-side-down detail keeps the bacon from unraveling before it starts to set. Leave a little space between bundles so the glaze can bubble around them and the bacon can brown instead of steaming in a crowded pan.
Glazing and Baking
Whisk the melted butter, brown sugar, garlic, soy sauce, and pepper until the sugar starts to dissolve, then pour it evenly over the bundles. Bake at 400°F for 25 to 30 minutes, until the bacon looks crisp at the edges and the glaze is bubbling and thickened. If the bacon is still pale when the beans are done, give it a few extra minutes; rushing this stage leaves you with soft bacon and thin glaze. Spoon the pan glaze over the bundles before serving so every bite gets that sticky finish.
How to Adapt These Green Bean Bundles for Different Tables
Gluten-Free Version
Swap the soy sauce for tamari or coconut aminos. Tamari keeps the same savory depth with the cleanest one-to-one result, while coconut aminos tastes a little sweeter and softer. The glaze will still thicken and cling the same way.
Less Sweet, More Savory
Cut the brown sugar back to 1/4 cup and add an extra splash of soy sauce. You’ll get a glaze that’s still sticky but tastes more like a savory bacon pan sauce than a candied coating.
No Bacon Version
If you need a vegetarian version, skip the bacon and roast the blanched beans in a lightly oiled dish with the glaze spooned over the top. You lose the crisp, smoky wrap, but the beans still pick up the garlic-brown sugar finish and make a solid side dish.
Storage and Reheating
- Refrigerator: Store leftovers in an airtight container for up to 3 days. The bacon softens a bit, but the beans stay in good shape.
- Freezer: I don’t recommend freezing these. The beans turn watery and the bacon loses its texture after thawing.
- Reheating: Warm them in a 375°F oven for about 10 minutes, uncovered, until the glaze loosens and the bacon re-crisps at the edges. The microwave works in a pinch, but it softens the bacon and makes the glaze cling unevenly.
Answers to the Questions Worth Asking
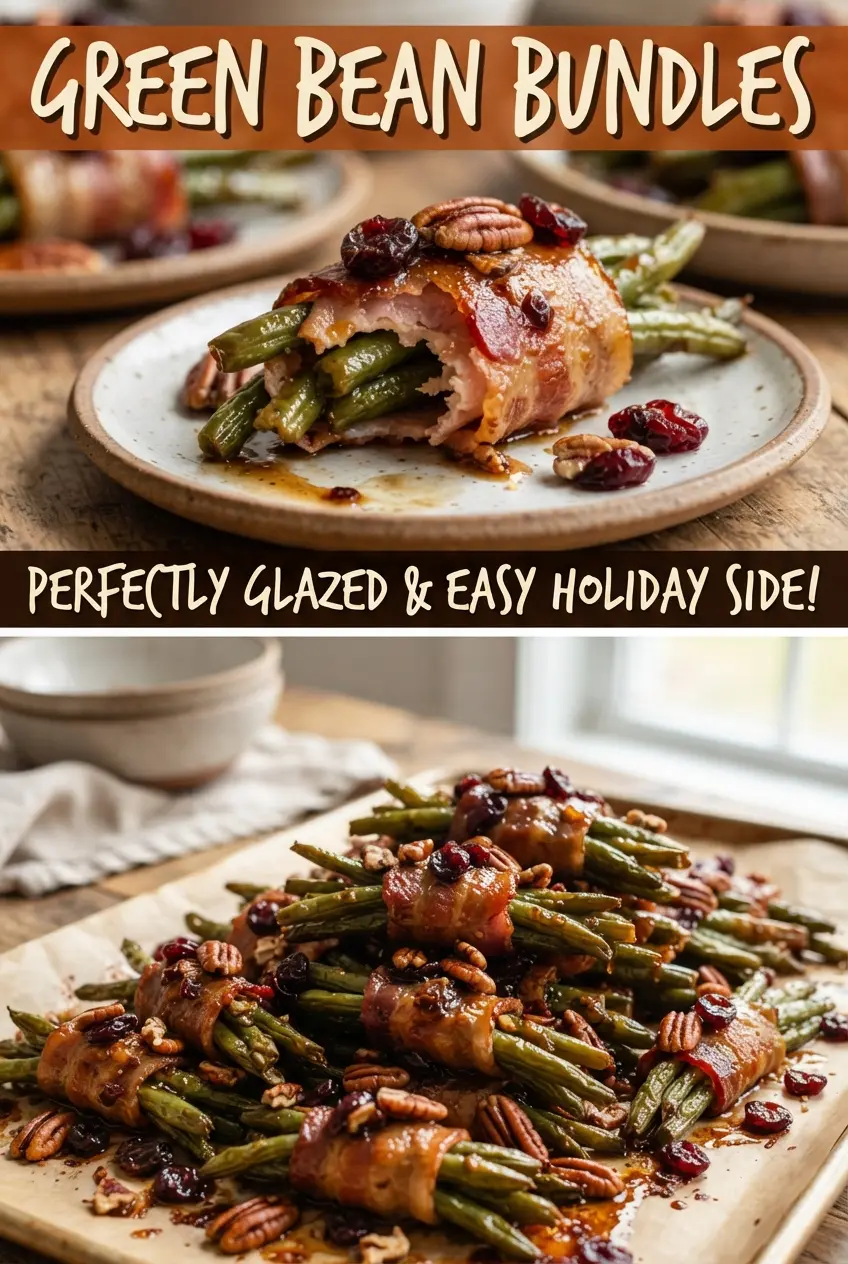
Green Bean Bundles
Ingredients
Equipment
Method
- Preheat oven to 400F. Blanch the green beans in boiling water for 3 minutes, then plunge into ice water and drain.
- Gather 8-10 green beans into a bundle. Wrap with a half slice of bacon, seam-side down in a baking dish.
- Whisk melted butter, brown sugar, garlic, soy sauce, and black pepper until combined. Keep stirring until the glaze looks evenly mixed.
- Pour the glaze evenly over the bacon-wrapped bundles. Make sure each bundle gets a thin, glossy coating.
- Bake at 400F for 25-30 minutes until bacon is crisp and the glaze is bubbly. Look for bubbling around the edges and deeper browning on the bacon.
- Spoon the pan glaze over the bundles. Serve warm so the bacon stays crisp and the glaze clings.