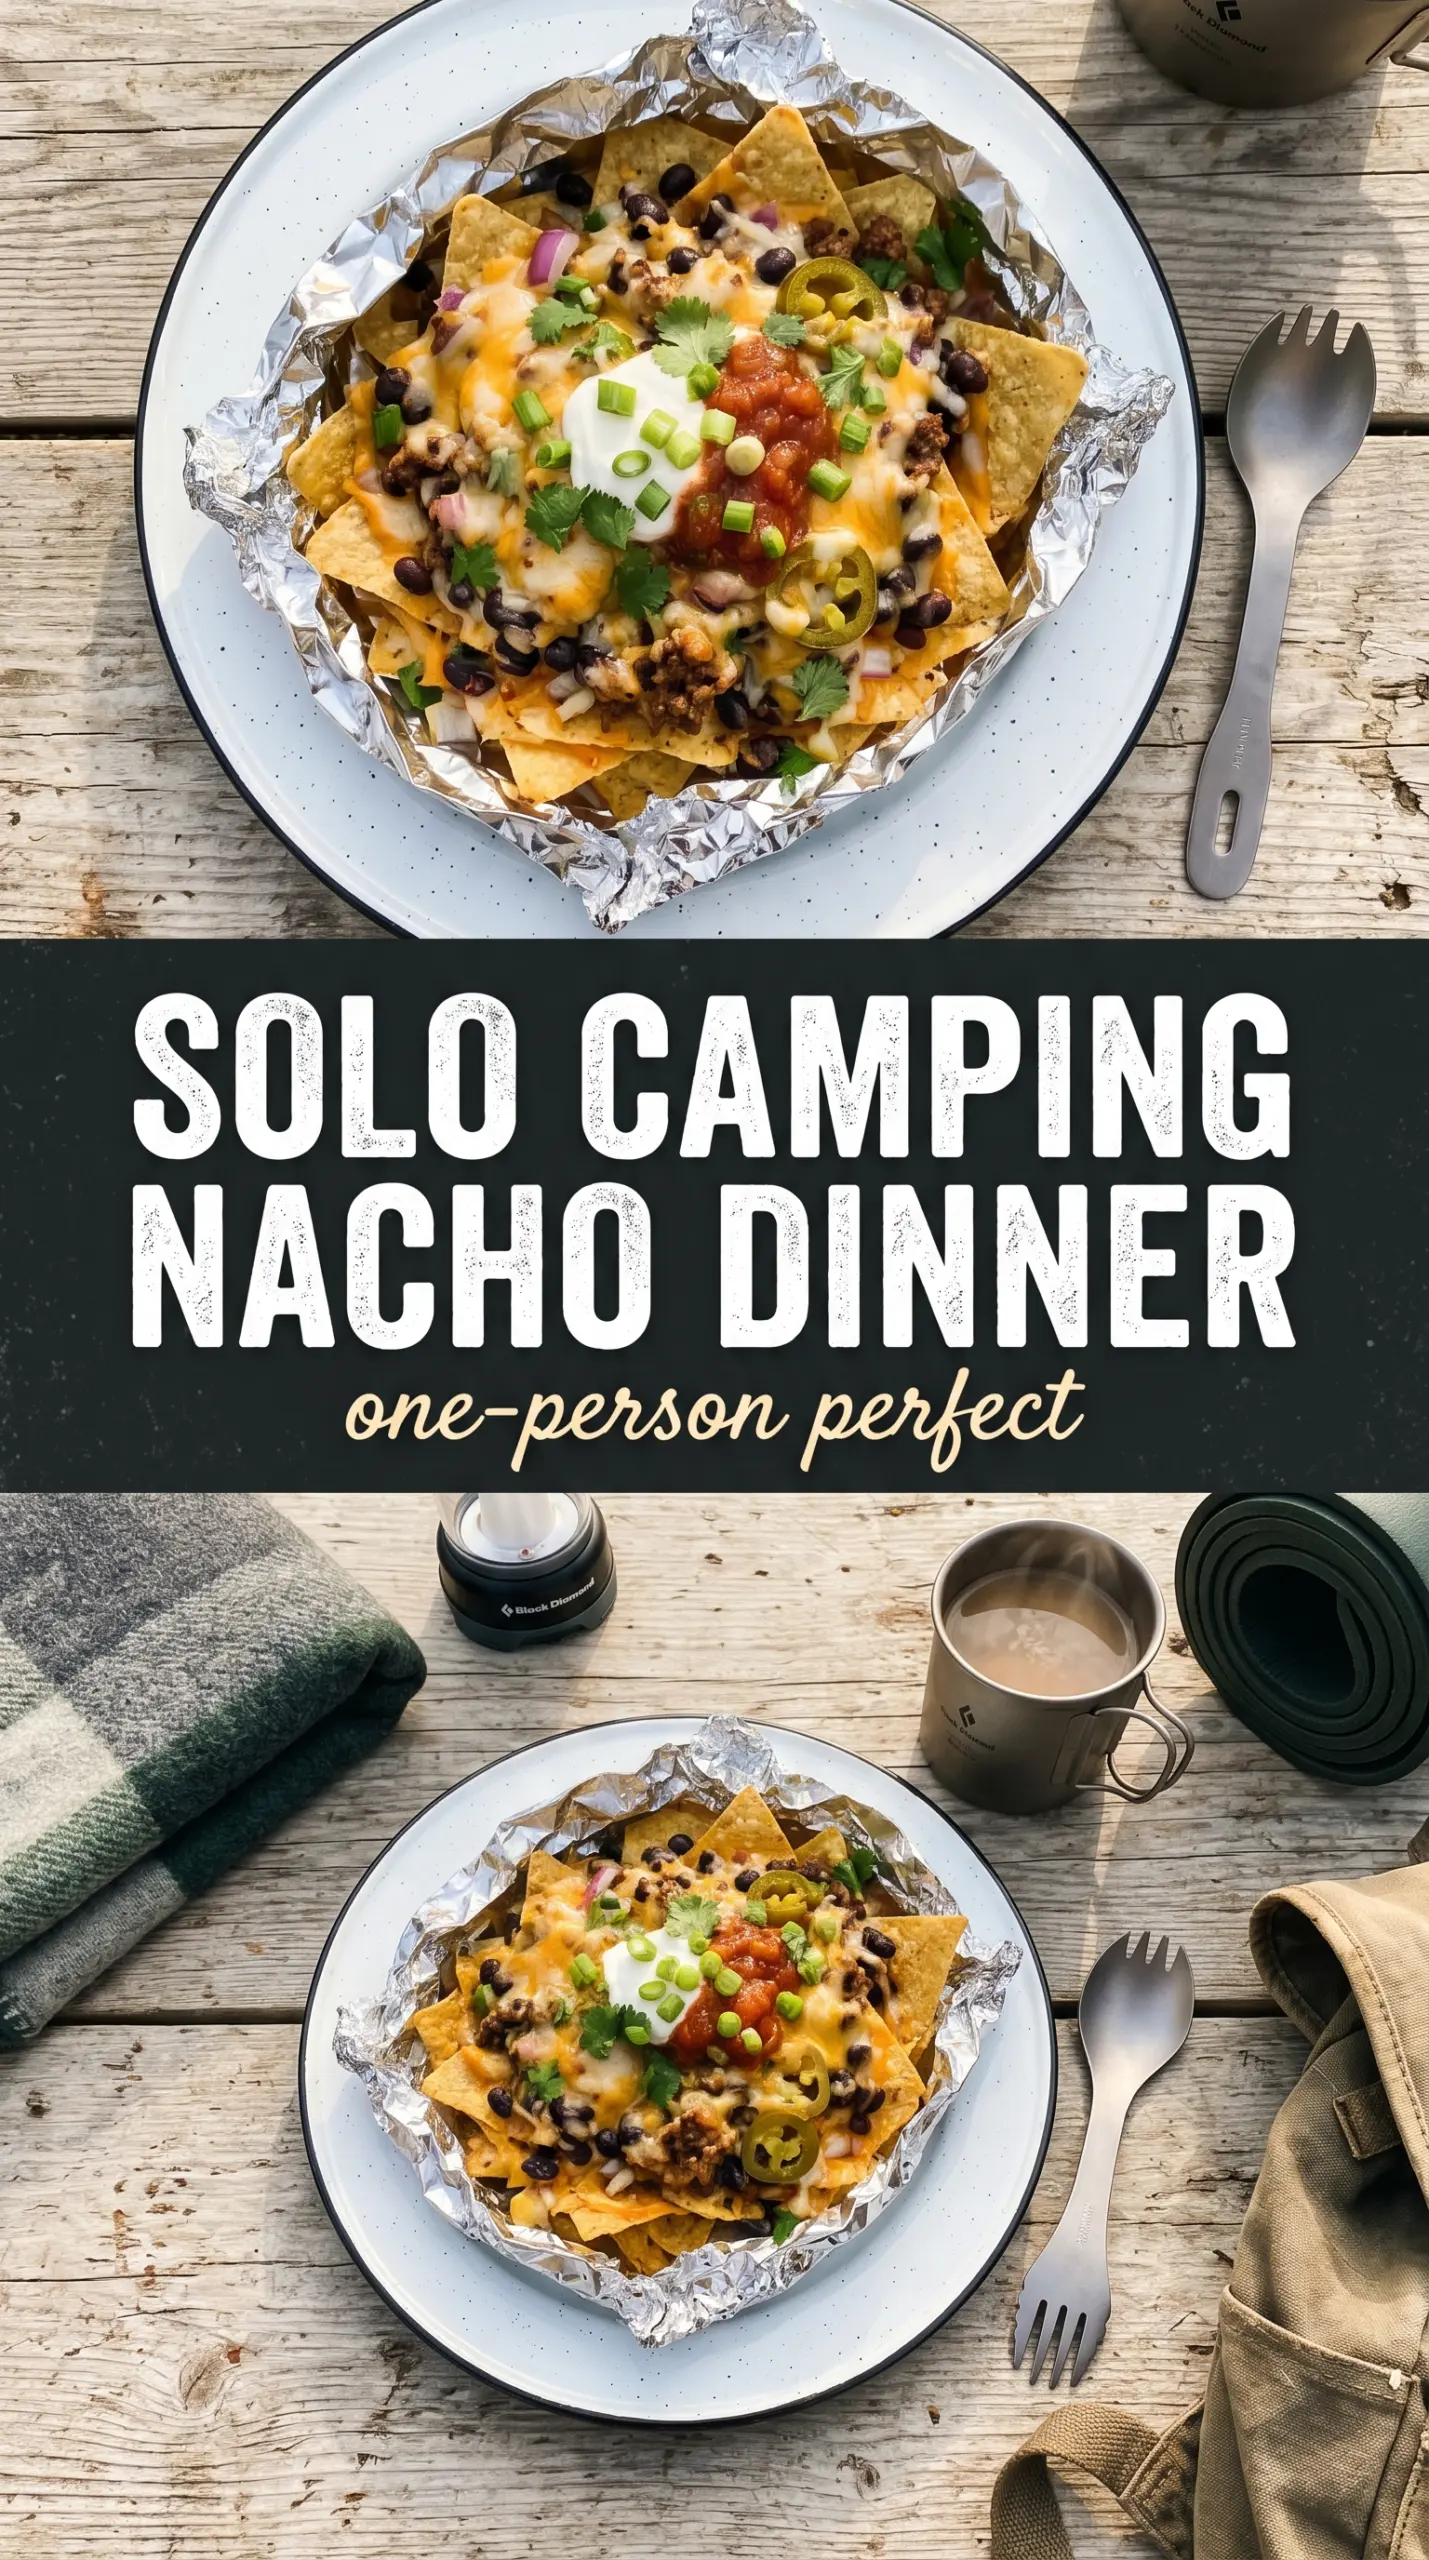
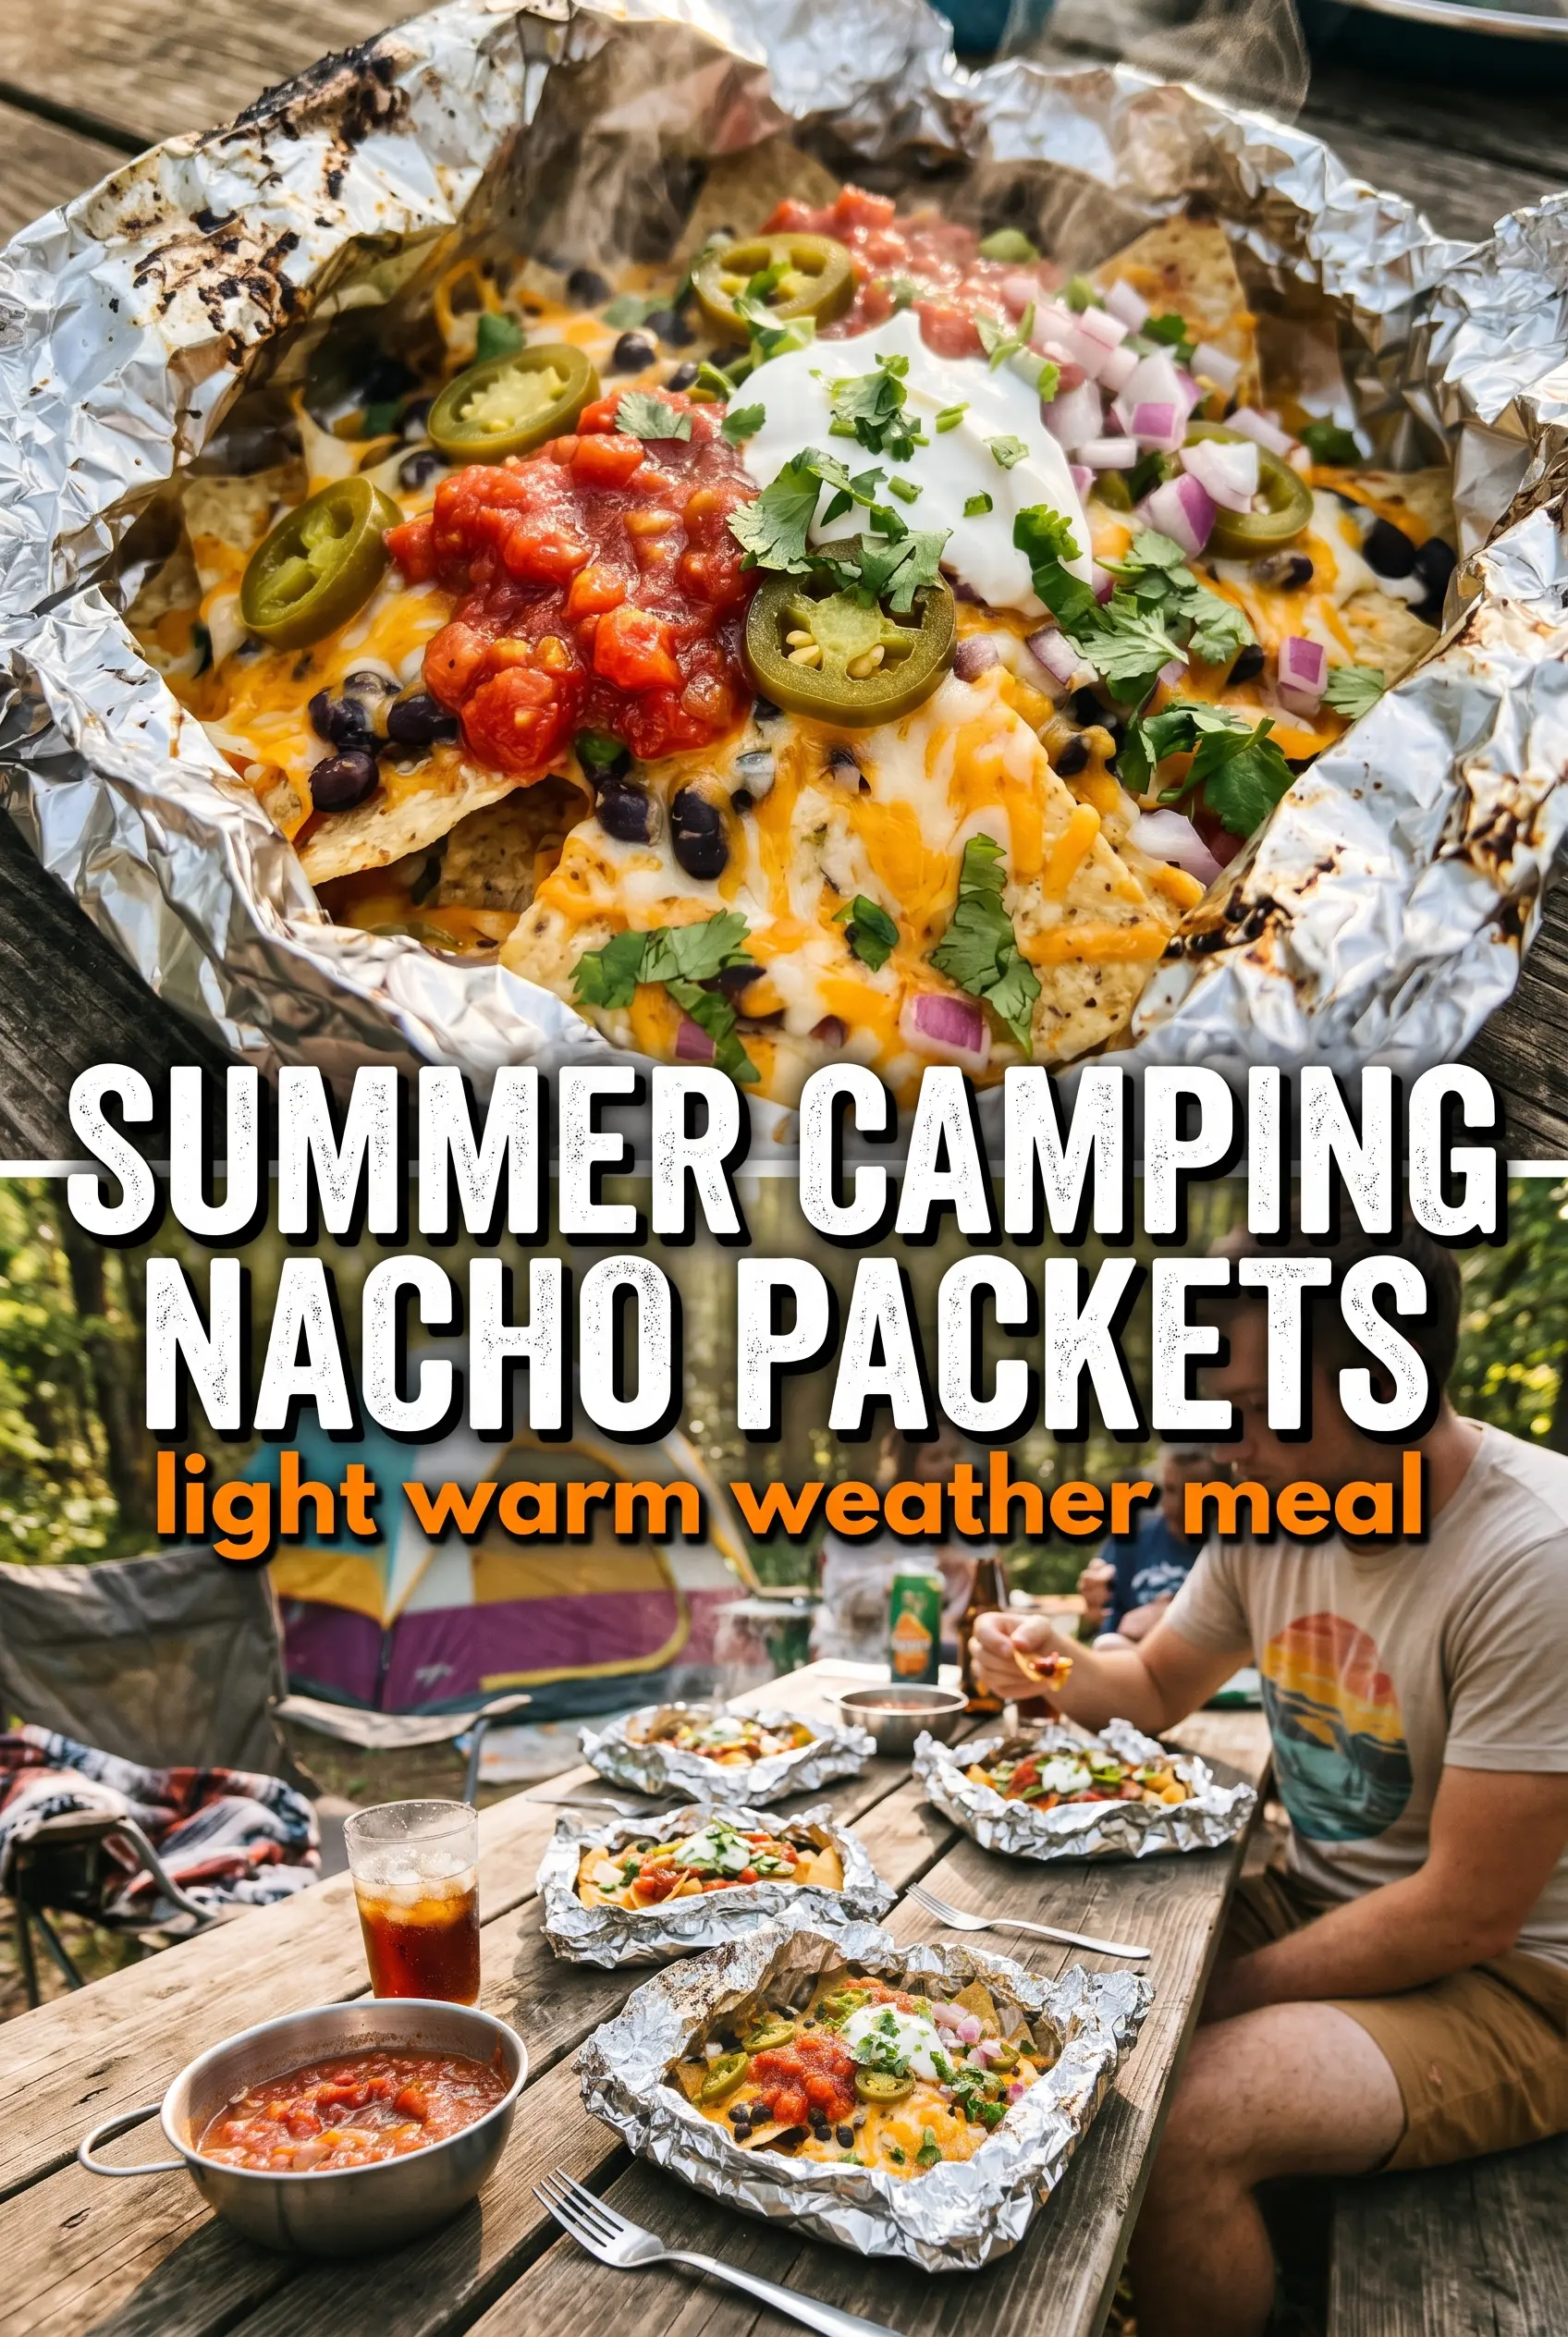
Grilled campfire nacho packets give you everything people love about loaded nachos without the mess of a big platter. The chips soften just enough under the weight of the melted cheese and hot fillings, while the edges stay sturdy enough to scoop. Open one up and you get that sharp, smoky aroma of toasted tortilla chips, bubbling cheese, and jalapeño heat all at once.
The trick is keeping the packets sealed but not packed tight. A little room inside the foil lets the heat move around and melt the cheese evenly instead of steaming the chips into a limp pile. Heavy-duty foil matters here because thinner foil tears when you’re folding and opening the packets over a hot grate. The other thing that helps is using cooked meat and drained beans, so you’re heating everything through instead of waiting on raw ingredients to catch up.
Below, I’ll walk through the small details that keep these nacho packets from getting soggy, plus a few smart swaps if you want to make them vegetarian, spicier, or easier to assemble at camp.
The chips on the bottom stayed crisp enough to hold up, and the cheese melted all the way through the black beans without making the packet watery. We made these twice on one camping trip.
Like these grilled campfire nacho packets? Save them to Pinterest for your next easy camping dinner or fire-grate snack.
The Packet Trick That Keeps the Chips from Turning to Mush
The biggest mistake with foil nachos is pressing the ingredients into a tight, flat layer. That traps moisture against the chips and gives you a soggy base before the cheese even melts. Leaving a little air in the packet matters more than people think, because the steam can move around instead of soaking one spot.
Medium heat is the sweet spot here. High heat can scorch the bottom foil before the cheese fully melts, especially over a campfire where the flame is uneven. If your fire is running hot, move the packets to the outer edge of the grate and give them a minute or two longer. You want the cheese fully melted and the beans heated through, but the chips should still have some structure when you open the foil.
What Each Layer Is Doing in These Nacho Packets
- Tortilla chips — These are the base and the first thing to lose texture if the packet is overstuffed. Thick restaurant-style chips hold up better than thin, delicate chips, especially if you’re cooking over an open fire. If you only have thinner chips, use a little less filling in each packet so they don’t collapse.
- Shredded Mexican cheese blend — Pre-shredded cheese melts nicely here because it’s designed to soften evenly. A block you shred yourself works too and usually melts even better, but it takes more prep. Don’t swap in a hard cheese only; you want something that turns creamy and coats the fillings.
- Black beans — These add bulk and make the packets feel like a meal, not just melted chips. Drain them well so extra liquid doesn’t pool at the bottom of the foil. If you’re using canned pinto beans instead, rinse and drain them the same way.
- Cooked ground beef or chicken — The meat should already be cooked before it goes into the packet, since the grill time is just for heating and melting. This keeps the timing short and even. Leftover taco meat works especially well because it brings seasoning with it.
- Jalapeño slices — Fresh jalapeño adds sharp heat that cuts through the cheese. If you want less burn, remove the seeds and inner ribs before slicing. Pickled jalapeños also work if that’s what you have, though they bring a tangier finish.
Building the Packets So the Heat Works for You
Dividing the Chips and Toppings Evenly
Split the chips across four sheets of heavy-duty foil so each packet gets a solid handful of chips, not a crushed layer. Keep the filling centered, because ingredients spread too close to the edges can leak out when you fold the foil. Once the chips are in place, layer on the cheese first so it can melt down through the beans and meat as the packet heats.
Sealing Without Crushing
Fold the foil over the toppings and crimp the edges tightly enough to trap heat, but leave a little space inside the packet. That little pocket is what helps the steam circulate and melt the cheese without smashing the chips flat. If the seal is too loose, the cheese can dry out; if it’s too tight, the packet can burst when the filling starts to bubble.
Heating Over the Campfire Grate
Set the packets on a medium-heat grate and let them cook for 12 to 15 minutes. The foil should feel hot and the packets will puff slightly as the cheese melts. If the bottom starts browning too fast, move them farther from the heat instead of flipping them hard, which can tear the foil and spill the filling.
Opening and Finishing at the Table
Let the packets sit for a minute before opening so the steam doesn’t blast out the second you peel back the foil. Open them carefully from the top, then finish with salsa, sour cream, and guacamole. Those cold toppings matter because they brighten the salty, smoky cheese and keep each bite from tasting one-note.
How to Adapt These Nacho Packets for a Different Crowd
Vegetarian Campfire Nacho Packets
Skip the meat and add more beans, or fold in sautéed peppers and onions if you’ve got them pre-cooked. You’ll lose the savory richness of the meat, but the packets still taste full and hearty if the cheese and beans are well seasoned.
Dairy-Free Version
Use a dairy-free shreddable cheese that melts well and keep the packets a little looser so the top doesn’t dry out before the center softens. The result won’t be quite as gooey as the original, but you still get the same handheld campfire style.
Spicier Nacho Packets
Add sliced serrano peppers, a spoonful of chipotle salsa, or a pinch of chili powder to the cheese layer. Extra heat works best when it’s mixed into the filling instead of only added on top, because the warmth distributes through the whole packet.
Storage and Reheating
- Refrigerator: Store leftovers in an airtight container for up to 3 days. The chips soften as they sit, so expect a less crisp texture after chilling.
- Freezer: I don’t recommend freezing these. The chips turn stale and the cheese texture gets greasy after thawing.
- Reheating: Warm leftovers in a 350°F oven on a foil-lined tray until hot. The microwave makes the chips limp fast, so use it only if you don’t mind losing the texture.
Answers to the Questions Worth Asking
Grilled Campfire Nacho Packets
Ingredients
Equipment
Method
- Divide the tortilla chips among 4 foil sheets, making an even base in each packet. Leave space so the chips can be topped without spilling.
- Top each packet with shredded Mexican cheese blend so it can melt over the chips. Add black beans, then the cooked ground beef or chicken.
- Scatter jalapeño slices over the fillings in each packet for heat and crunch. Keep the toppings distributed so everything warms through.
- Fold the foil into sealed packets, leaving a little room for heat circulation. Press edges closed firmly to prevent leaks.
- Place the packets on the campfire grate over medium heat and cook for 12-15 minutes. You should see melted cheese and steaming through the foil as the fillings heat through.
- Remove the packets from the heat and carefully open them. Open away from your face and watch for escaping steam as the nachos finish melting.
- Top the opened packets with salsa, sour cream, and guacamole before serving. Finish right away so the cheese stays melty and the chips remain crisp.