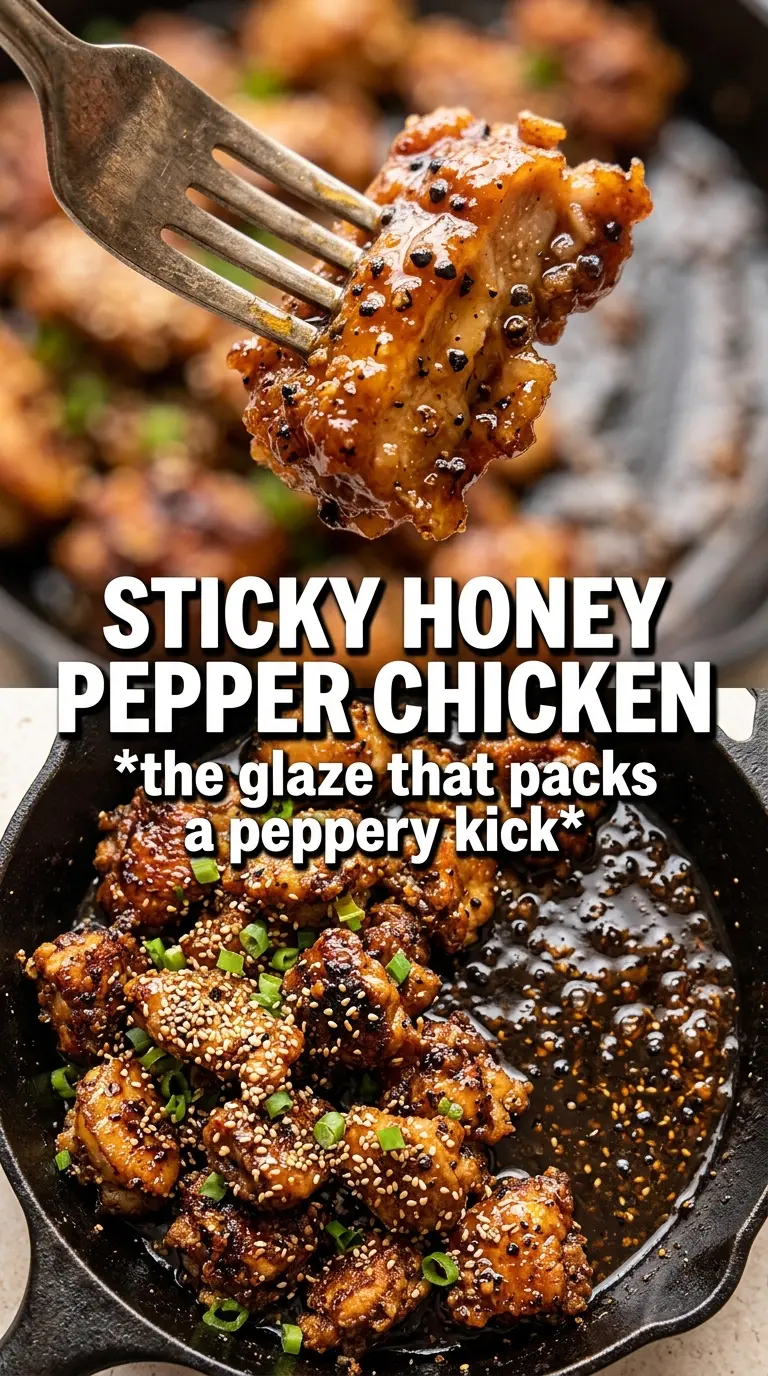
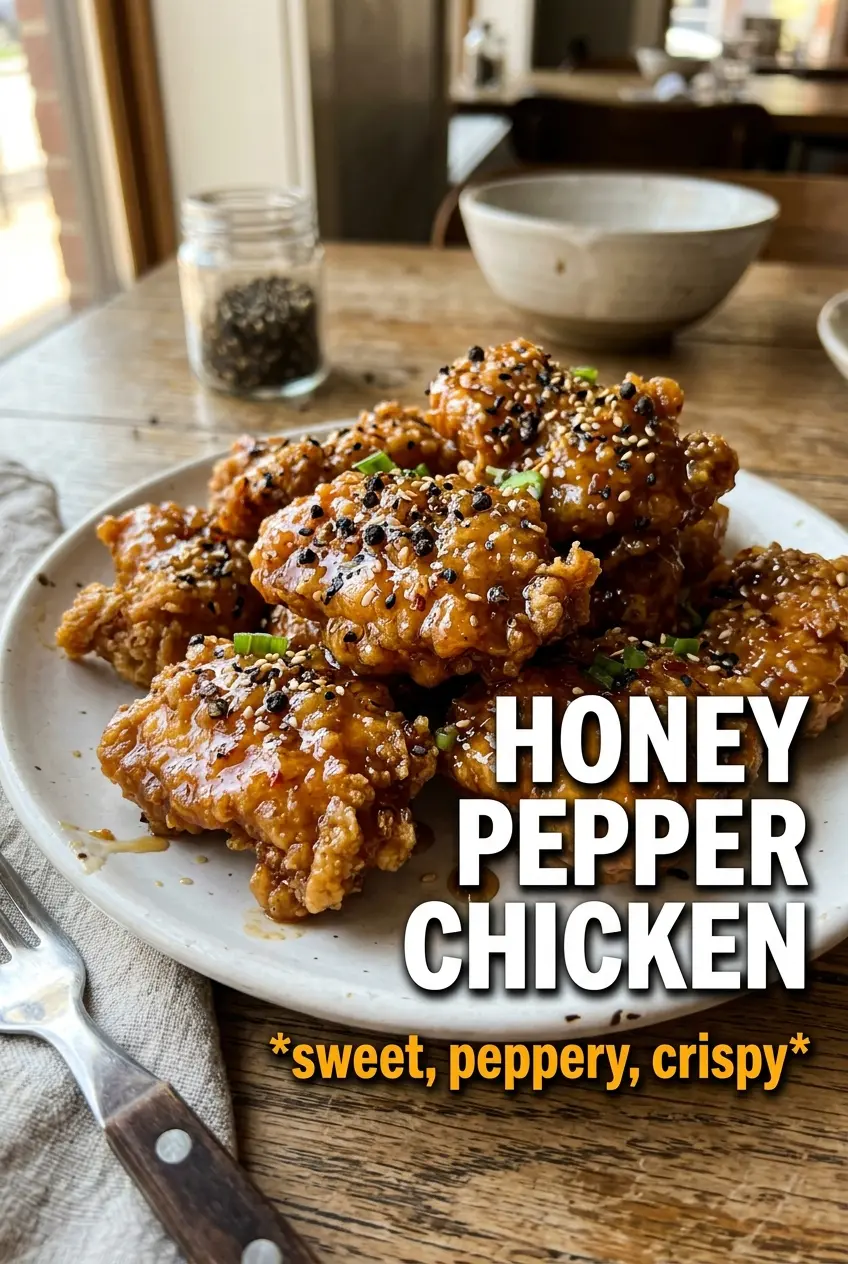
Crispy honey pepper chicken lands with that first bite crunch, then flips into a sticky glaze that clings to every ridge of the coating. The sauce is sweet, sharp, and peppery in a way that keeps each piece from tasting heavy, and the black pepper actually shows up instead of disappearing into the background. Served over rice, it eats like takeout that was made with a little more care and a lot more crunch.
The coating works because it’s built from flour and cornstarch together. Flour gives the chicken structure, while cornstarch keeps the crust lighter and crisper after frying, especially once the sauce goes on. The honey sauce only needs a short simmer, just enough to thicken slightly and wake up the pepper and garlic without turning the honey harsh or burnt.
Below, I’m walking through the fry-and-sauce timing that keeps the chicken crisp long enough to glaze it properly, plus a few swaps if you want to change the heat or make the dish a little lighter.
The chicken stayed crisp even after tossing it in the sauce, and that black pepper really comes through without overpowering the honey. I served it over rice and the glaze soaked in just enough to make every bite taste like restaurant takeout.
Save this sticky honey pepper chicken for the night you want crispy chicken strips with a glossy peppery glaze and almost no cleanup.
The Crackly Coating Is What Keeps the Sauce from Turning Soggy
The biggest mistake with honey pepper chicken is rushing the coating or crowding the pan. If the chicken steams instead of fries, the sauce will slide right off and the crust will soften before you even get to the table. A flour-and-cornstarch mix gives you a thinner, crisper shell than flour alone, and that matters because this dish gets tossed in sauce at the end.
Fry in enough oil to come halfway up the strips, and keep the heat steady around 375°F. Too cool, and the breading drinks in oil and turns heavy. Too hot, and the outside browns before the inside cooks through. You’re looking for a deep golden crust that feels firm when you lift a piece with tongs.
What the Honey Pepper Sauce Needs to Taste Bold, Not Flat
- Honey — This is the backbone of the glaze, so use a honey you actually like the taste of. It’s what gives the sauce its shine and stickiness, and there isn’t a substitute that behaves quite the same way.
- Coarse cracked black pepper — This is not the place for fine pepper from the bottom of a shaker. Coarse pepper blooms in the warm sauce and gives you those visible specks and the bite that make the dish taste like honey pepper chicken instead of plain sweet chicken.
- Soy sauce — Just enough for salt and depth. It keeps the sauce from reading as candy-sweet and helps the glaze darken into that amber color.
- Apple cider vinegar — A small splash keeps the sauce lively. If you skip the acid, the honey can taste heavy and one-note after it simmers.
- Cornstarch in the coating — This is the ingredient that makes the crust feel light instead of bready. If you only have flour, the chicken will still work, but it won’t stay as crisp once sauced.
Fry First, Sauce Second, Toss Fast
Coat the Chicken Evenly
Toss the chicken strips until every surface looks dusty and lightly clumped with the flour-cornstarch mixture. That thin, even coating is what creates the crisp shell; thick patches turn gummy and fall off in the oil. Shake off any big clumps before frying, because loose flour burns and makes the oil taste bitter.
Fry Until the Edges Turn Deep Gold
Lay the strips into the hot oil in batches and give them room. If you hear a steady sizzle, you’re in the right zone; if the sound drops off, the oil cooled too much and the crust will absorb grease. Flip once the underside is a rich golden color and the pieces release easily from the pan. Pull them when they’re cooked through and drain them on paper towels, not a covered plate, or the steam will soften the crust.
Cook the Glaze Just Enough
Combine the sauce ingredients in a small pan and let them simmer until the honey loosens, the pepper smells stronger, and the sauce looks slightly syrupy. Don’t boil it hard. High heat can make honey taste burnt and can push the sauce from glossy to sticky in the wrong way. You want a spoon-coating consistency, not a candy stage.
Toss While Everything Is Still Hot
Move fast once the sauce is ready. Add the fried chicken to the pan or a bowl and toss until every piece is coated, then serve right away over rice. If you let the sauced chicken sit around, the crust will soften, which is fine if you expect it — but if you want the best crunch, keep the finish short and the serving prompt.
How to Adapt It Without Losing the Crunch
Make It a Little Spicier
Add more red pepper flakes or a pinch of cayenne to the sauce. The heat stays in the background and sharpens the honey instead of taking over, which works well if you like a sweet-heat finish.
Gluten-Free Version
Use a gluten-free flour blend in place of the all-purpose flour and swap in a gluten-free soy sauce or tamari. The crust will still crisp up nicely because the cornstarch carries a lot of the texture here.
Baked Instead of Fried
Bake the coated chicken on a well-oiled rack at high heat until crisp and cooked through, then toss it in the sauce right before serving. You lose some of the shatter of a fried crust, but you keep the honey-pepper glaze and cut down on the oil.
Storage and Reheating
- Refrigerator: Store leftovers in an airtight container for up to 3 days. The crust softens after saucing, but the flavor holds up well.
- Freezer: The fried chicken can be frozen before saucing for up to 2 months. Freeze the pieces in a single layer first so they don’t stick together, then reheat and glaze fresh.
- Reheating: Warm in a hot oven or air fryer until the coating crisps back up. Microwaving works in a pinch, but it will make the crust limp and the sauce a little dull.
Answers to the Questions Worth Asking
Honey Pepper Chicken
Ingredients
Equipment
Method
- Toss the chicken strips with flour, cornstarch, salt, and pepper until evenly coated, with no dry powder left on the surface.
- Heat vegetable oil in a cast iron skillet to 375°F for frying.
- Fry the coated chicken in 1 inch of oil for 3-4 minutes per side until golden and cooked through, flipping once when the first side is crisp and browned.
- Drain the fried chicken on paper towels until the coating looks dry-crisp at the edges.
- Combine honey, soy sauce, butter, apple cider vinegar, coarse cracked black pepper, garlic powder, and red pepper flakes in a small saucepan over medium heat.
- Simmer for 3-4 minutes, stirring until the sauce is slightly thickened and the pepper flavors bloom, turning glossy and amber.
- Toss the crispy chicken in the honey pepper sauce until every piece is fully glazed and sticky-looking, with coarse pepper clearly visible.
- Serve over steamed rice and garnish with sliced green onions.