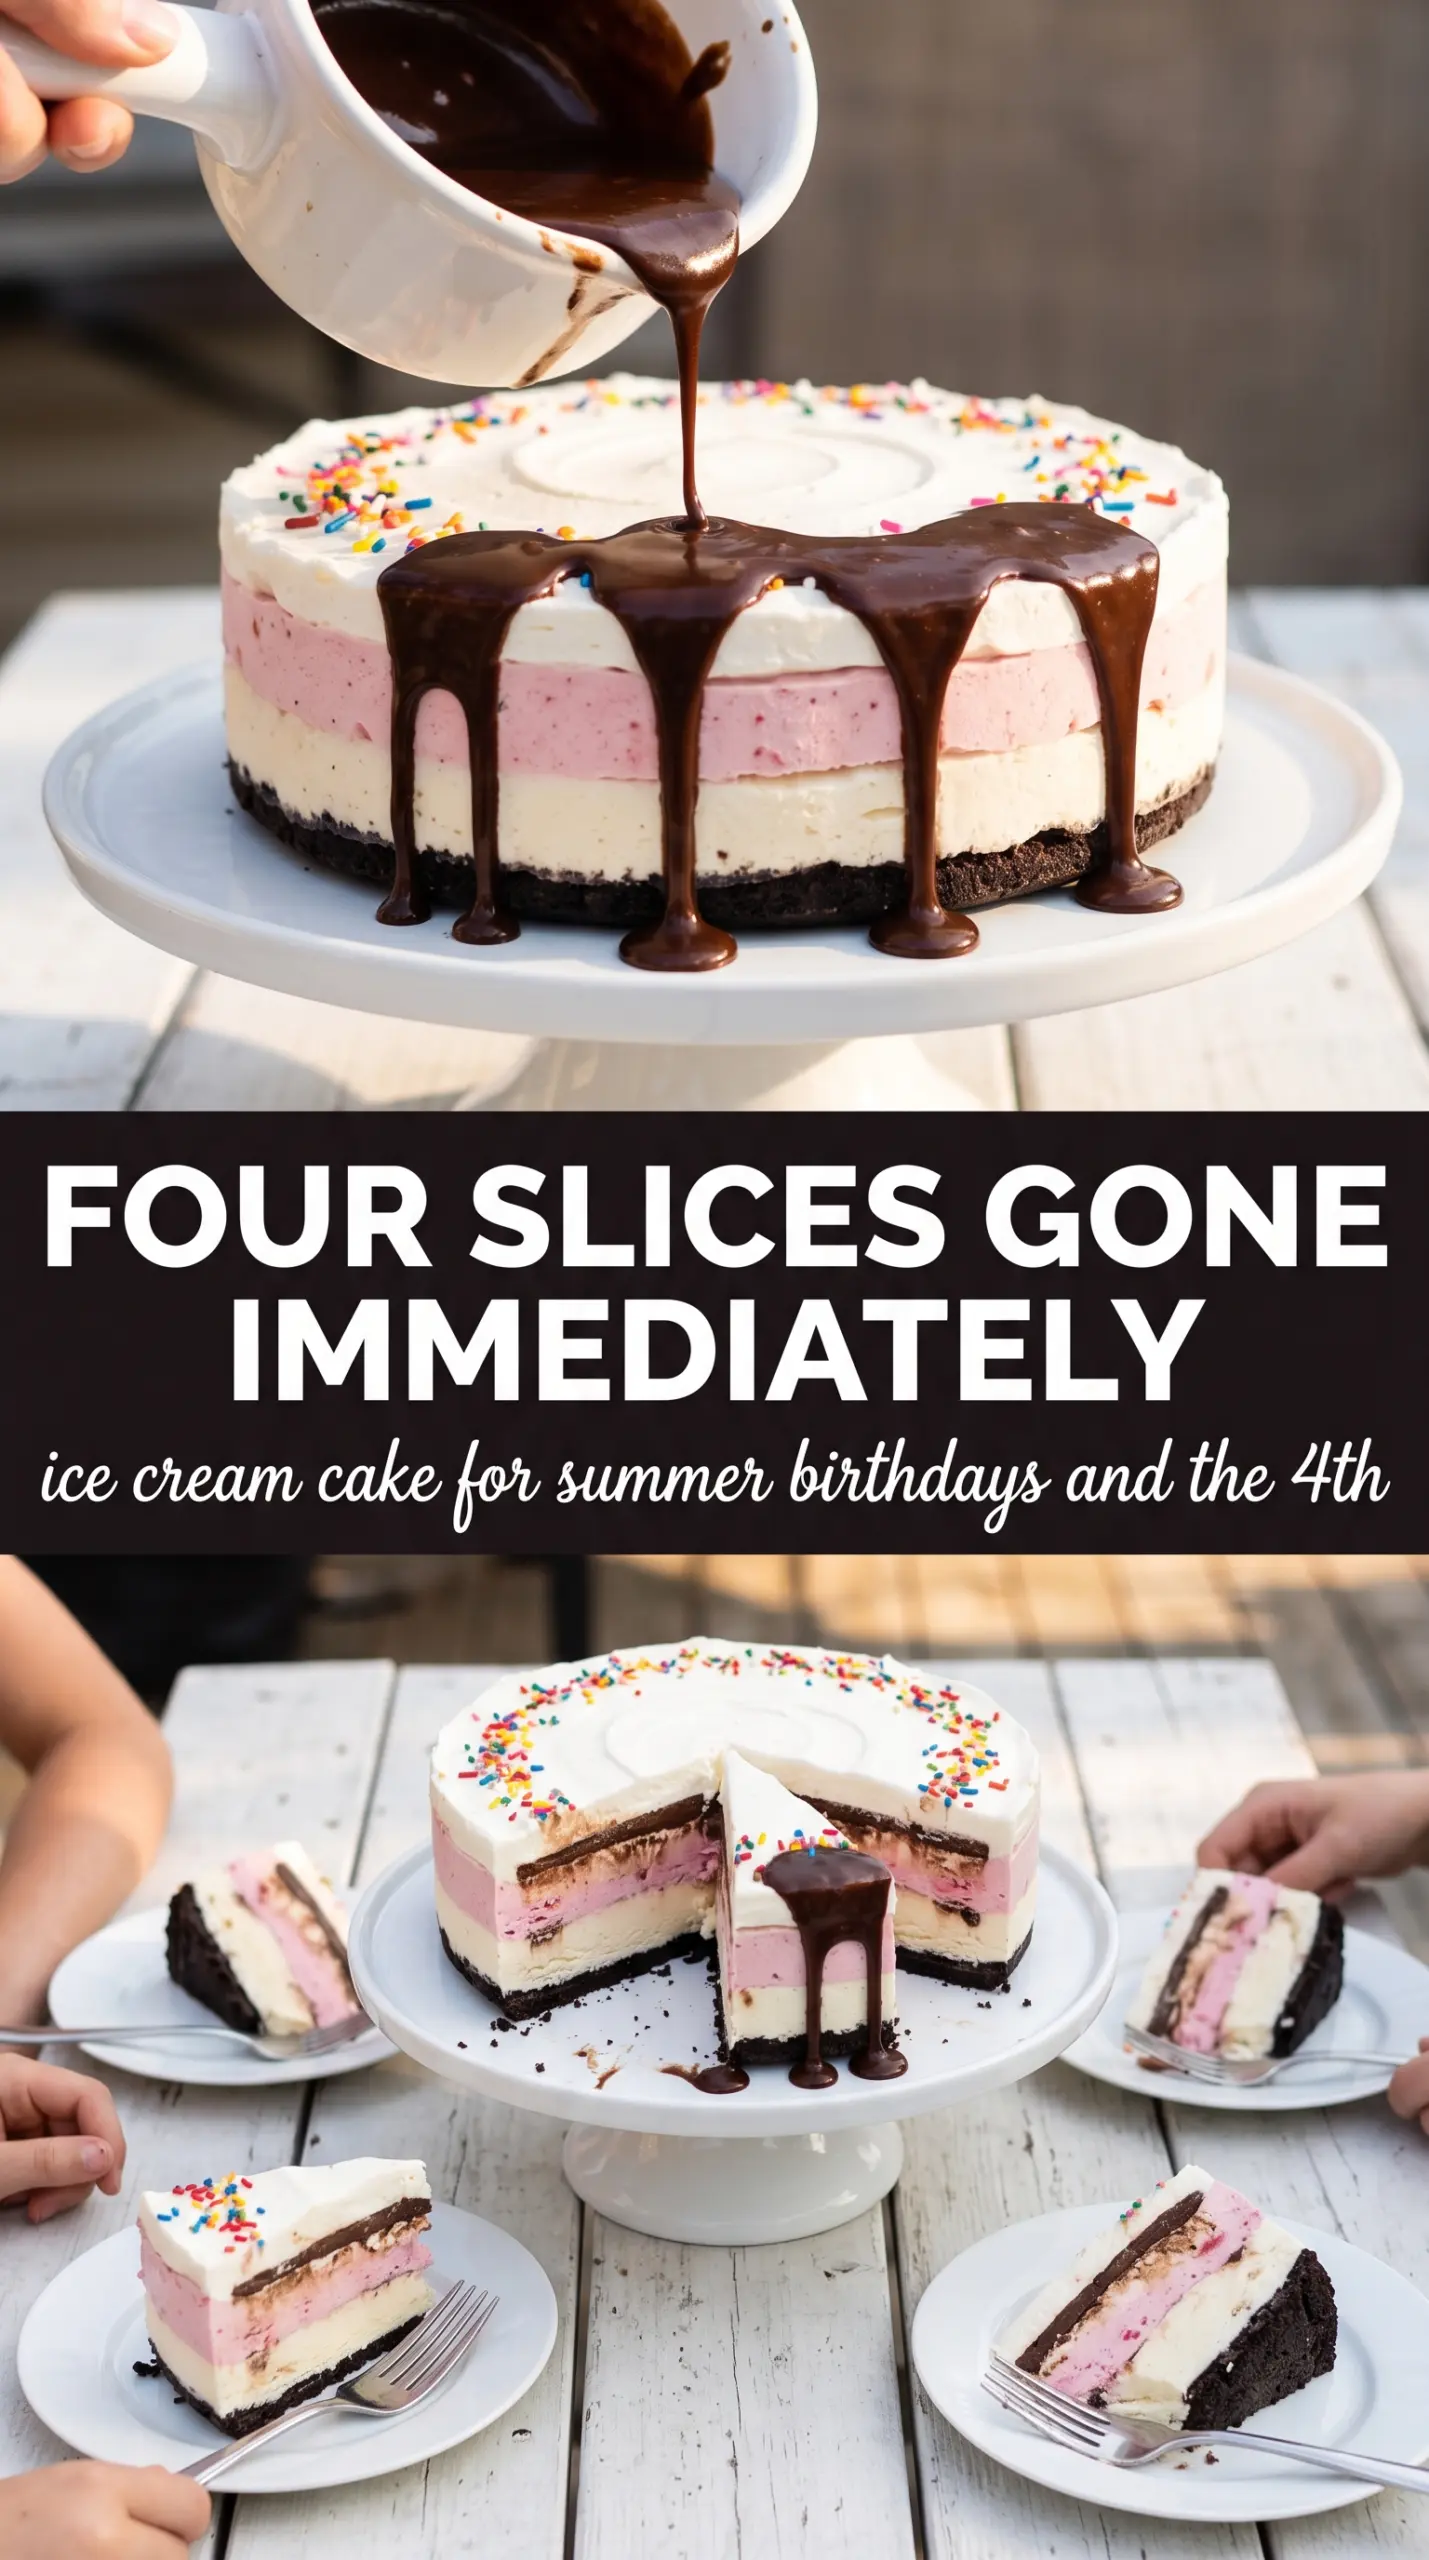
Ice cream cake works best when every layer has a clear job: the cookie crust gives you a firm base, the vanilla and strawberry layers stay clean and distinct, and the fudge ribbon adds that little pocket of richness people always notice in the first bite. When it’s frozen long enough, you get sharp slices instead of a leaning, melty mess, and the contrast between crunchy Oreo crumbs and soft ice cream is what makes this one worth keeping around for birthdays and summer gatherings alike.
The trick is treating the cake like a layering project, not a scoop-and-go dessert. The crust needs to be packed hard enough to hold the ice cream, and each layer needs time in the freezer before the next one goes on. That extra patience keeps the fudge from sinking and the colors from blending together. Slightly softened ice cream spreads easily, but if it gets too warm, the whole cake turns slushy before it ever has a chance to set.
Below, I’ve included the small timing details that make the difference between a neat slice and a sticky scoop, plus a few useful swaps if you want to change the flavor or make it work for a different crowd.
The layers stayed separate and the hot fudge didn’t disappear into the ice cream. I followed the freezing times and got perfect slices with the Oreo crust still crunchy at the bottom.
Like this Oreo ice cream cake? Save it for the next birthday when you want clean layers, a fudge ribbon, and a no-bake dessert that slices beautifully.
The Reason the Layers Stay Clean Instead of Blending
The biggest mistake with ice cream cake is moving too fast between layers. If the first layer isn’t firm before the next one goes in, the boundary gets muddy and the fudge slides into the ice cream instead of sitting neatly between them. The freezer breaks the recipe into stages, and each stage needs enough time to set before the next one starts.
The other failure point is softened ice cream that’s gone past pliable and into soupy. You want it spreadable, not pourable. If it’s too soft, it will melt the crust and leave air pockets around the edges, which makes the cake harder to release cleanly from the pan later.
- Freezing between layers — This is what keeps the stripes of vanilla, fudge, and strawberry distinct. Even 15 minutes matters after the fudge, because it gives the sauce enough structure that the next layer doesn’t drag it around.
- Springform pan — A springform pan is worth using here because it lets you release the cake without inverting it. A regular cake pan can work in a pinch, but you’ll fight the first slice every time.
- Hot knife for slicing — Warm the knife under hot water and wipe it dry before each cut. Cold knives drag through the frozen layers and crack the crust instead of cutting cleanly.
What Each Layer Is Doing in the Cake
- Oreo cookies — These give you both the chocolate flavor and the sturdy crumb for the base. The filling stays in the crumbs, which helps the crust hold together once the butter goes in.
- Butter — Butter binds the cookie crumbs into a sliceable crust. Melted margarine won’t set the same way, so stick with real butter if you want the base to hold once the cake warms slightly at serving.
- Vanilla ice cream — This is the middle layer that gives the cake its classic look and keeps the fudge from competing with too many flavors. A good-quality vanilla matters because it’s the flavor that shows up in every bite.
- Strawberry ice cream — Strawberry adds color and a little brightness against the rich chocolate and vanilla. If you swap in another fruit flavor, pick one that’s already smooth and creamy rather than icy.
- Hot fudge sauce — Use a thick fudge sauce, not a thin chocolate syrup. Syrup turns icy in the freezer; fudge stays soft enough to bite through and gives you that ribbon effect when you slice the cake.
- Whipped topping or stabilized whipped cream — This top layer adds height and keeps the cake looking finished after it comes out of the pan. Stabilized whipped cream holds its shape longer if the cake sits out for a few minutes, while plain whipped topping is the easier choice for fast assembly.
Building the Cake in Stages So It Slices Cleanly
Pressing the Oreo Crust
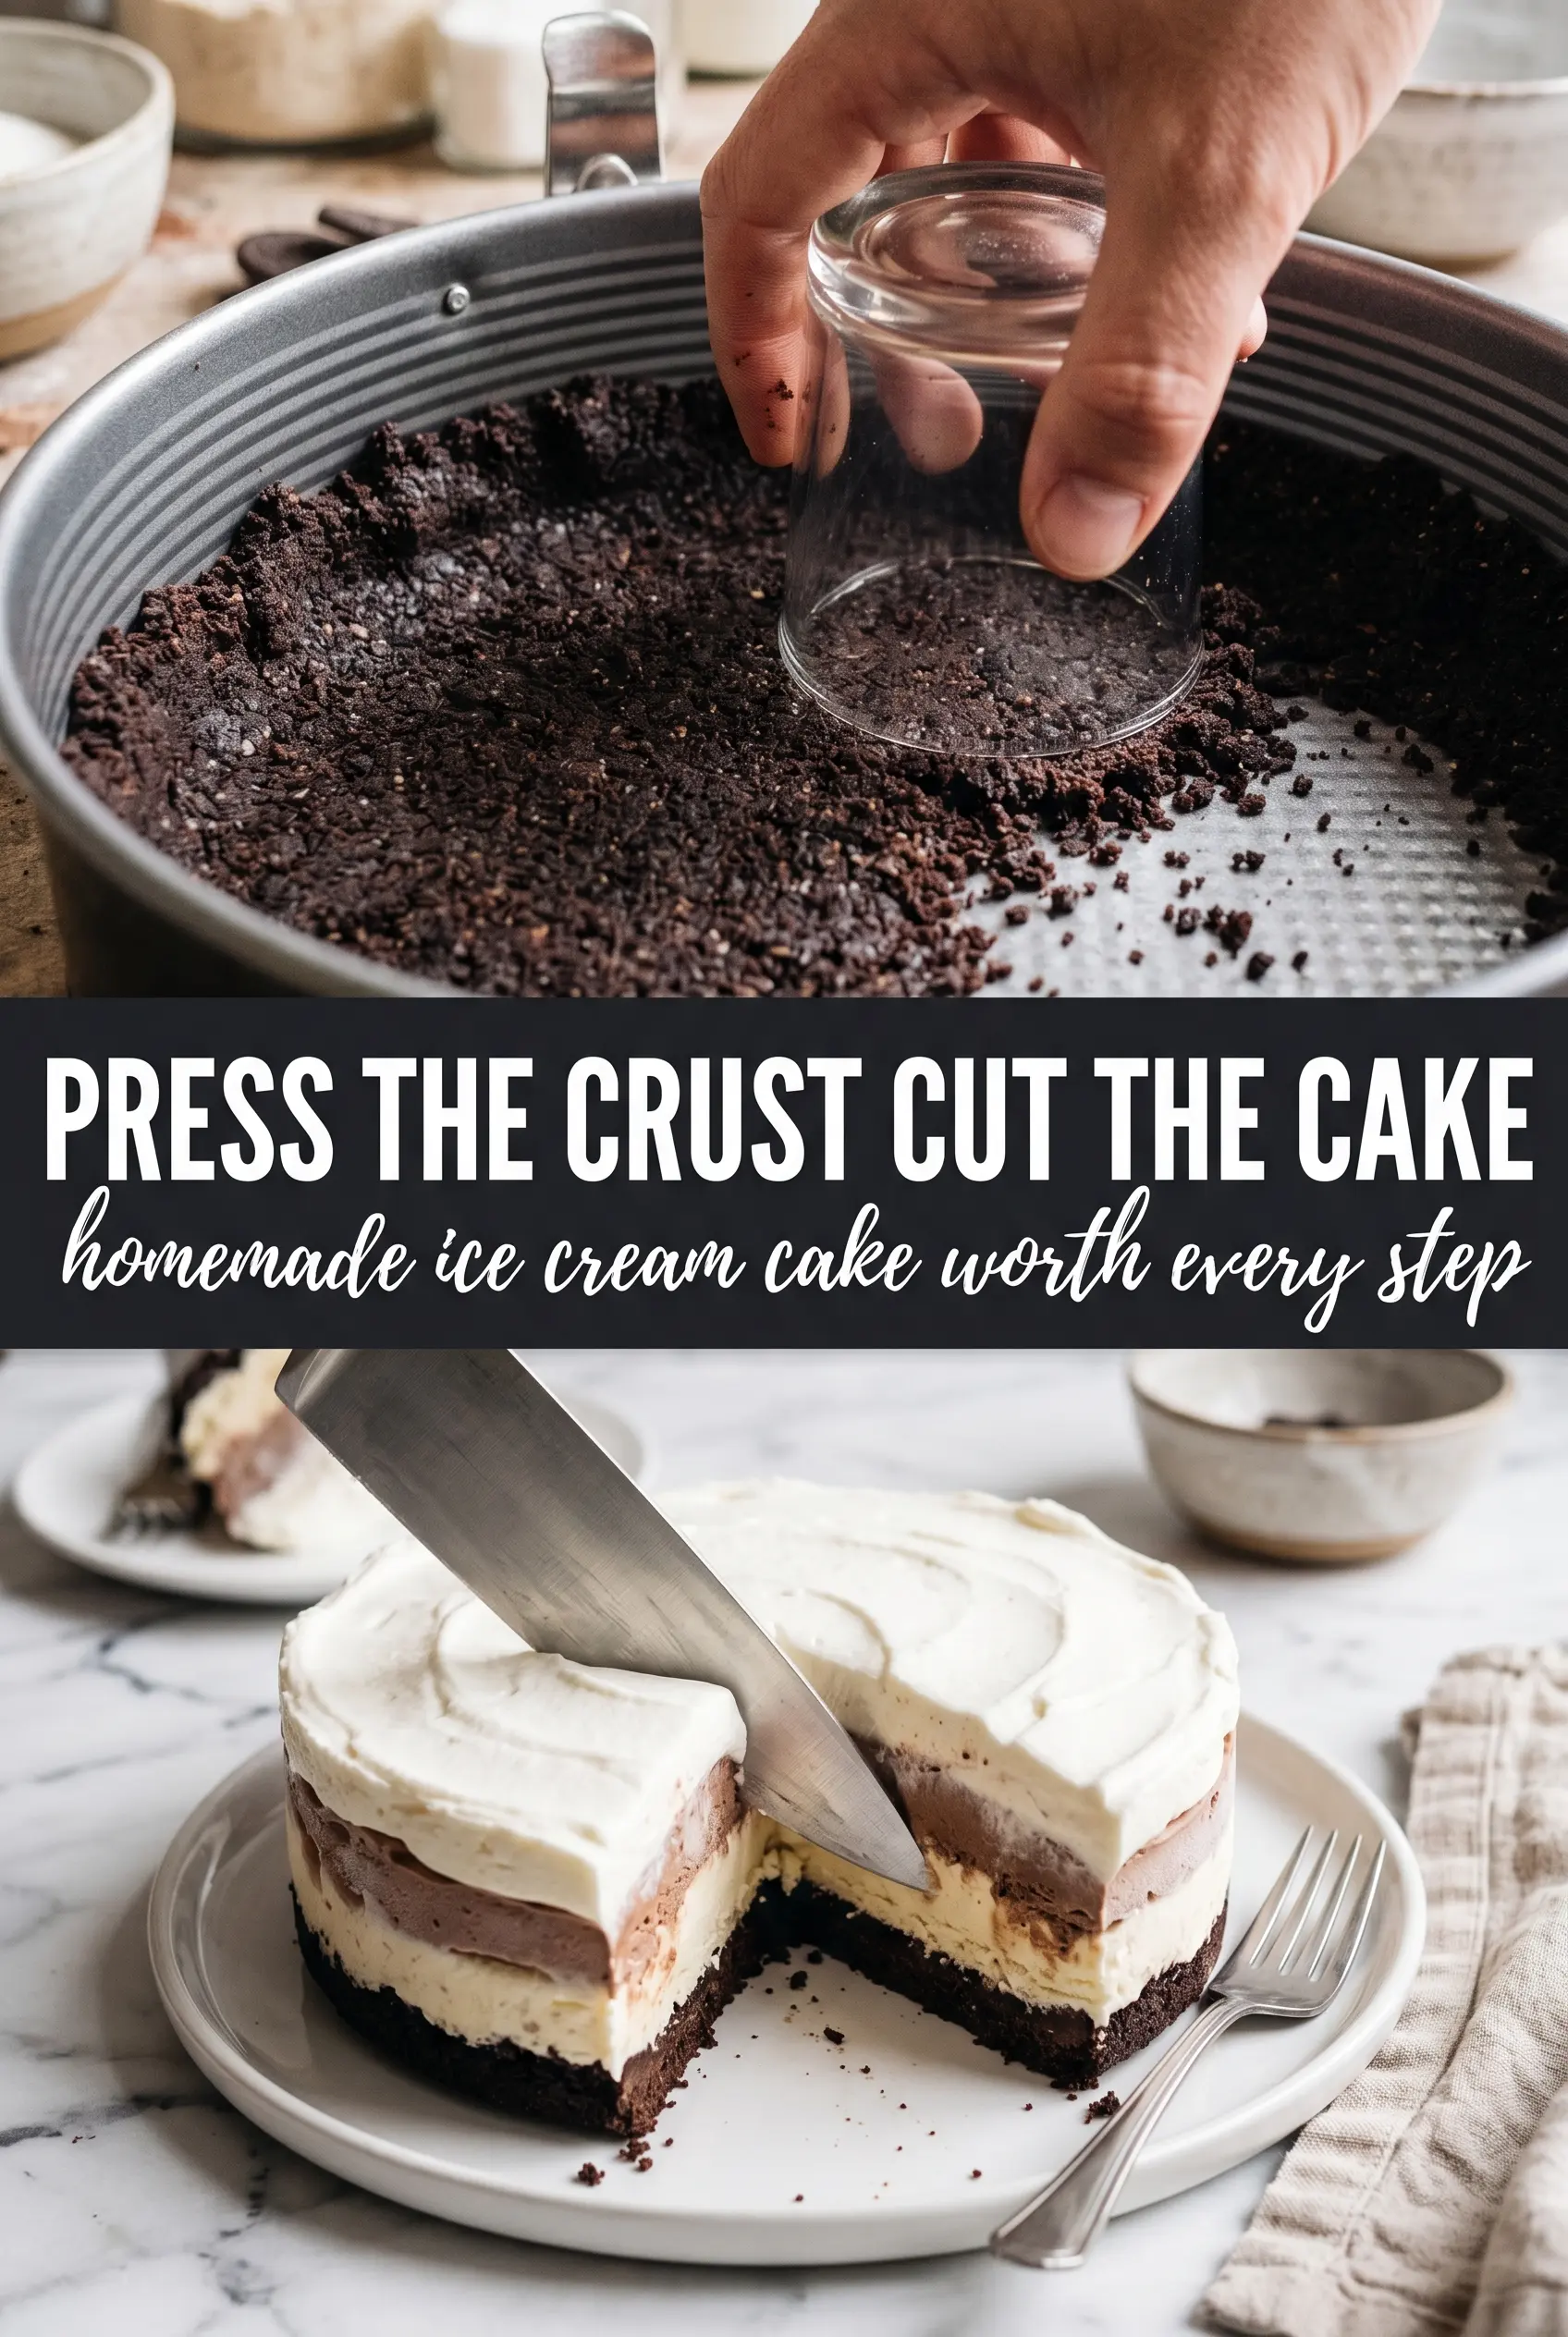
Mix the crushed Oreos with melted butter until every crumb looks evenly damp, then press the mixture firmly into the bottom of a 9-inch springform pan. Use the bottom of a measuring cup or glass to compact it, because loose crumbs will fall apart when you serve the cake. Freeze the crust for 15 minutes so it sets before the ice cream goes on.
Spreading the Vanilla Layer
Spoon the slightly softened vanilla ice cream over the crust and smooth it into an even layer. Work quickly and keep the spoon or spatula moving so the crust doesn’t melt at the edges. If the ice cream starts to pull up crumbs, stop and let it firm a minute longer before you finish smoothing.
Adding the Fudge Barrier
Drizzle the cooled hot fudge over the vanilla layer after it has frozen firm. The layer underneath needs to be solid enough that the fudge sits on top instead of sinking through. If your fudge is too warm, it will melt channels into the ice cream and disappear into the cake instead of making a clear ribbon.
Finishing with Strawberry and Freezing Hard
Spread the strawberry ice cream over the fudge, cover the pan, and freeze it for at least 4 hours or overnight. This is the part that decides whether the cake releases cleanly, so don’t rush it. A full freeze also gives the layers time to bond without soft spots in the center.
Decorating and Slicing
Run a warm knife around the inside edge of the pan before releasing the springform. Transfer the cake to a serving plate, pipe the whipped cream swirls, and add sprinkles right before serving so they stay bright. Slice with a hot knife, wiping it between cuts, and serve immediately before the edges start to soften.
How to Change the Flavor Without Losing the Structure
Chocolate-and-Vanilla Version
Swap the strawberry ice cream for chocolate if you want a more classic cookies-and-cream style cake. The structure stays the same, but the finished cake tastes richer and less fruity, which works well if you’re serving people who want a more straightforward chocolate dessert.
Dairy-Free Ice Cream Cake
Use dairy-free vanilla and strawberry ice cream plus a coconut-based whipped topping. Check the fudge sauce too, since some brands use milk solids; a dairy-free fudge keeps the same layered look without changing the freezing method. The texture can be a little softer, so give it the full overnight freeze if you can.
Gluten-Free Crust Option
Use certified gluten-free chocolate sandwich cookies in place of Oreos if you need the cake to be gluten-free. The crust still compacts and freezes the same way, so you don’t have to change the assembly at all. Just check the fudge and whipped topping labels for hidden gluten if you’re serving someone with celiac disease.
Storage and Reheating
- Refrigerator: Ice cream cake doesn’t belong in the fridge for long. It softens fast, so only let leftovers sit out long enough to slice and serve.
- Freezer: Wrap leftover cake tightly in plastic wrap and then foil, or keep slices in an airtight container. It holds best for up to 1 week before the whipped topping and crust start losing their texture.
- Reheating: Don’t reheat it. For clean slices, let the cake sit at room temperature for 5 to 10 minutes, then cut with a hot knife. If it softens too much, put it back in the freezer for 15 minutes before serving.
Questions I Get Asked About This Recipe
Ice Cream Cake
Ingredients
Equipment
Method
- Mix crushed Oreo cookies with melted butter until the crumbs look evenly coated, then press firmly into the bottom of a 9-inch springform pan so it forms a compact layer. Freeze for 15 minutes, until the crust feels set.
- Spread slightly softened vanilla ice cream in an even layer over the Oreo crust and smooth the top to cover completely. Freeze for 1 hour until firm, with the surface no longer soft.
- Drizzle slightly cooled hot fudge sauce over the vanilla layer in a thin ribbon pattern, then lightly smooth only if needed to distribute it. Freeze for 15 minutes to set the fudge.
- Spread slightly softened strawberry ice cream over the fudge layer, smooth the top, and cover with plastic wrap to prevent freezer burn. Freeze for at least 4 hours or overnight until fully firm.
- Run a warm knife around the edge, release the springform pan, and transfer the cake to a serving plate. Use a clean, steady lift to keep the edges intact.
- Pipe whipped topping swirls around the top edge, then scatter rainbow or patriotic sprinkles across the center for color. Slice with a hot knife and serve immediately, showing the distinct Oreo, vanilla, fudge, and strawberry layers.