Golden, bubbling apple crumble is one of those desserts that disappears fast, especially when the topping bakes into those crisp, sandy nuggets that crack under a spoon. This version gets that contrast right: soft fruit underneath, a nutty crumble on top, and just enough spice to make the apples and pears taste fuller without drowning them out.
The pear is the quiet trick here. Apples bring structure, pears melt a little and turn the filling glossy, so you get a richer spoonful without needing extra thickener. I also like the ground almonds in the topping because they keep the crumble from going dusty or dry; the texture stays craggy and buttery instead of turning into a flat cookie layer. A brief pre-cook on the fruit takes the edge off the raw apple bite and gives you that bubbling finish in the oven.
Below you’ll find the small details that matter most: how to keep the topping crisp, how to avoid a watery filling, and a few easy swaps if you’re working with what’s already in the kitchen.
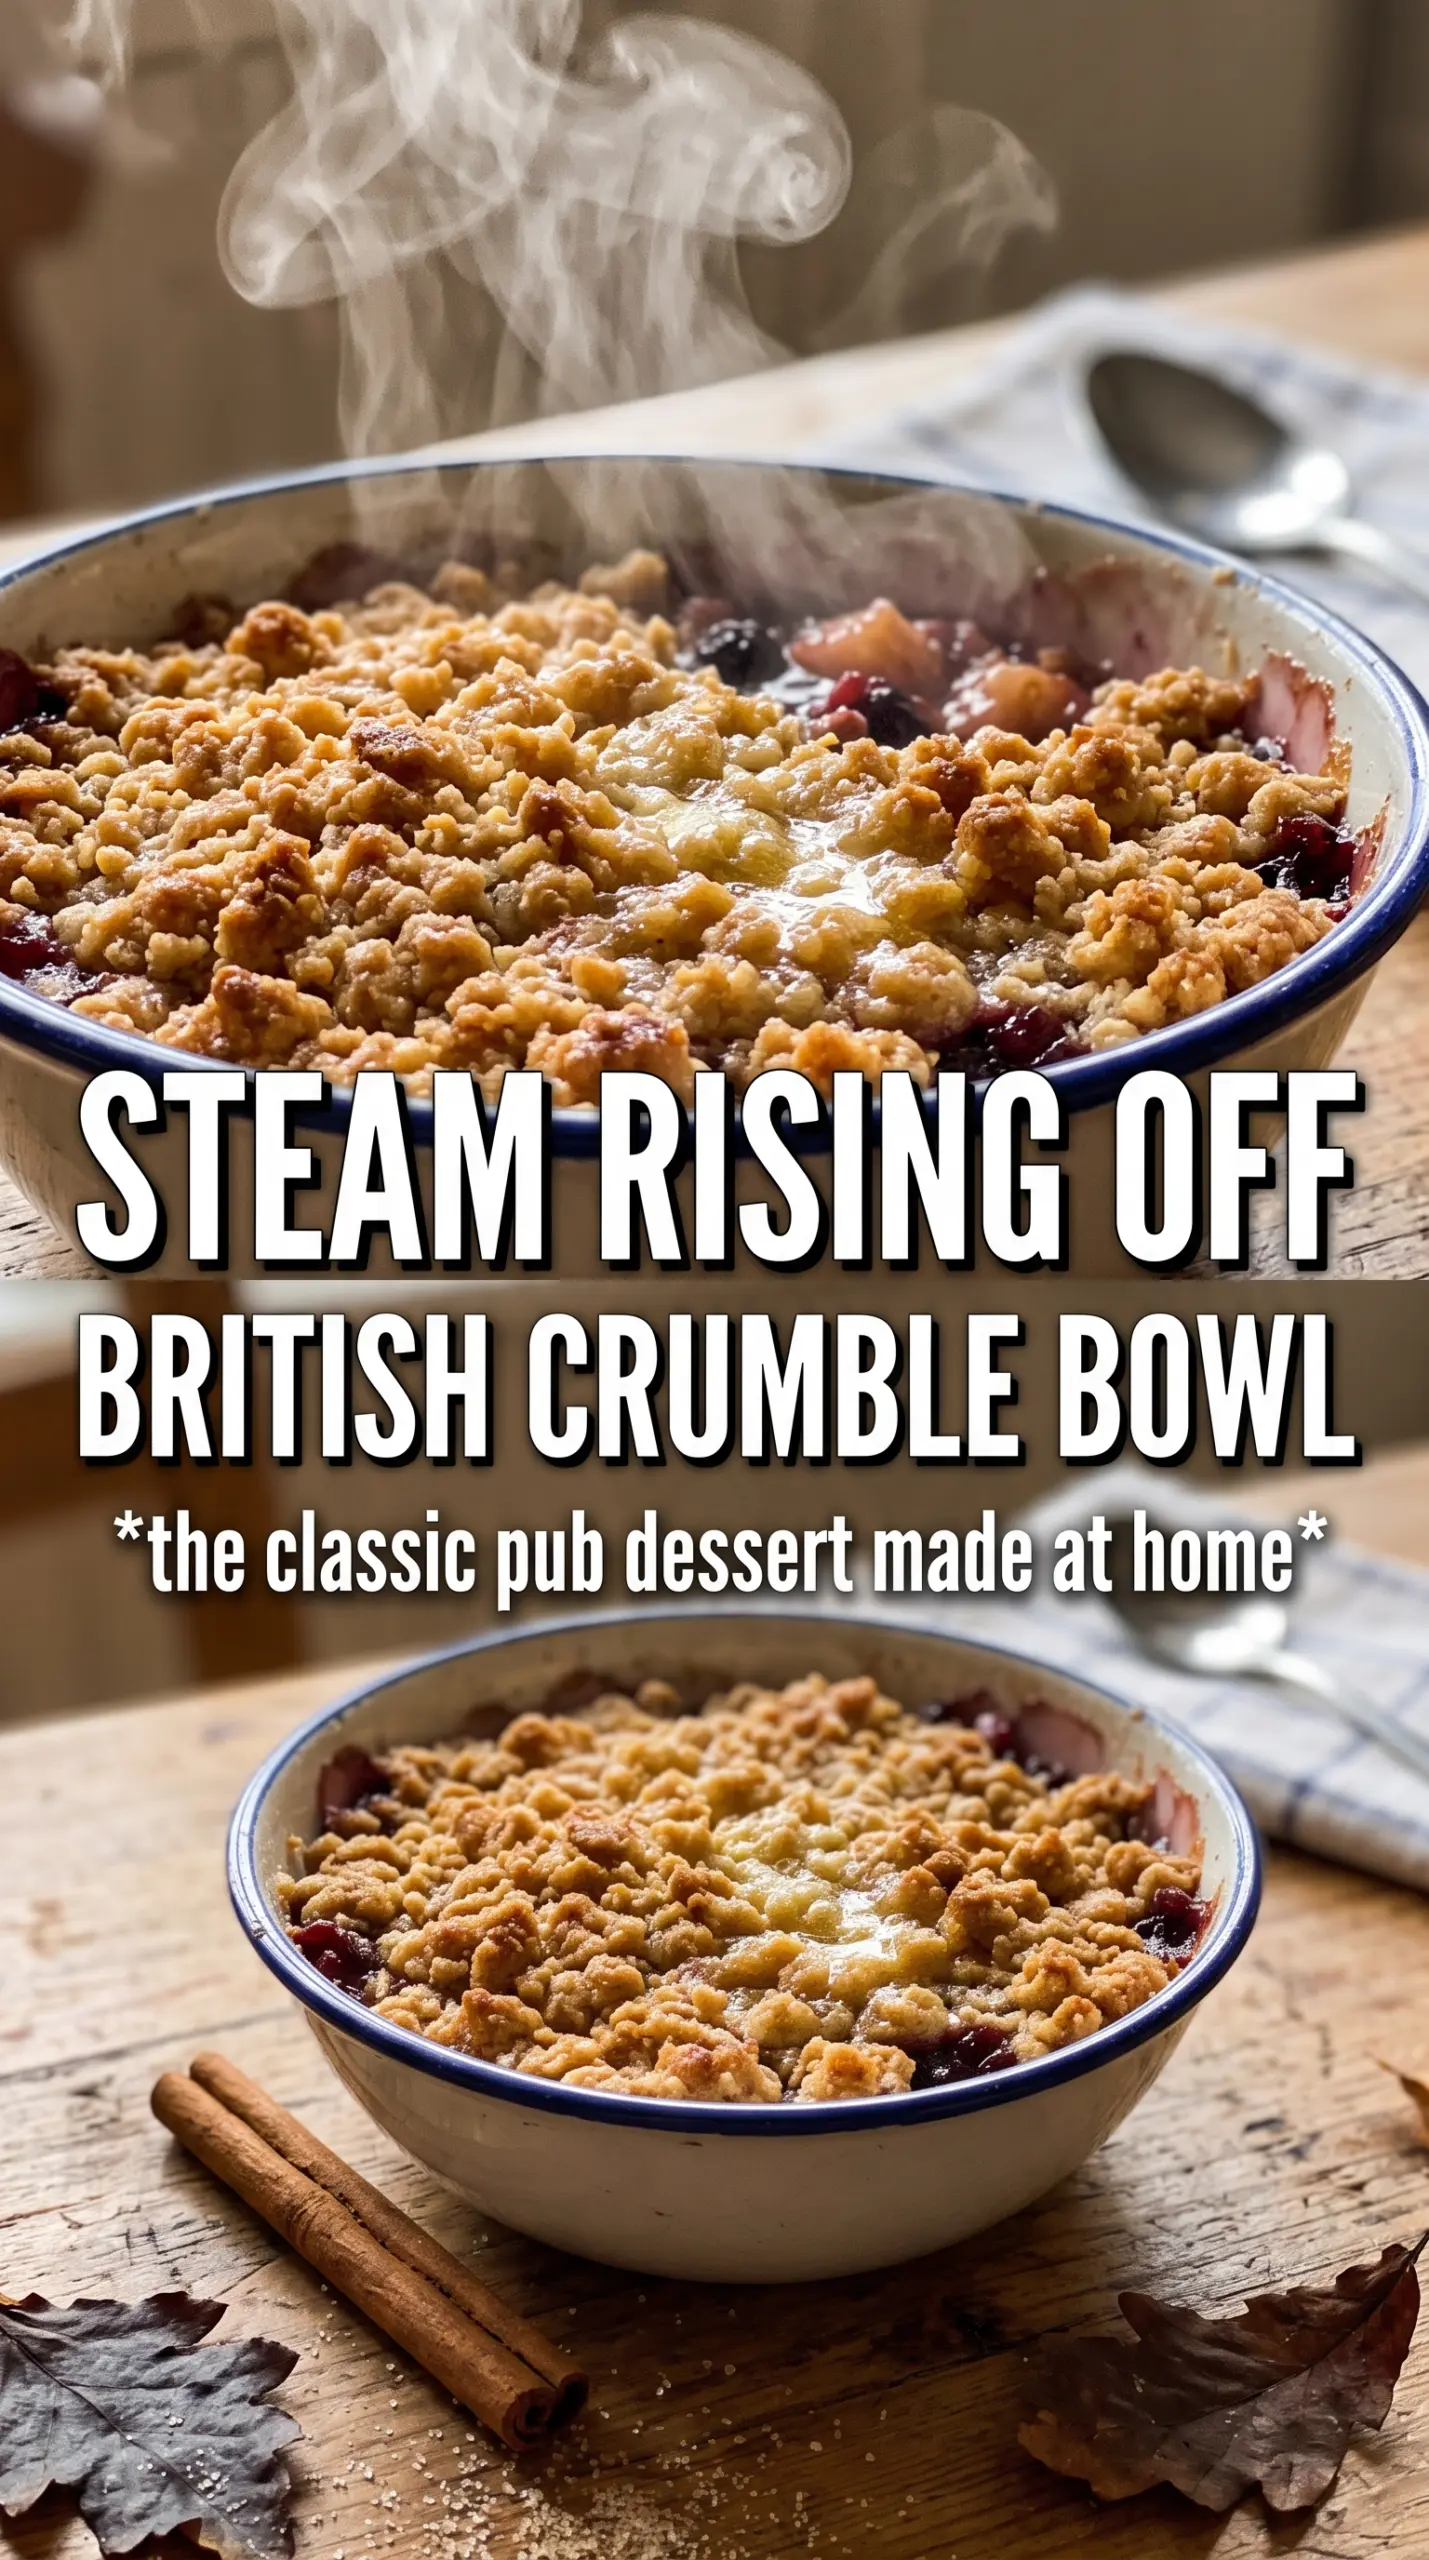
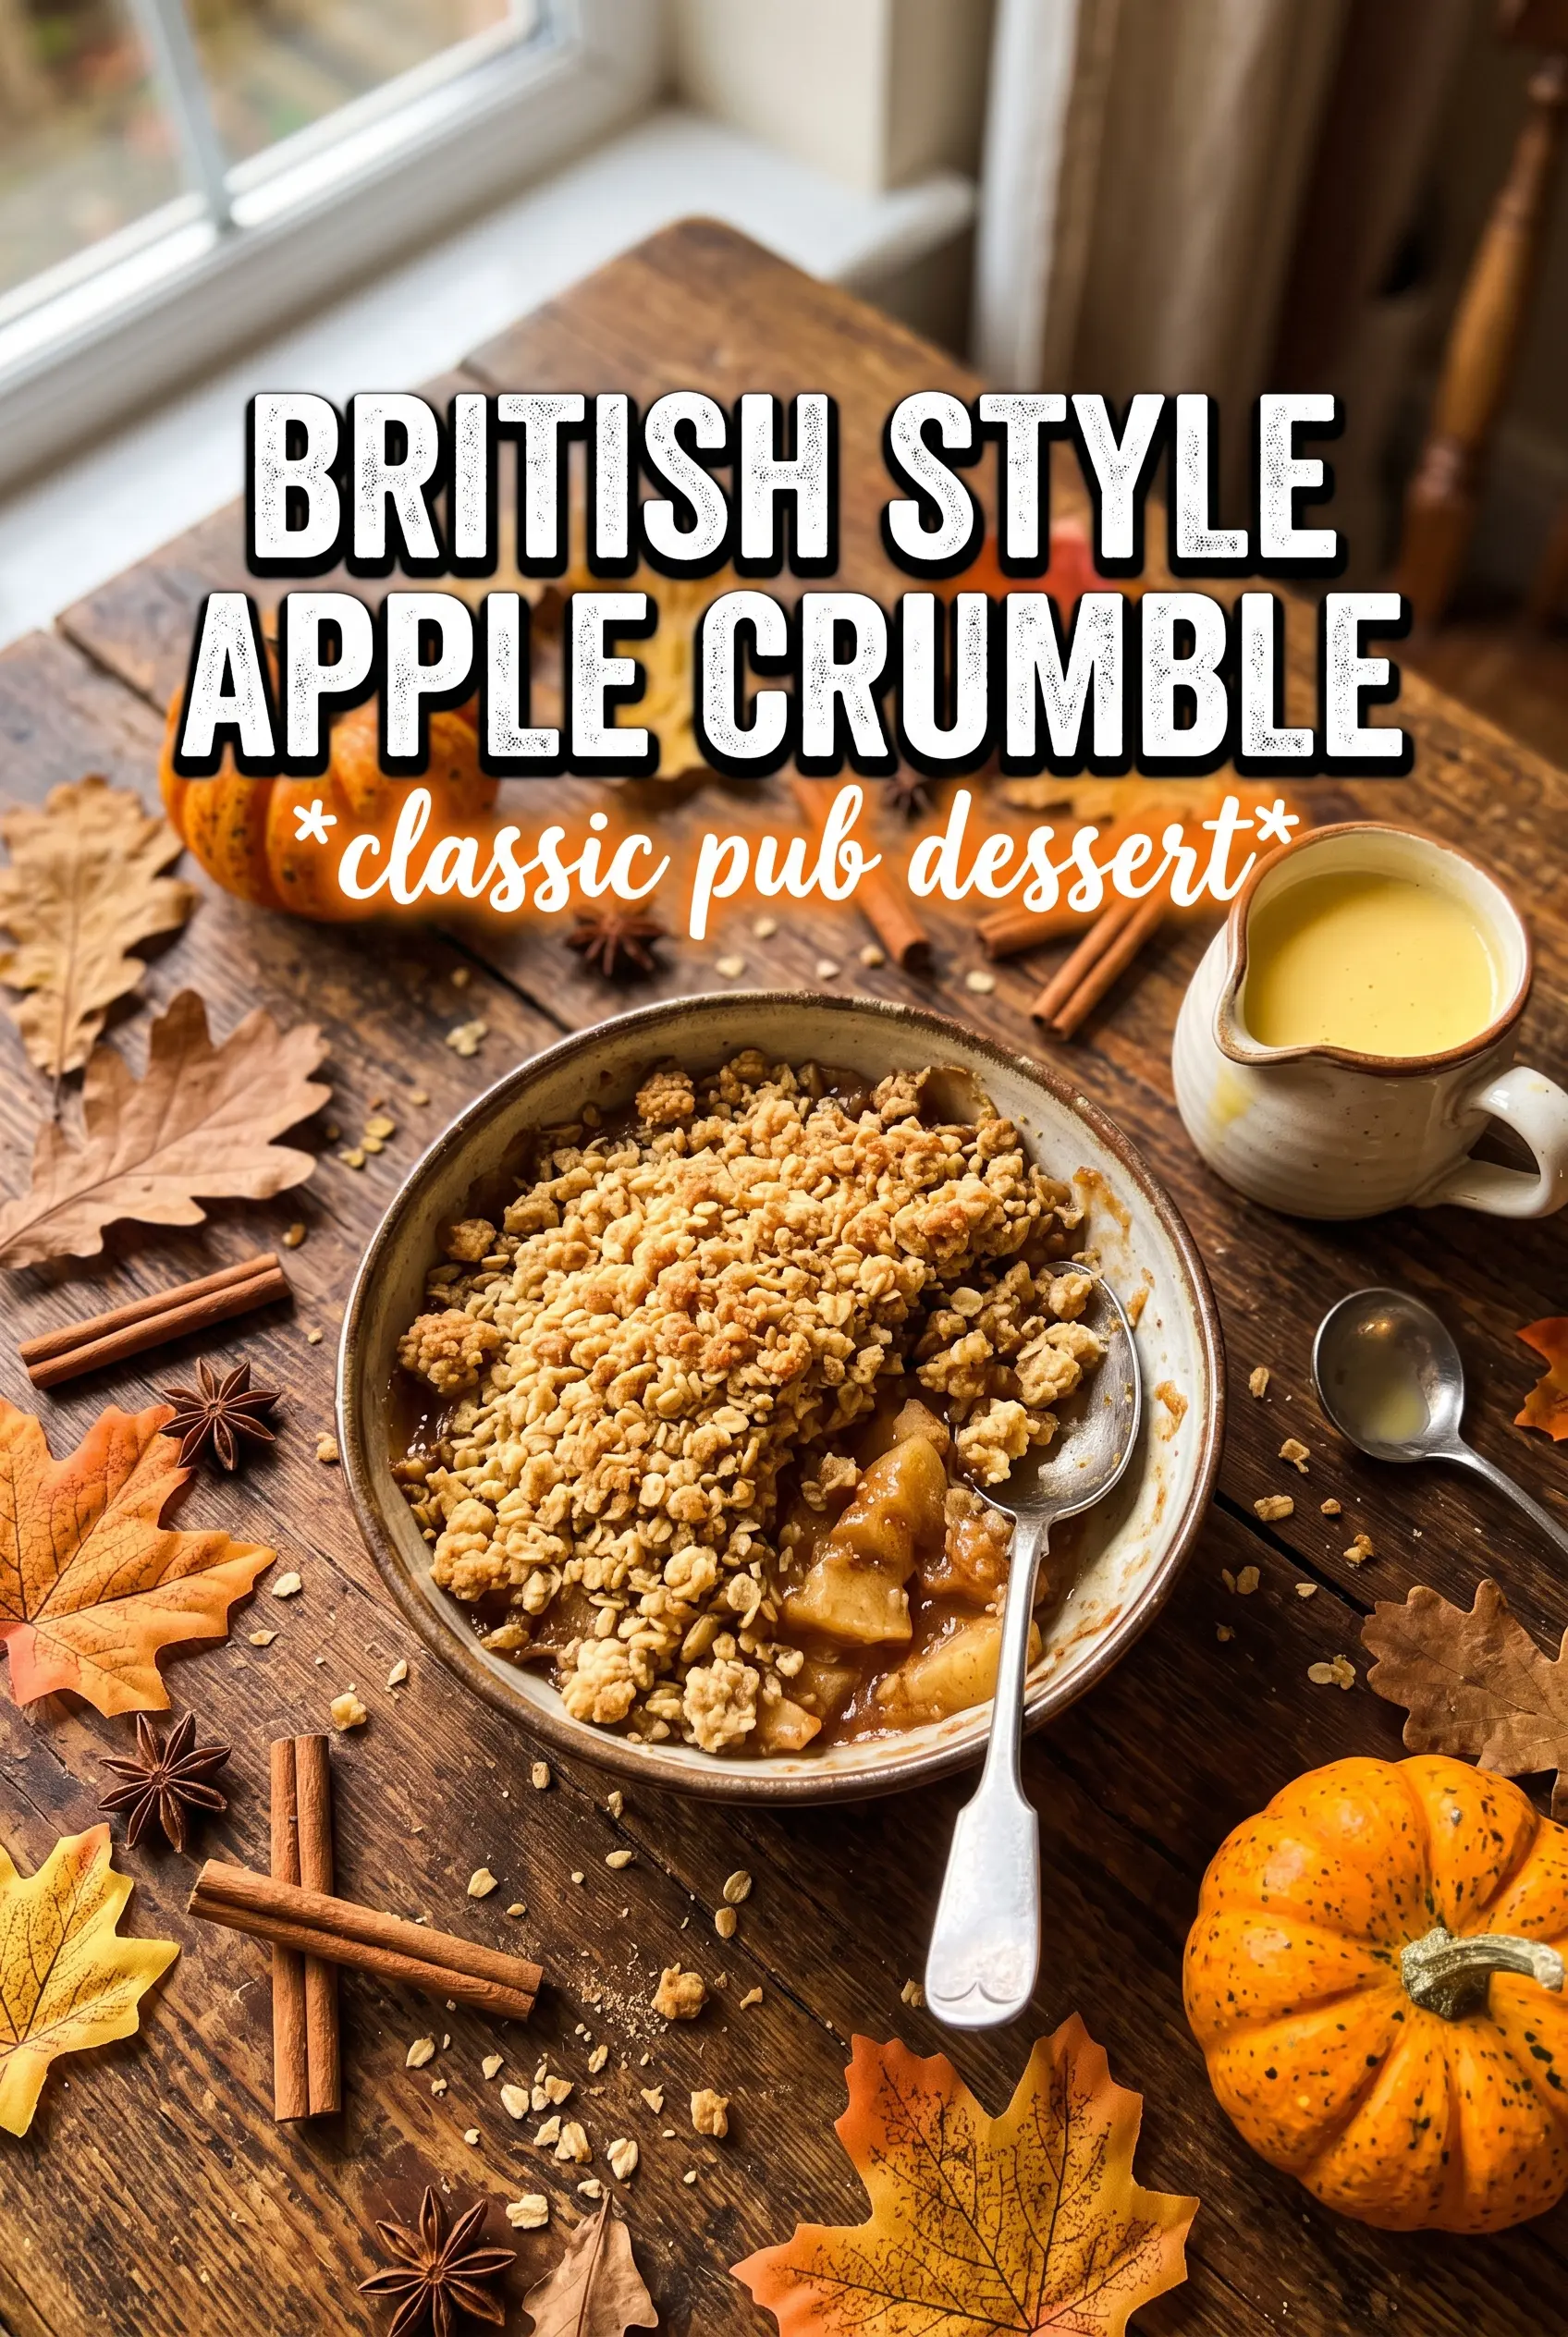
The topping baked up crisp and sandy, and the apples with pears turned soft without going mushy. I served it with custard and the pan was scraped clean.
Save this apple and pear crumble for the nights when you want a crisp, buttery topping and a bubbling fruit filling with custard.
The Mistake That Turns Crumble Topping Dense Instead of Crisp
The topping lives or dies on how cold the butter stays. If you rub it too far and end up with a paste, the oven has nothing left to melt into little pockets, so the finished crumble bakes up heavy instead of nubbly. You want rough breadcrumbs with a few bigger bits still visible; those shards brown into the best crunchy pieces.
The fruit needs a short head start on the stove for the same reason. Apples and pears release juice as they heat, and if they go into the oven raw, the topping sits on a pool of liquid long enough to soften before it browns. A quick cook concentrates the juices just enough that the crumble can stay on top where it belongs.
- Cold butter in the topping — straight from the fridge is best. Soft butter blends too smoothly and gives you a cakier finish.
- Ground almonds — they add richness and help the topping bake into a looser, sandier crumb. If you skip them, the crumble is still fine, just less interesting.
- Demerara or raw sugar — this is what gives you those crunchy, caramelized bits on top. Fine sugar melts too evenly.
What Each Ingredient Is Doing in the Fruit Layer
- Apples — they hold their shape and give the filling structure. Use a mix of sweet and tart if you can; it keeps the crumble from tasting flat.
- Pears — ripe pears soften into the sauce-like part of the filling. If yours are very soft already, cook them a little less with the apples so they don’t disappear completely.
- Lemon zest — it wakes up the fruit and keeps the sweetness from feeling heavy. Fresh zest matters here; bottled lemon juice won’t give the same lift.
- Cinnamon and mixed spice — these should smell warm, not dusty. If your spices have been sitting around for years, the crumble will taste dull no matter how good the fruit is.
Building the Fruit and Topping So They Bake at the Same Pace
Softening the Filling First
Melt the butter in a large ovenproof pan, then add the apples, pears, sugar, spices, and lemon zest. Cook until the fruit just begins to relax and the sugar has coated everything in a glossy sheen, about 5 to 7 minutes. You are not trying to make jam here. Stop while the slices still hold their shape, because they will soften more in the oven. If the pan looks dry, the fruit may be too tart or the heat too low; let the juices come out before moving it to the baking dish.
Rubbing in the Crumble
Put the flour and cold cubed butter in a bowl and rub with your fingertips until the mixture looks like rough breadcrumbs with some pea-sized bits left behind. Those uneven pieces are what give you texture after baking. Stir in the sugars, ground almonds, and cinnamon just until combined. If you work it too much, the butter starts melting from the warmth of your hands and the topping loses its crumbly edge.
Baking to a Proper Crisp Top
Spread the crumble over the fruit without packing it down. A loose layer lets steam escape and gives the top room to dry out and brown. Bake until the surface is deep golden and the fruit is bubbling at the edges, 35 to 40 minutes. If the top is browning too fast before the filling bubbles, move the dish lower in the oven for the last 10 minutes.
Make It Dairy-Free Without Losing the Crisp Edge
Use a firm plant-based butter block instead of regular butter. The flavor changes a little, but the topping still bakes up properly as long as the substitute stays cold and is rubbed in the same way. Soft tub spreads can make the crumble greasy, so they are the wrong choice here.
How to Make It Gluten-Free
Swap the plain flour for a good 1:1 gluten-free flour blend. The crumble will be a little more tender and less sandy, but the almonds help keep the texture balanced. Don’t use almond flour alone unless you want a much softer, more delicate topping.
Using Only Apples
If you don’t have pears, add another apple and reduce the pre-cook time a little, since apples hold their shape more firmly. The filling will taste brighter and a bit less lush, but it still bakes beautifully. A splash of extra lemon zest helps keep the flavor lively.
Storage and Reheating
- Refrigerator: Keep covered for up to 4 days. The topping softens a little as it sits, but the flavor stays good.
- Freezer: Freeze in portions once completely cool. Wrap well and freeze for up to 2 months; thaw overnight before reheating.
- Reheating: Warm in a 180C (350F) oven until hot through and the top starts crisping again. The microwave will heat the fruit, but it turns the crumble soft, which is the part most people notice first.
Answers to the Questions Worth Asking
Jamie Oliver Apple Crumble
Ingredients
Equipment
Method
- Preheat your oven to 190C (375F). Let it fully come up to temperature before baking.
- Melt the unsalted butter in a large ovenproof pan, then add the apples, pears, granulated sugar, ground cinnamon, mixed spice or allspice, and lemon zest. Cook for 5-7 minutes until the fruit is slightly softened.
- Transfer the fruit mixture into a baking dish. Spread it out so the edges can bubble as it bakes.
- In a bowl, combine the plain all-purpose flour and the cold unsalted butter cubes. Rub them together with your fingertips until the mixture resembles rough breadcrumbs.
- Stir in the demerara or raw sugar, light brown sugar, ground almonds, and cinnamon. Mix briefly until evenly combined.
- Spread the crumble over the fruit without packing it down. Leave it lightly scattered so it turns crisp and golden.
- Bake for 35-40 minutes at 190C (375F) until golden and the fruit bubbles at the edges. Look for a crisp, caramelized topping surface.
- Let the crumble cool slightly, then serve with custard or pouring cream. Spoon generously while the fruit is still hot.