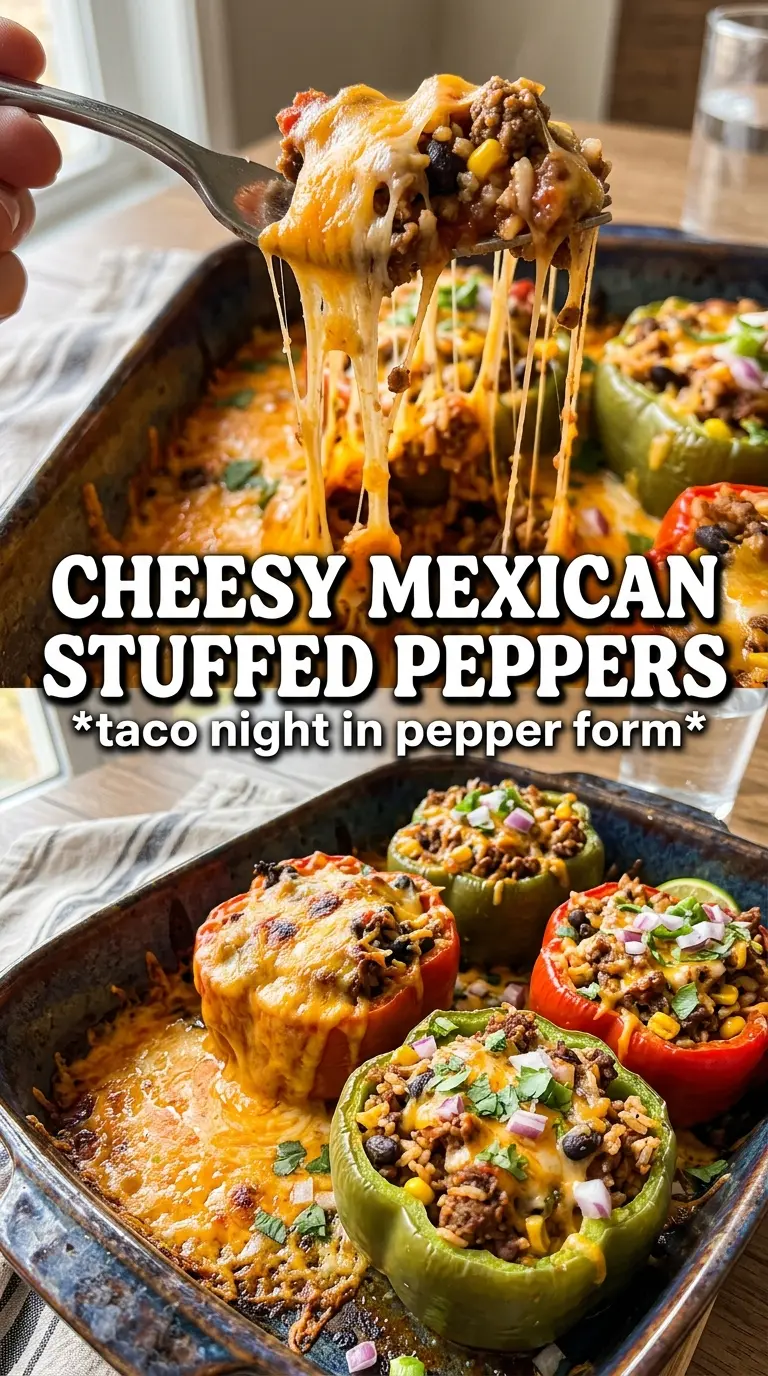
Roasted bell peppers make the best kind of edible bowl here: sweet, tender at the edges, and sturdy enough to hold a filling that’s bold, savory, and just a little saucy. Once they come out of the oven with the cheese melted over the top, they eat like a full dinner without feeling heavy. The rice stretches the filling, the black beans add substance, and the salsa keeps everything juicy instead of dry.
The part that matters most is giving the peppers a head start in the oven before they’re filled. Raw peppers take too long to soften, and by the time the filling is hot, the pepper itself can still taste firm and undercooked. A short roast first fixes that. I also like to cook the beef mixture until the salsa has thickened a bit, because stuffing peppers with a watery filling turns the bottom soggy fast.
Below, I’ve included the small details that keep these peppers from collapsing or drying out, plus a few easy swaps if you need to work with what’s already in your kitchen.
The peppers softened perfectly after the first roast, and the filling stayed hearty without getting watery. My husband kept going back for another half because the cheese browned up just right.
Roasted Mexican stuffed peppers with beef, rice, and bubbling cheddar are perfect for a hearty dinner night.
The Reason These Peppers Stay Tender Instead of Turning Watery
The biggest mistake with stuffed peppers is treating the pepper and the filling like they cook on the same clock. They don’t. The pepper needs enough time to soften first, or you end up with a filling that’s done before the pepper is pleasant to eat. Roasting the halves cut-side down with a little water in the pan gives them a jump start without drying them out.
The other thing that matters is moisture control inside the skillet. Taco-seasoned beef, salsa, beans, and corn can all taste great together, but if the mixture stays loose, it leaks into the pepper and pools at the bottom. Cook it just long enough for the salsa to coat the beef and rice instead of sitting like extra liquid.
- Roasted bell peppers — This first roast is what gives the peppers that soft, spoonable texture. Skip it and the edges stay too firm.
- Cooked rice — White rice gives the filling structure and soaks up the juices. Freshly cooked rice works best if it’s not overly wet.
- Black beans — They add body and keep the filling from feeling all meat. Rinse them well so the filling doesn’t taste muddy.
- Salsa — This is the shortcut that adds seasoning and moisture at the same time. Use a thicker salsa if yours tends to be loose.
What Each Ingredient Is Doing in the Filling
- Ground beef — This brings the main savory base. An 85/15 blend has enough fat for flavor without making the filling greasy; if you use leaner beef, keep an eye on the pan so the mixture doesn’t dry out.
- Onion and garlic — They build the background flavor before the taco seasoning goes in. Let the onion soften fully so it melts into the filling instead of staying crunchy.
- Taco seasoning — This carries the cumin, chili, and salt in one packet, which is why it works so well here. Homemade seasoning works too, but you’ll need to season a little more deliberately.
- Mexican cheese blend — The blend melts evenly and gives you that browned, stretchy top. If you swap in cheddar alone, the flavor gets sharper but the melt is still good.
- Sour cream, tomatoes, cilantro, and jalapeño — These finish the dish with cool, fresh, and bright contrast. Don’t add them before baking or they lose the fresh bite that makes the plate feel complete.
Building the Filling So the Peppers Hold Their Shape
Softening the Peppers First
Set the pepper halves cut-side down in the baking dish and add the water to the pan. After 15 minutes, the flesh should look slightly glossy and the edges should just start to relax. That head start is what keeps the final dish from eating like raw pepper with hot filling inside. If your peppers are especially large or thick-walled, give them a few extra minutes before flipping.
Cooking the Beef Mixture Until It Clings
Brown the beef with the onion until the meat loses its pink color and the onion turns translucent. Drain off excess fat so the filling doesn’t puddle, then add the garlic and taco seasoning. Stir in the rice, beans, salsa, and corn, and cook long enough for the mixture to look cohesive and spoonable. If the skillet still looks soupy, keep it on the heat another minute or two; that moisture is what can make the peppers collapse later.
Filling, Baking, and Finishing
Spoon the mixture generously into the pepper halves, then top with the cheese so it blankets the filling instead of just sitting in the middle. Bake until the cheese is melted and bubbling and the pepper edges look fully tender. The best cue is a fork that slides through the pepper wall without resistance. Finish with sour cream, tomatoes, cilantro, and jalapeño right before serving so the top stays bright and fresh.
How to Adapt These Stuffed Peppers for What’s in Your Kitchen
Swap the Beef for Ground Turkey
Ground turkey works well if you want a lighter filling, but it needs a little help with flavor. Use the same seasoning, and don’t skip draining the pan only after the turkey has browned, or you’ll lose too much moisture and end up with a dry filling.
Make It Vegetarian Without Losing Body
Leave out the beef and add an extra can of black beans, or mix in cooked lentils for more texture. The key is keeping the filling thick and well seasoned so the peppers still feel substantial after baking.
Make It Gluten-Free
This recipe is naturally close to gluten-free, but check the taco seasoning and salsa labels. Some seasoning packets contain flour or maltodextrin-based fillers, so use a certified gluten-free blend if that matters for your kitchen.
Storage and Reheating
- Refrigerator: Store leftovers in an airtight container for up to 4 days. The peppers soften a little more as they sit, but the flavor holds up well.
- Freezer: These freeze well, especially if you leave off the fresh toppings. Wrap each stuffed pepper half tightly and freeze for up to 2 months.
- Reheating: Reheat in a 350°F oven, covered, until hot through. The microwave works in a pinch, but the cheese turns patchy and the pepper can go limp if you blast it too long.
Questions I Get Asked About This Recipe
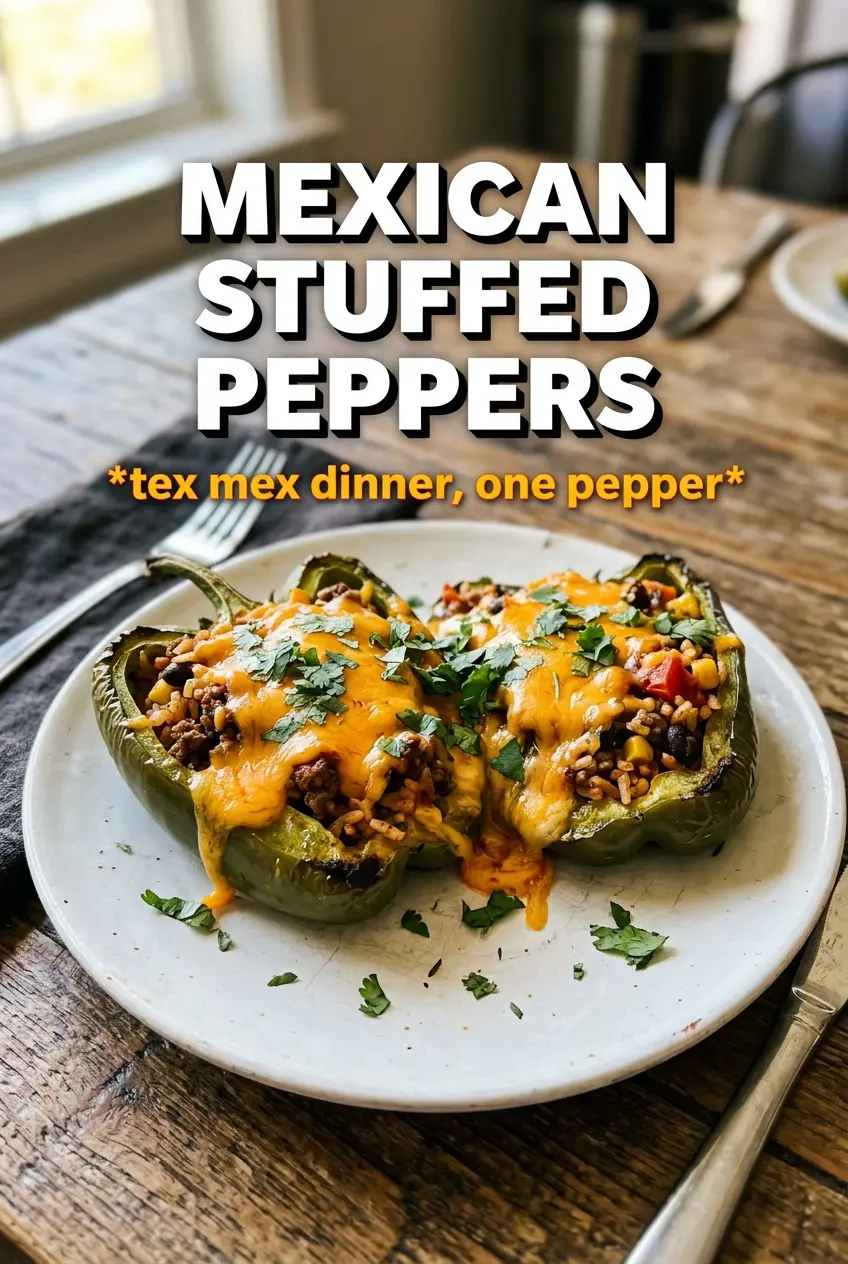
Mexican Stuffed Peppers
Ingredients
Equipment
Method
- Preheat the oven to 400°F, then place pepper halves cut-side down in a baking dish with 1/4 cup water. Roast for 15 minutes until slightly softened, and the pepper surface should look just glossy from heat.
- Flip the pepper halves cut-side up so the cavity faces upward, and position them ready for filling. Keep them at 400°F.
- Brown the ground beef and diced onion in a skillet over medium-high heat. Cook until the beef is no longer pink and the onion is softened.
- Drain the fat from the skillet, then add minced garlic and taco seasoning and stir for about 30 seconds. You should smell garlic and spices strongly.
- Stir in cooked rice, black beans, salsa, and frozen corn, then cook for 3–4 minutes until the mixture is hot and cohesive. The filling should look thick enough to hold its shape when spooned.
- Spoon the beef and rice mixture generously into each pepper half. The tops should be mounded above the rim of the pepper.
- Sprinkle shredded Mexican cheese blend over each pepper until fully covered. The cheese should form an even layer.
- Bake for 15–18 minutes at 400°F until the cheese is melted and bubbly. Look for browned spots and active bubbling at the edges.
- Top each pepper with sour cream, diced tomatoes, cilantro, and jalapeño before serving. Finish right before eating so the toppings stay fresh-looking.