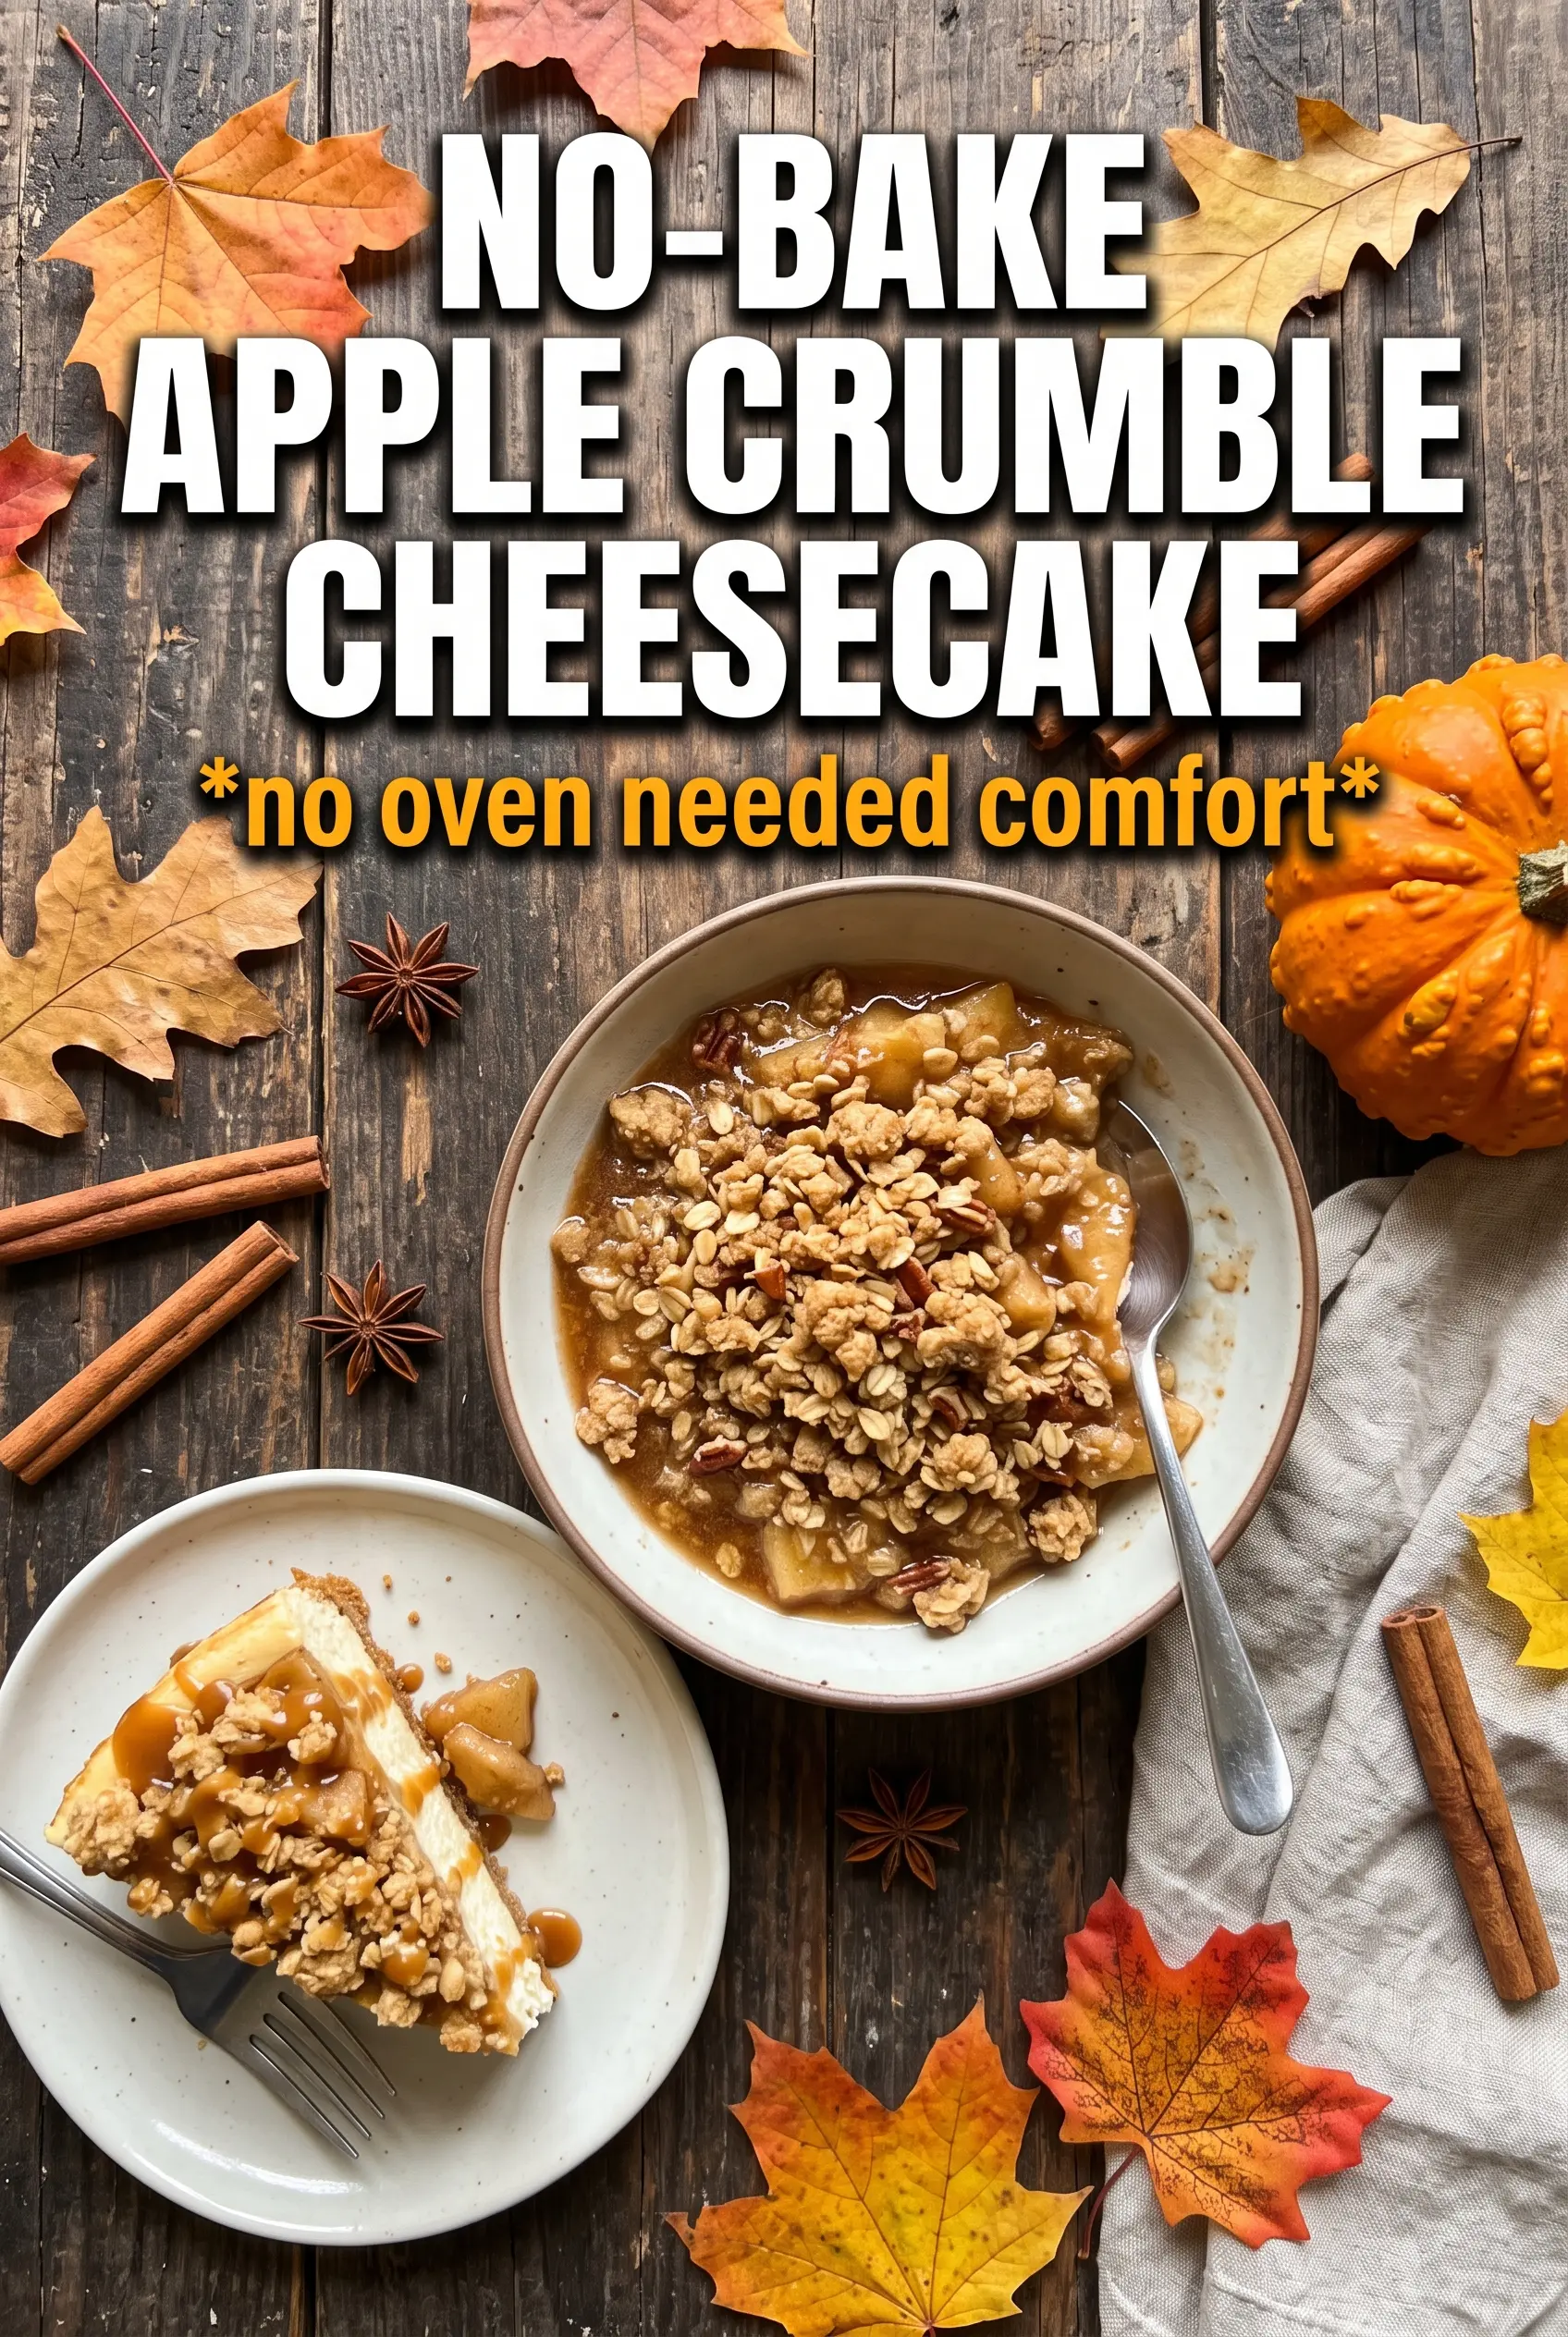
Thick, creamy, and layered with spiced apples and buttery oat crumble, this no-bake apple crumble cheesecake has the kind of contrast that keeps people going back for a second slice. The crust stays firm enough to slice cleanly, the filling sets into a smooth, cool cheesecake layer, and the topping brings just enough warm spice to keep it from feeling heavy. It eats like a bakery dessert, but it doesn’t ask for an oven or a water bath.
The trick is in the structure. The oat crumble base gets packed down and chilled before the filling goes on, which keeps it from turning sandy under the weight of the cheesecake layer. The filling itself needs the cream cheese beaten completely smooth before the whipped cream goes in; if you rush that part, tiny lumps stay hidden and show up in the final slice. Using apple pie filling is the shortcut that makes this practical, but a little extra cinnamon and nutmeg keep it tasting like you built it from scratch.
Below you’ll find the one step that makes the crust sliceable instead of crumbly, plus a few smart swaps if you want to change the topping, the base, or the way you serve it.
The crust held together beautifully after chilling, and the cinnamon in the filling made the apple layer taste more homemade. Mine sliced cleanly after an overnight rest.
Save this no-bake apple crumble cheesecake for when you want a chilled dessert with a firm oat crust, creamy filling, and spiced apple topping.
The Reason the Crust Stays Sliceable Instead of Falling Apart
Most no-bake cheesecakes fail at the base before the filling even has a chance. A dry crumb layer turns sandy, while an over-greased one turns greasy and soft. This crust works because the oats and flour give it body, the brown sugar brings a little chew, and the melted butter gets every bit of the mixture evenly coated before it chills into place.
The big mistake is pressing the crust in loosely. Pack it down firmly in the pan, especially around the edges, so it sets into a true base instead of a loose pile of crumbs. Saving part of the mixture for the topping also matters because it gives you that bakery-style crumble on top without needing a separate streusel.
What Each Ingredient Is Actually Doing in This Recipe
- Primary ingredient (the star) — Quality matters most. Choose the best you can find.
- Cooking medium (oil, butter, or broth) — This carries flavors and prevents dryness.
- Seasonings (salt, pepper, spices, herbs) — Layer flavors so nothing overpowers. Build depth gradually.
- Aromatics (garlic, onion, herbs) — Cook with fat to bloom flavors. Become the foundation.
- Supporting ingredients — Complement the main ingredient without overpowering it.
- Sauce or liquid (if applicable) — Brings flavors together. Balance richness with acid.
- Acid (lemon, vinegar, wine, or other) — Brightens and prevents flat-tasting results.
- Final finish (garnish, glaze, or sauce) — Prevents one-dimensional taste and adds visual appeal.
What Each Layer Is Actually Doing in the Dessert
- Rolled oats — These give the crust its rustic texture and help it hold together better than a flour-only base. Quick oats work in a pinch, but they make a softer, less defined crust.
- Cream cheese — This is the backbone of the filling, so use full-fat blocks, not tub-style cream cheese. Cold cream cheese leaves lumps that never fully disappear, which is why softening it first matters so much.
- Heavy cream — Whipping it to stiff peaks gives the cheesecake its lift without gelatin. If the cream is only softly whipped, the filling can slump and lose its clean slice.
- Apple pie filling — This is the shortcut that keeps the dessert fast and dependable. Stirring in extra cinnamon and nutmeg wakes it up so it tastes less canned and more like a real baked apple topping.
- Brown sugar — It shows up in both the crust and filling to add warmth and a deeper caramel note than white sugar alone can give. You can use light brown sugar without issue; dark brown sugar will make the flavor a little richer.
Building the Layers So the Cheesecake Sets Cleanly
Mixing and Pressing the Crust
Stir the oats, flour, brown sugar, and cinnamon together first, then drizzle in the melted butter and toss until every dry bit looks damp. If you still see pale floury patches, the crust will bake up uneven in texture even though this recipe never goes in the oven. Press the mixture firmly into the springform pan with the bottom of a measuring cup, and don’t skip the chill time because that first cold set is what keeps the base from shifting when the filling goes on.
Whipping the Filling Until It Turns Silky
Beat the cream cheese with both sugars, vanilla, and cinnamon until it looks completely smooth and glossy. If you stop when it looks almost combined, those tiny lumps stay in the finished cheesecake and break the velvet texture. Fold in the whipped cream with a spatula, not the mixer, and stop as soon as the mixture is uniform so you don’t knock out the air that gives it its light, mousse-like finish.
Finishing with Apples and Crumble
Stir the cinnamon and nutmeg into the apple pie filling before spooning it over the cheesecake so the spice is distributed all the way through the topping. Spread it in an even layer, then scatter the reserved crumble over the top for texture. The dessert needs a full chill of at least 6 hours, and overnight is even better, because the filling firms up slowly and the crust settles into a clean slice.
How to Adapt This Cheesecake When You Want a Different Finish
Make it gluten-free with a few smart swaps
Use certified gluten-free oats and replace the flour with a 1:1 gluten-free baking blend. The crust will still hold together, but it may be a touch more delicate, so keep the chilling time full-length before slicing.
Swap the apple topping for pear or peach
Use the same amount of canned pear or peach pie filling and keep the cinnamon. Pear tastes a little softer and more floral, while peach makes the dessert sweeter and lighter.
Use a gingersnap crust for extra spice
Replace part or all of the oat crumble with crushed gingersnap cookies and a little melted butter. You lose the hearty oat texture, but you gain a sharper spice note that plays well with the apple layer.
Make mini cheesecakes for easier serving
Press the crust into muffin liners, divide the filling among them, and top each one individually. They chill faster and serve neatly, which is handy when you want portioned desserts without slicing a springform pan.
Storage and Reheating
- Refrigerator: Keeps for 4 days covered in the pan or in slices. The crust softens a little as it sits, but the texture stays pleasant.
- Freezer: Freezes well for up to 1 month if you wrap slices tightly and freeze them on a tray first. Thaw in the refrigerator overnight for the cleanest texture.
- Reheating: Don’t reheat this dessert. Serve it cold straight from the refrigerator so the filling stays set and the topping keeps its contrast.
Questions I Get Asked About This Recipe
No-Bake Apple Crumble Cheesecake
Ingredients
Equipment
Method
- Combine rolled oats, flour, brown sugar, and cinnamon in a bowl, then drizzle in melted butter and toss until the mixture looks evenly moistened and clumps when pressed. This should hold together like damp sand for firm slicing.
- Press the oat crumble mixture firmly into a 9-inch springform pan, smoothing the surface as compact as possible. Chill for 20 minutes to set the base.
- Reserve 1/2 cup of the crust mixture for the crumble topping, keeping it separate from the pressed base. Set it aside at cool room temperature while you prepare the filling.
- Beat cream cheese, both sugars, vanilla, and cinnamon until completely smooth with no visible lumps. Stop and scrape the bowl so the mixture stays uniform.
- Fold in whipped cream until no streaks remain, keeping the mousse-like volume. Mix just until combined so the filling stays airy.
- Spread the filling over the chilled crust in an even layer, smoothing the top. Work quickly to avoid softening the base.
- Stir cinnamon and nutmeg into the apple pie filling until the spices are evenly dispersed. Spoon the apple mixture over the cheesecake and spread to the edges.
- Scatter the reserved crumble over the apple topping to create an even, crunchy layer. Lightly tap it down so it adheres.
- Refrigerate the cheesecake for 6 hours or overnight before releasing from the springform. The texture should be fully set and slice cleanly.