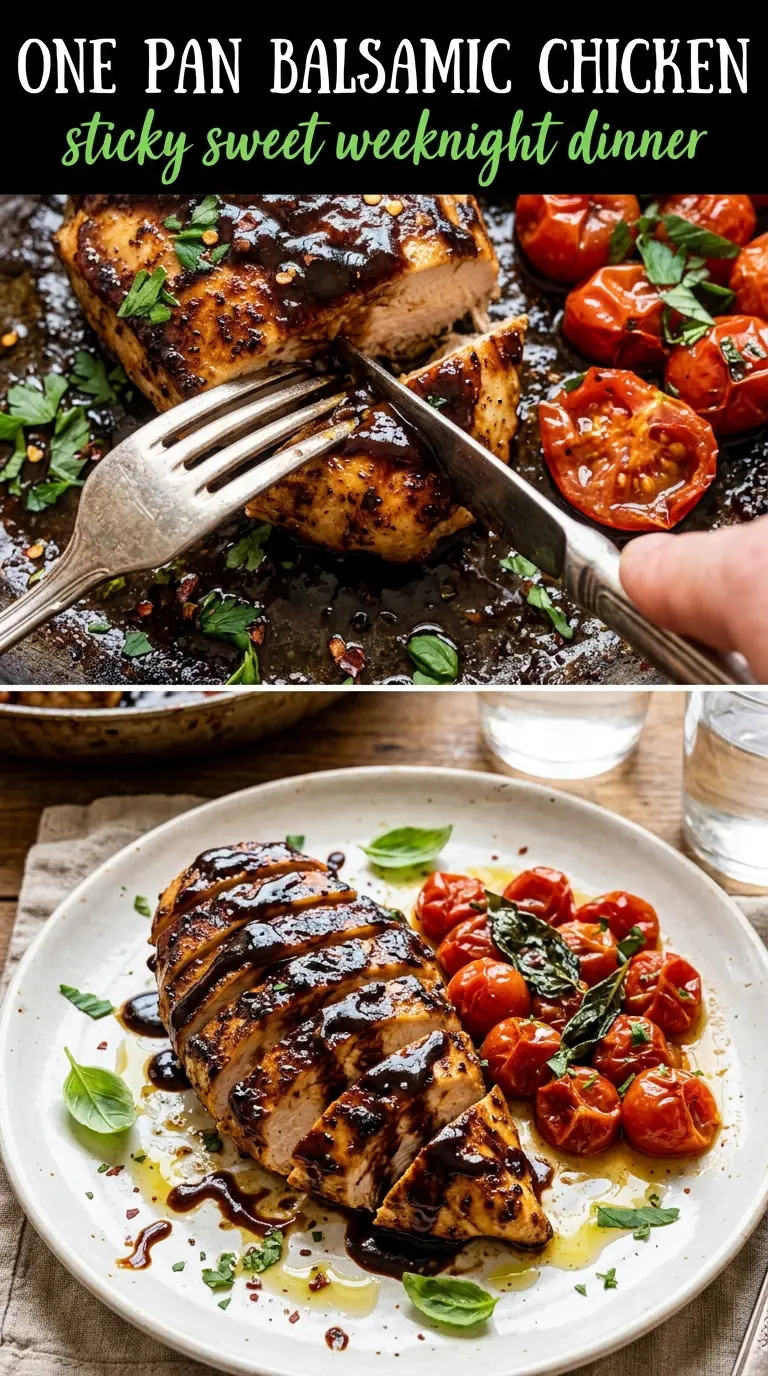
Golden chicken thighs with a balsamic glaze are one of those skillet dinners that look like you worked a lot harder than you did. The skin turns crisp in the pan, the sauce cooks down until it coats the back of a spoon, and the tomatoes burst into little pockets of sweetness that balance the sharpness of the vinegar. It’s the kind of meal that lands on the table fast but still feels like a proper dinner.
What makes this version work is the sequence. The chicken gets a real sear first, which gives you flavor and keeps the skin from going soft under the sauce. Then the balsamic, honey, and broth reduce together in the same pan, pulling up the browned bits left behind by the chicken. That’s where the depth comes from. If you rush the reduction or crank the heat too high at the end, you’ll end up with a thin sauce or a bitter glaze instead of that glossy finish.
Below, I’ve included the exact cues I watch for in the skillet, the ingredient swaps that still keep the dish balanced, and the small fixes that keep the sauce from breaking or turning too sharp.
The skin stayed crisp even after the balsamic glaze went on, and the sauce thickened right in the pan without getting sticky or burnt. My husband kept saying the tomatoes tasted like they’d been roasting for hours.
Save this one pan balsamic chicken for nights when you want crisp skin, glossy glaze, and dinner in one skillet.
The Trick to Crisp Skin and a Glaze That Actually Clings
The biggest mistake with skillet balsamic chicken is treating the sauce and the sear like separate jobs. They’re not. The chicken needs direct contact with the hot pan long enough for the skin to render and turn deeply golden before any liquid goes in. If you add the balsamic too early, the skin steams and the sauce never gets the chance to concentrate.
The second place people go wrong is the heat at the end. Balsamic vinegar starts sharp, then gets rounder and sweeter as it reduces, but if the pan is raging hot the honey can scorch before the sauce thickens. Medium heat after the chicken goes back in gives you a glossy glaze and juicy meat at the same time.
- Skin-on chicken thighs — Thighs stay tender while the sauce reduces, and the skin gives you the best chance at a crisp finish. Boneless thighs work too, but they cook faster and won’t give you the same skillet drama.
- Balsamic vinegar — Use one you actually like the taste of. A harsher vinegar will stay sharp even after reducing, while a decent bottle turns syrupy and deep.
- Honey — This rounds out the vinegar and helps the glaze cling to the chicken. Maple syrup can substitute in a pinch, but the finish is a little less clean and a little more caramel-like.
- Chicken broth — This gives the pan sauce enough volume to reduce without turning into a sticky glaze too fast. Water works, but the sauce will taste flatter.
- Butter — Stirring in butter at the end softens the acidity and gives the sauce a smoother, lacquered look. Don’t add it early or it can separate as the sauce boils.
- Fresh basil — Add it at the end so it stays bright. Dried basil won’t give the same fresh contrast against the dark glaze.
What Each Ingredient Is Actually Doing in This Chicken Dish
- Chicken (pat dry for browning) — Room temperature cooks more evenly. Even thickness ensures uniform cooking.
- Oil or butter (the browning medium) — High-heat oil essential. Creates pan flavor through browning.
- Seasonings (salt, pepper, spices) — Apply generously. Chicken carries the entire flavor profile.
- Aromatics (garlic, ginger, or herbs) — Cook with fat to bloom flavors. Become the foundation.
- Sauce or braising liquid (if using) — This keeps chicken moist. Balance richness with acid.
- Vegetables (if using) — Layer by cooking time. Hard vegetables first, soft vegetables last.
- Acid (vinegar, wine, lime, or pineapple) — This brightens and prevents one-dimensional flavor.
- Proper doneness (165°F internal temperature) — Use thermometer for accuracy. Overcooked is dry and flavorless.
Building the Skillet in the Right Order
Seasoning and Searing the Chicken
Pat the thighs dry, then season both sides generously. Moisture on the skin is the enemy here because it slows browning, and a timid season makes the glaze taste flat. Lay the chicken skin-side down in hot olive oil and leave it alone for 7 to 8 minutes until the skin releases on its own and looks deep gold, not pale blond. If it sticks, it’s not ready yet.
Blistering the Garlic and Tomatoes
Once the chicken is out, the garlic cloves and tomatoes go into the rendered fat. The tomatoes should start to split and wrinkle, and the garlic should smell sweet, not bitter. If the garlic darkens too quickly, your pan is too hot and the sauce will pick up a burnt edge later. Keep this stage brief; you’re building flavor, not cooking them to collapse.
Reducing the Balsamic Glaze
Add the balsamic vinegar, honey, and broth, then scrape the bottom of the pan well. Those browned bits dissolve into the sauce and carry most of the savory flavor. Bring it to a boil just long enough to start the reduction, then return the chicken skin-side up and lower the heat so the sauce thickens without scorching. You’re looking for a glossy sauce that coats a spoon and pools slowly around the chicken, not a sticky jam.
Finishing with Butter and Basil
Stir in the butter off the hardest heat so it melts smoothly into the glaze. If the pan is boiling hard at this point, the sauce can break and look greasy instead of silky. Finish with basil right before serving so the leaves stay vivid and don’t turn black in the residual heat. Serve straight from the skillet while the skin is still crisp at the edges.
How to Adapt This Skillet Chicken Without Losing the Point
Swap in boneless chicken thighs for a faster dinner
Boneless thighs cook quicker and still stay juicy, which makes them a good weeknight backup. Cut the sear time down and start checking for doneness early so they don’t go stringy. You’ll lose some of the crisp-skin payoff, but the sauce still works beautifully.
Make it dairy-free
Skip the butter and finish the glaze with a teaspoon of olive oil instead. The sauce won’t be quite as plush, but it will still cling and taste balanced. If you want extra body, let it reduce for another minute before adding the herbs.
Use bone-in chicken breasts instead of thighs
Chicken breasts work if that’s what you have, but they need closer attention because they dry out faster. Pull them as soon as they hit temperature and let the sauce finish around them. The result is lighter and less rich than thighs, with less of that crispy-skin payoff.
Add mushrooms or onions for a deeper pan sauce
Sauté sliced mushrooms or thin onion wedges after the chicken comes out and before the vinegar goes in. They’ll soak up the rendered fat and add another savory layer to the glaze. Just don’t crowd the pan, or they’ll steam instead of browning.
Storage and Reheating
- Refrigerator: Store in an airtight container for up to 3 days. The skin will soften, but the flavor holds up well.
- Freezer: It freezes, though the tomatoes and sauce will be a little softer after thawing. For best texture, freeze the chicken and sauce together for up to 2 months and thaw overnight in the fridge.
- Reheating: Warm gently in a covered skillet over low heat with a splash of broth to loosen the glaze. High heat can tighten the chicken and make the sauce taste sharp again.
Questions I Get Asked About This Recipe
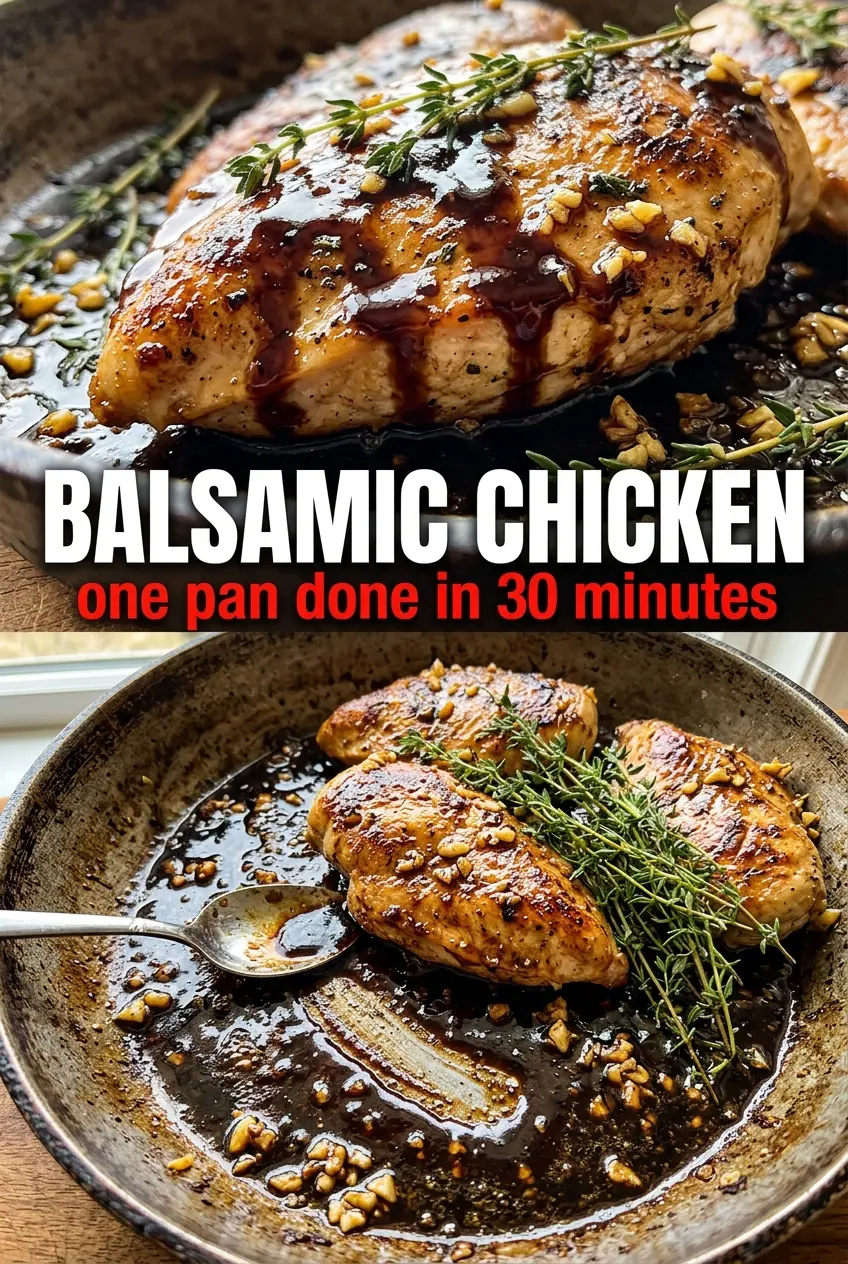
One Pan Balsamic Chicken
Ingredients
Equipment
Method
- Season the chicken thighs generously on both sides with salt, pepper, garlic powder, and Italian seasoning.
- Heat the olive oil in a large cast iron skillet over medium-high heat and sear the chicken skin-side down for 7-8 minutes until deeply golden and crispy.
- Flip the chicken and sear for 3 more minutes, then remove to a plate.
- Add the whole garlic cloves and cherry tomatoes to the hot skillet and cook for 2 minutes until the tomatoes begin to blister.
- Pour in the balsamic vinegar, honey, and chicken broth, stir, and bring to a boil while scraping up browned bits from the pan.
- Return the chicken to the skillet skin-side up, then cook over medium heat for 12-15 minutes until it reaches 165°F and the sauce reduces to a thick glaze.
- Stir in the butter until melted, scatter fresh basil over the top, and serve straight from the skillet.