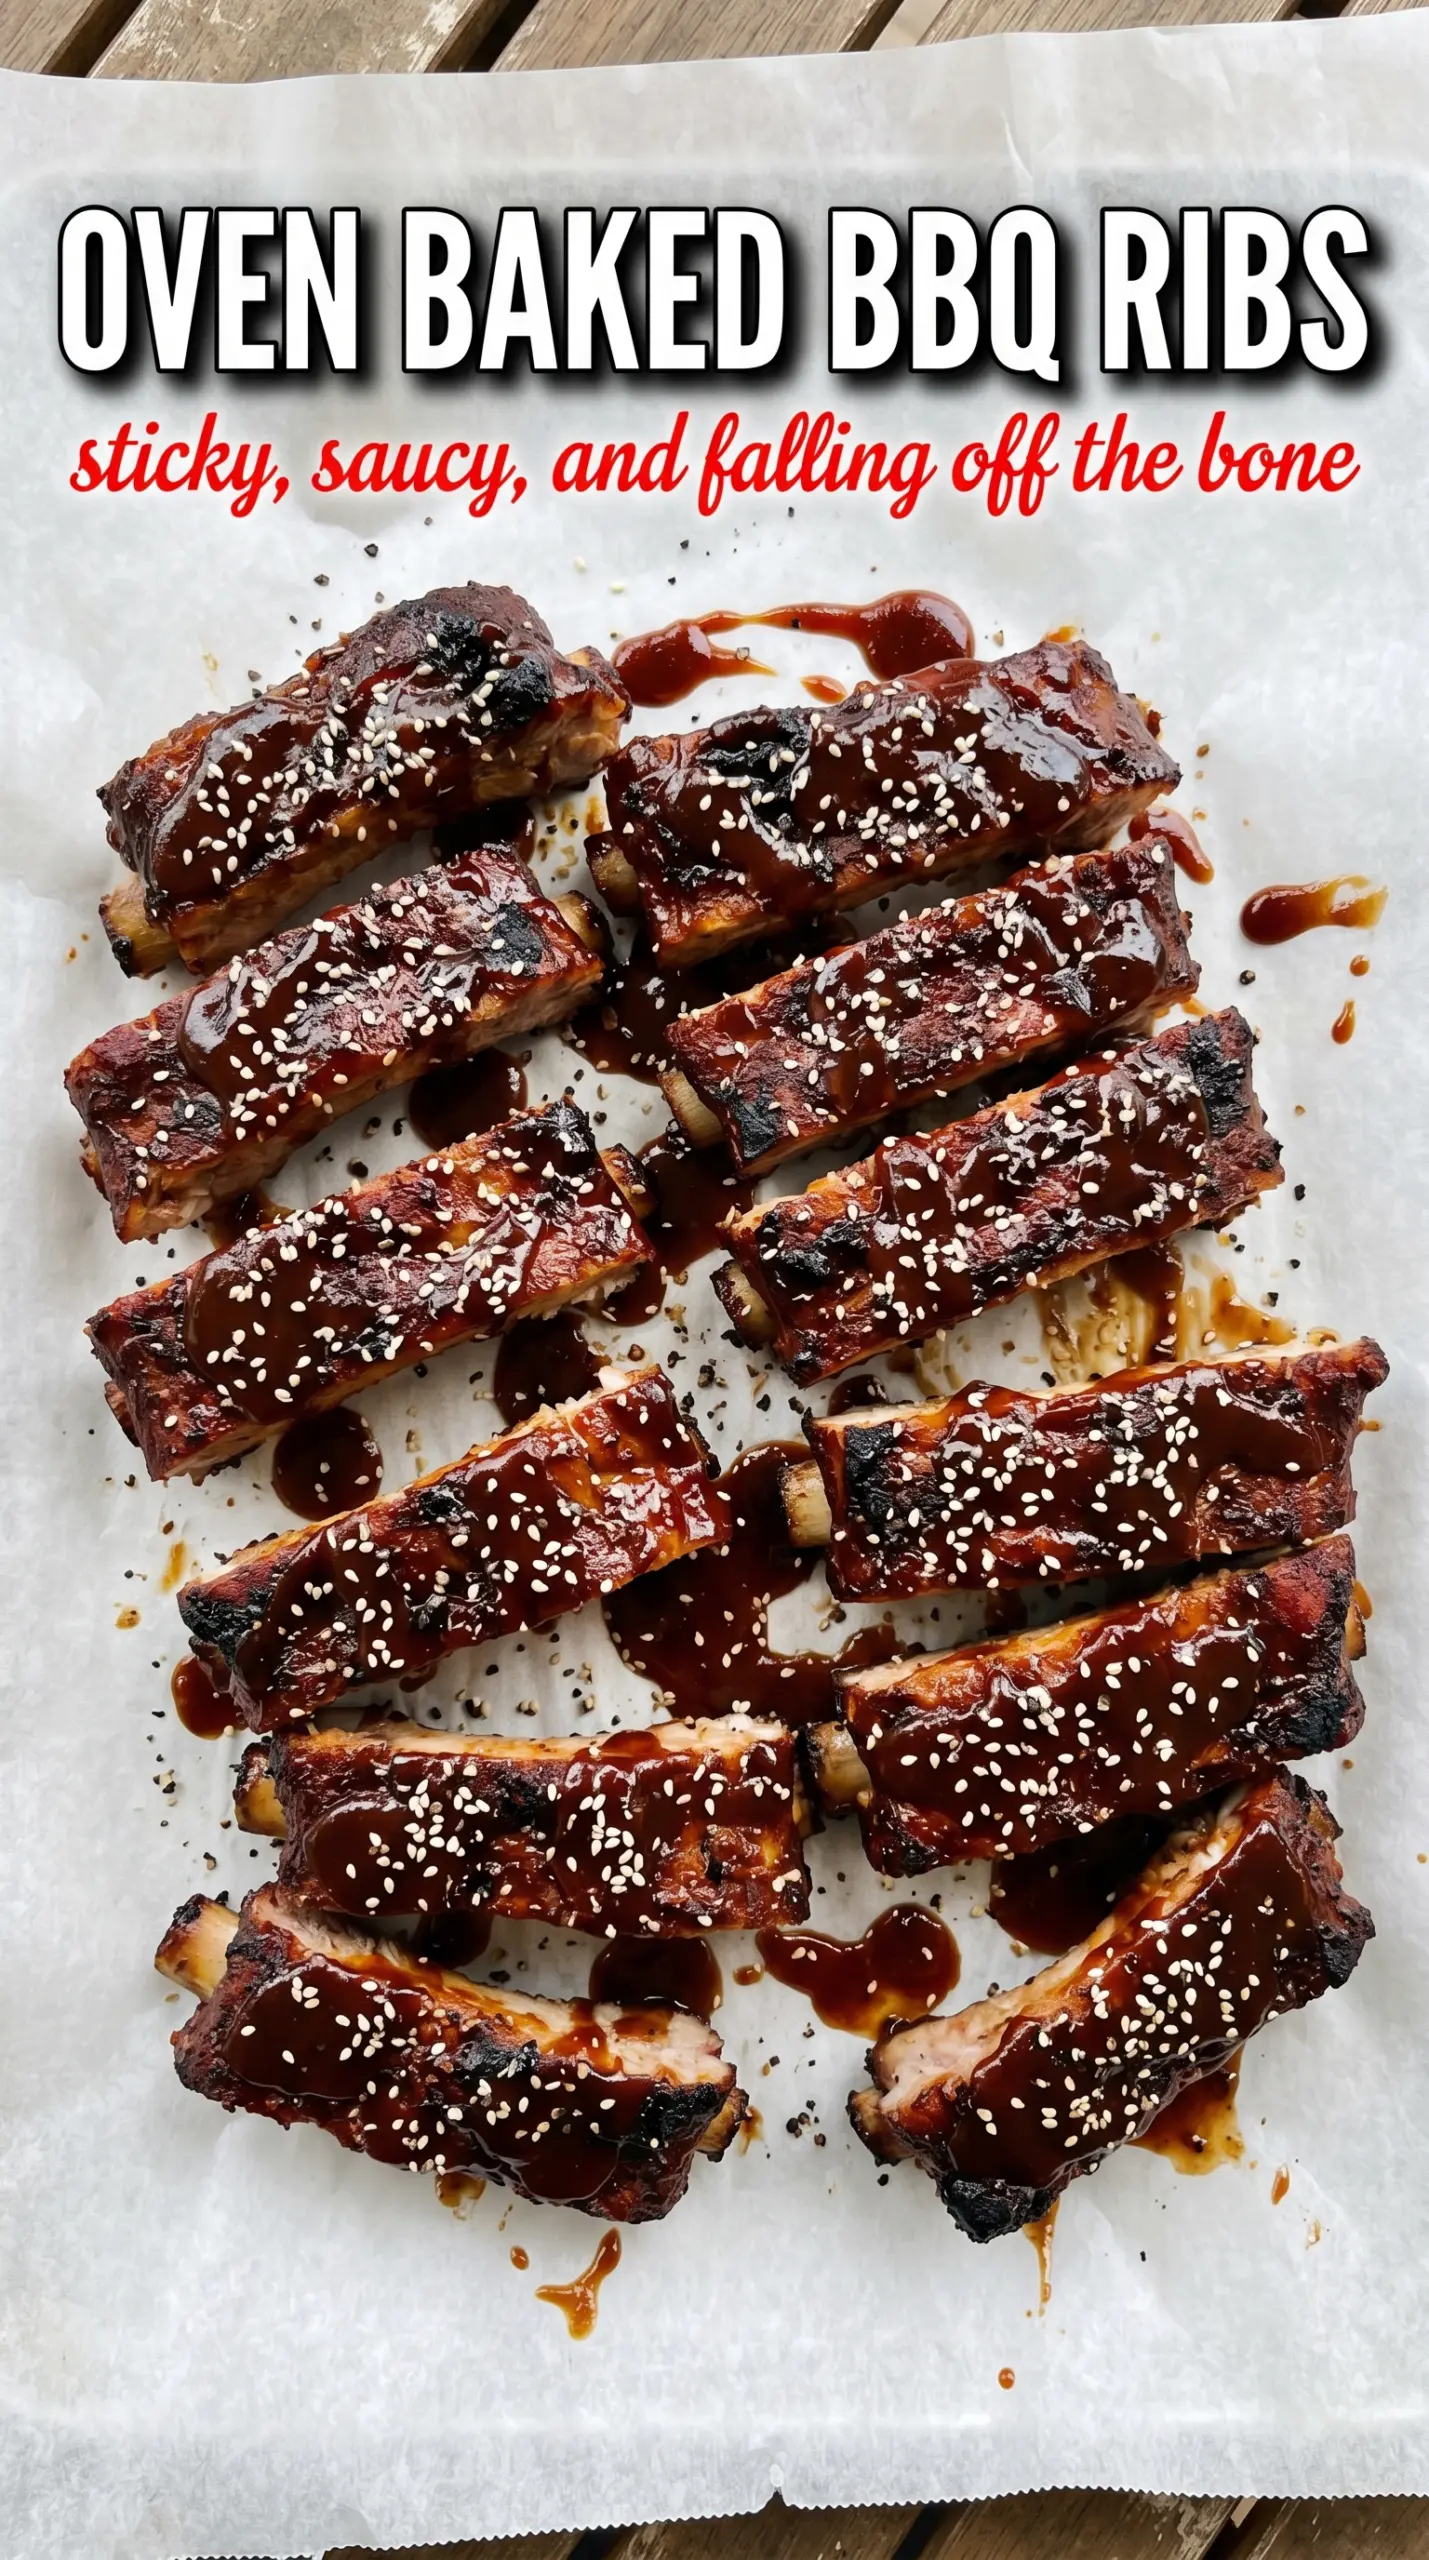
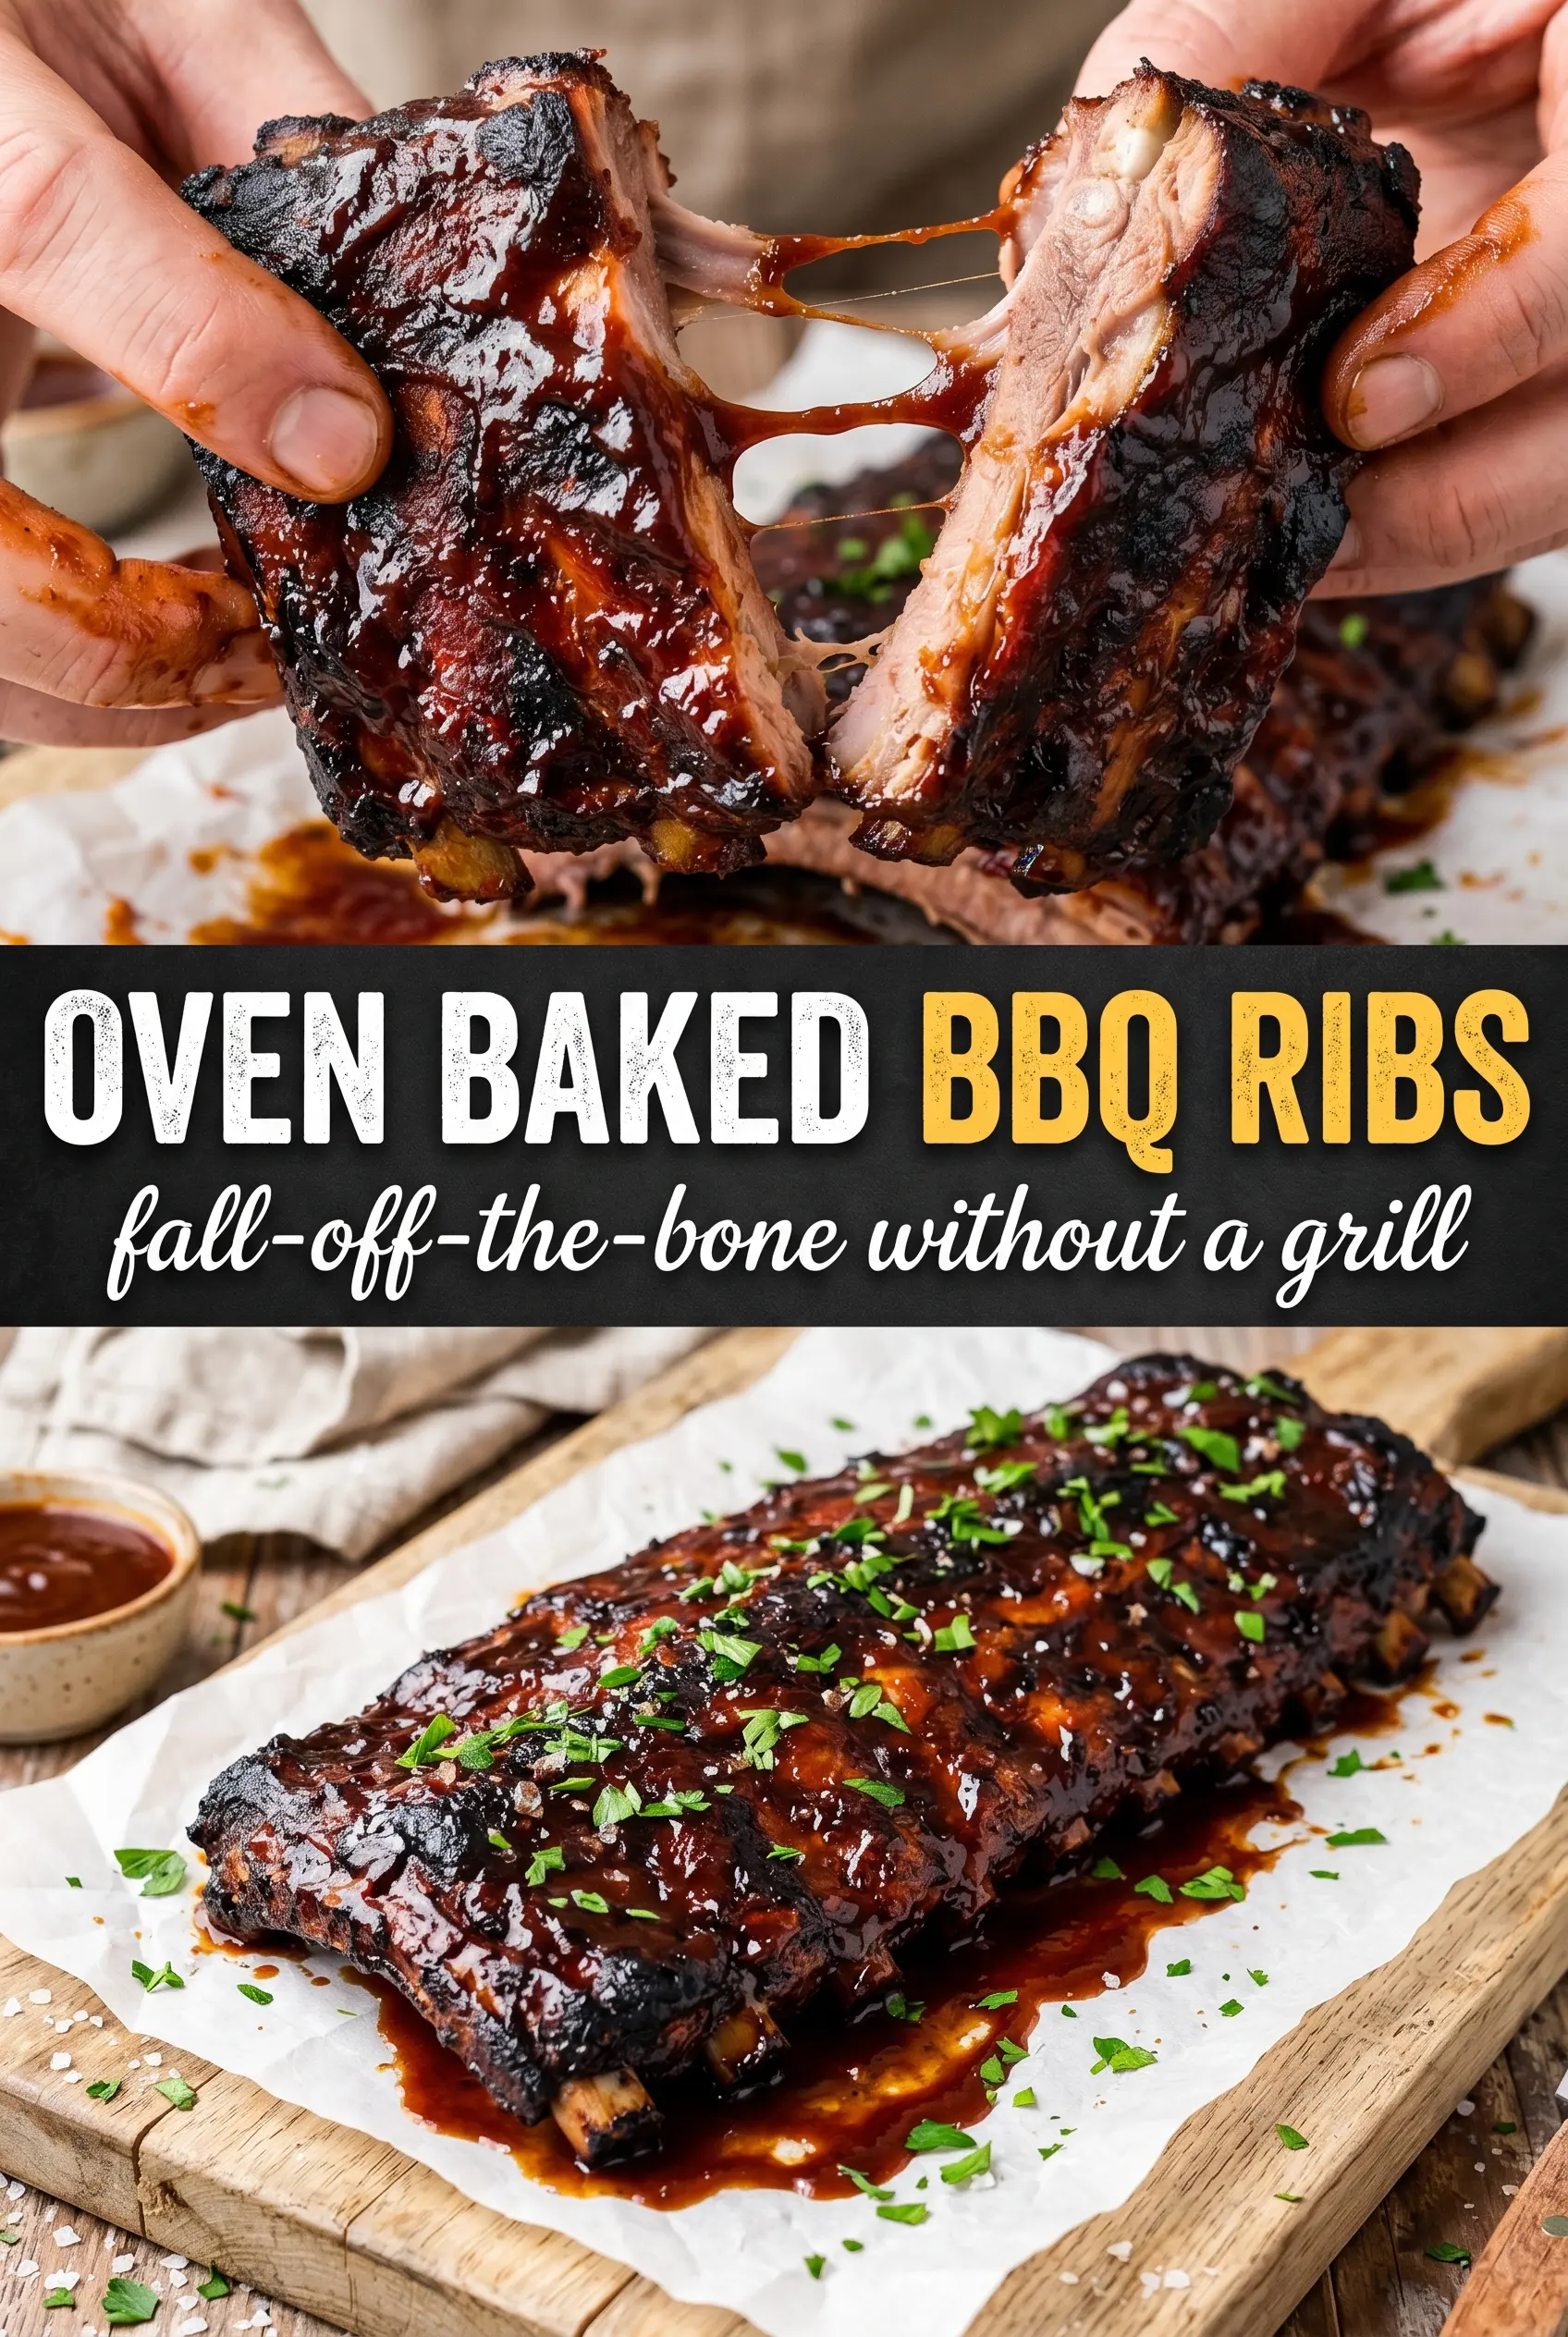
Sticky, tender oven baked BBQ ribs can hit the table with that same pull-apart texture you expect from a backyard smoker, and they don’t need a grill to get there. The meat turns soft and juicy first, then the broiler gives the sauce that lacquered, caramelized finish that clings to every bite. When the bones start to peek through and the glaze looks shiny and dark at the edges, you know you’re in the right place.
The key is low heat and patience. Baby back ribs need time for the connective tissue to relax, and wrapping them tightly in foil keeps the meat from drying out while it cooks. A dry rub with brown sugar, smoked paprika, cumin, and cayenne gives the ribs a deep, savory base before the sauce ever goes on, so the finished flavor tastes layered instead of one-note.
Below, I’ll walk through the part that matters most: removing the membrane, wrapping the ribs the right way, and broiling without burning the glaze. I’ve also included the swaps I’d actually use when you want to change the heat level or need a different BBQ sauce style.
The ribs came out so tender the meat slid off the bone, and the broiled sauce turned sticky and caramelized without getting bitter. I followed the foil wrap exactly and the texture was perfect.
Oven Baked BBQ Ribs with that sticky, broiled glaze are worth keeping for a weekend dinner when you want real rib texture without firing up the grill.
The Membrane Is What Keeps Ribs Tough If You Skip It
That thin silver membrane on the back of the ribs doesn’t melt away in the oven. It tightens up as the ribs cook, and if you leave it on, the finished texture can turn chewy instead of tender. Pulling it off takes a minute and changes the whole rack.
The other mistake is rushing the heat. These ribs need a low oven so the fat renders slowly and the meat relaxes without drying out. If the oven runs hot, the outside gets ahead of the inside and you end up with ribs that look done before they actually are.
- Baby back ribs — These are the right cut for this method because they cook in a manageable amount of time and stay tender without a smoker. Spare ribs can work, but they usually need longer in the oven.
- Brown sugar — It helps the rub caramelize under the broiler and gives the BBQ sauce something sweet to build on. Dark or light brown sugar both work.
- Smoked paprika — This is what gives the ribs that grill-like depth. Regular paprika won’t bring the same smoky finish, so this is one ingredient I wouldn’t swap if you can help it.
- BBQ sauce — Use one you actually like eating straight from the spoon, because it becomes the top layer of flavor. A thinner sauce will brush on more easily; a thicker sauce gives you a heavier glaze.
- Cayenne — It’s optional in spirit, but it keeps the rub from tasting flat. Leave it out for a milder rack, or reduce it to a pinch if you want just a little background heat.
What Each Ingredient Is Actually Doing in This Pork Dish
- Pork (cut properly for method) — Pat dry so it browns instead of steams. Even thickness ensures uniform cooking.
- Oil or butter (the browning medium) — High-heat oil essential for proper searing. Creates pan flavor.
- Seasonings (salt, pepper, spices) — Build flavor boldly. Pork carries the entire profile.
- Aromatics (garlic, onion, herbs) — Cook with fat to bloom flavors. Become the foundation.
- Sauce or braising liquid (if using) — This keeps lean pork from drying. Balance richness with acid.
- Vegetables (if using) — Layer by cooking time. Hard vegetables first so everything finishes together.
- Acid (vinegar, wine, or citrus) — This brightens sauce and prevents heavy flavor. Add near end.
- Proper doneness (145°F with slight pink center) — Pork is safe here and stays juicy. Higher temps dry it out.
The Low Oven, Tight Foil Wrap, and Fast Broil Are the Whole Trick
Removing the Membrane Cleanly
Slide a butter knife under the membrane at one end of the rack until you can lift a corner with your fingers. Use a paper towel for grip and peel it away in one sheet if possible. If it tears, start again at the next loose section; even partial removal is better than leaving the whole thing on. This step matters because the membrane blocks seasoning and fights against tenderness.
Building the Dry Rub
Stir the brown sugar, smoked paprika, garlic powder, onion powder, cumin, cayenne, salt, and black pepper together until the color is even. Coat the ribs on every side and press the rub into the meat instead of dusting it on top. The surface should look deeply seasoned, not lightly sprinkled. If you see bare patches, the final flavor will be uneven.
Wrapping for Slow Tenderizing
Wrap each rack tightly in heavy-duty foil and place it seam-side up on a baking sheet. The foil traps steam and keeps the ribs from drying out while the connective tissue softens. If the wrap is loose, the juices leak out and the ribs lose that fall-apart texture. Bake at 275°F until the meat has pulled back from the bones and a fork slides in with almost no resistance.
Broiling for the Sticky Finish
Unwrap the ribs carefully, brush on a generous layer of BBQ sauce, and slide them under the broiler only long enough to blister and caramelize the surface. Watch them closely, because sugar-heavy sauce can go from glossy to burnt in a minute. You want dark, sticky patches and bubbling edges, not black spots. Let them rest before slicing so the juices settle and the glaze stays put.
How to Change These Ribs Without Losing the Texture
Make Them Milder for Kids or Heat-Sensitive Eaters
Leave out the cayenne and choose a sweeter BBQ sauce. You’ll lose the little kick at the end, but the ribs will still have plenty of smoky depth from the paprika and a glossy, sticky finish.
Make Them Gluten-Free
Use a gluten-free BBQ sauce and check the spice blend if you’re using a store-bought rub base. The cooking method doesn’t change at all, and the ribs still come out tender because the texture comes from the foil wrap and low heat, not the sauce.
Swap in Spare Ribs
Spare ribs are meatier and usually need a longer bake, sometimes closer to 3 1/2 hours depending on thickness. Keep the same temperature and technique, but check for tenderness instead of watching the clock alone.
Storage and Reheating
- Refrigerator: Store leftovers in an airtight container for up to 4 days. The glaze firms up in the fridge, but the meat stays tender if it was cooked through properly.
- Freezer: These freeze well. Wrap the ribs tightly and freeze for up to 2 months; thaw overnight in the refrigerator before reheating so the meat doesn’t dry out.
- Reheating: Cover with foil and warm in a 300°F oven until heated through. A microwave works in a pinch, but it softens the bark and can make the sauce separate.
Questions I Get Asked About This Recipe
Oven Baked BBQ Ribs
Ingredients
Equipment
Method
- Preheat the oven to 275°F. Set a baking sheet inside so it’s ready for the wrapped ribs.
- Remove the silver membrane from the back of each rack. Slide a knife under the membrane, then pull it off in one piece if possible.
- Mix the dry rub ingredients in a bowl. Coat the ribs thoroughly on all sides so every surface gets a dark, even layer.
- Wrap each rack tightly in heavy-duty foil and place on a baking sheet. Seal the foil well to trap moisture for tender ribs.
- Bake for 2.5–3 hours at 275°F, until the meat is tender and pulls away from the bone. Look for visible shrinkage at the ends and looseness when you gently lift the rack.
- Rest the ribs 30 minutes (leave them loosely wrapped) so the surface dries slightly before saucing. You should see the glaze-ready surface look less wet and more tacky.
- Unwrap the ribs and brush generously with BBQ sauce. Make sure sauce reaches edges and crevices for a sticky coating.
- Broil for 5–7 minutes until the glaze is caramelized. Watch closely for bubbly dark spots and a shiny, lacquered look.
- Serve with extra BBQ sauce. Slice into individual pieces and serve right away so the glaze stays set.