Pioneer Woman apple crisp comes out with the kind of contrast that keeps people sneaking back for one more spoonful: tender apples underneath, a thick oat crumble on top, and just enough bubbling juice at the edges to tell you the fruit has softened without turning to mush. The topping bakes up craggy and golden, with buttery clumps that stay crisp instead of melting into a sandy layer.
What makes this version work is the balance. Granny Smith apples hold their shape and bring enough tartness to keep the dessert from tasting flat, while the mix of flour, oats, and two sugars gives the topping both structure and deep caramel flavor. Cutting in cold butter by hand leaves visible pieces that steam and brown in the oven, which is what gives the crisp its real texture.
Below you’ll find the small details that matter most: how to keep the topping clumpy, how to tell when the filling is truly done, and a few easy swaps if you need to work with what you’ve got.
The topping stayed craggy and crisp all the way through, and the apples were soft but not watery. I used Granny Smith like suggested, and the filling had the perfect tart-sweet balance.
Save this Pioneer Woman apple crisp for the nights when you want a bubbling fruit dessert with a thick brown sugar-oat topping.
The Trick Is Keeping the Topping in Clumps, Not Sand
The topping looks simple, but this is where apple crisp either turns out bakery-style or ends up flat and dry. The goal is not a uniform crumble. You want uneven, butter-streaked chunks that melt, brown, and set up into crisp little ridges over the apples.
Cold butter is what makes that happen. If the butter softens too much before it goes into the oven, the topping blends into the dry ingredients instead of holding distinct pieces. That means less texture and less browning. Working the butter in with your hands is the easiest way to stop before it gets overmixed, and the mixture should still look a little rough when you spread it over the fruit.
- Granny Smith apples — These hold their shape and bring enough sharpness to balance the sugar. A softer apple will collapse faster and make the filling muddier.
- Rolled oats — Use old-fashioned oats, not quick oats. Quick oats lose their texture and bake into something pasty instead of crisp.
- Cold unsalted butter — Butter straight from the fridge gives you those clumps that bake into the best crust. Salted butter works in a pinch, but reduce the added salt a little.
- Brown sugar — This adds depth and a little chew to the topping. Light or dark brown sugar both work; dark brown sugar gives you a deeper molasses note.
Building the Crisp So the Apples Stay Tender, Not Watery
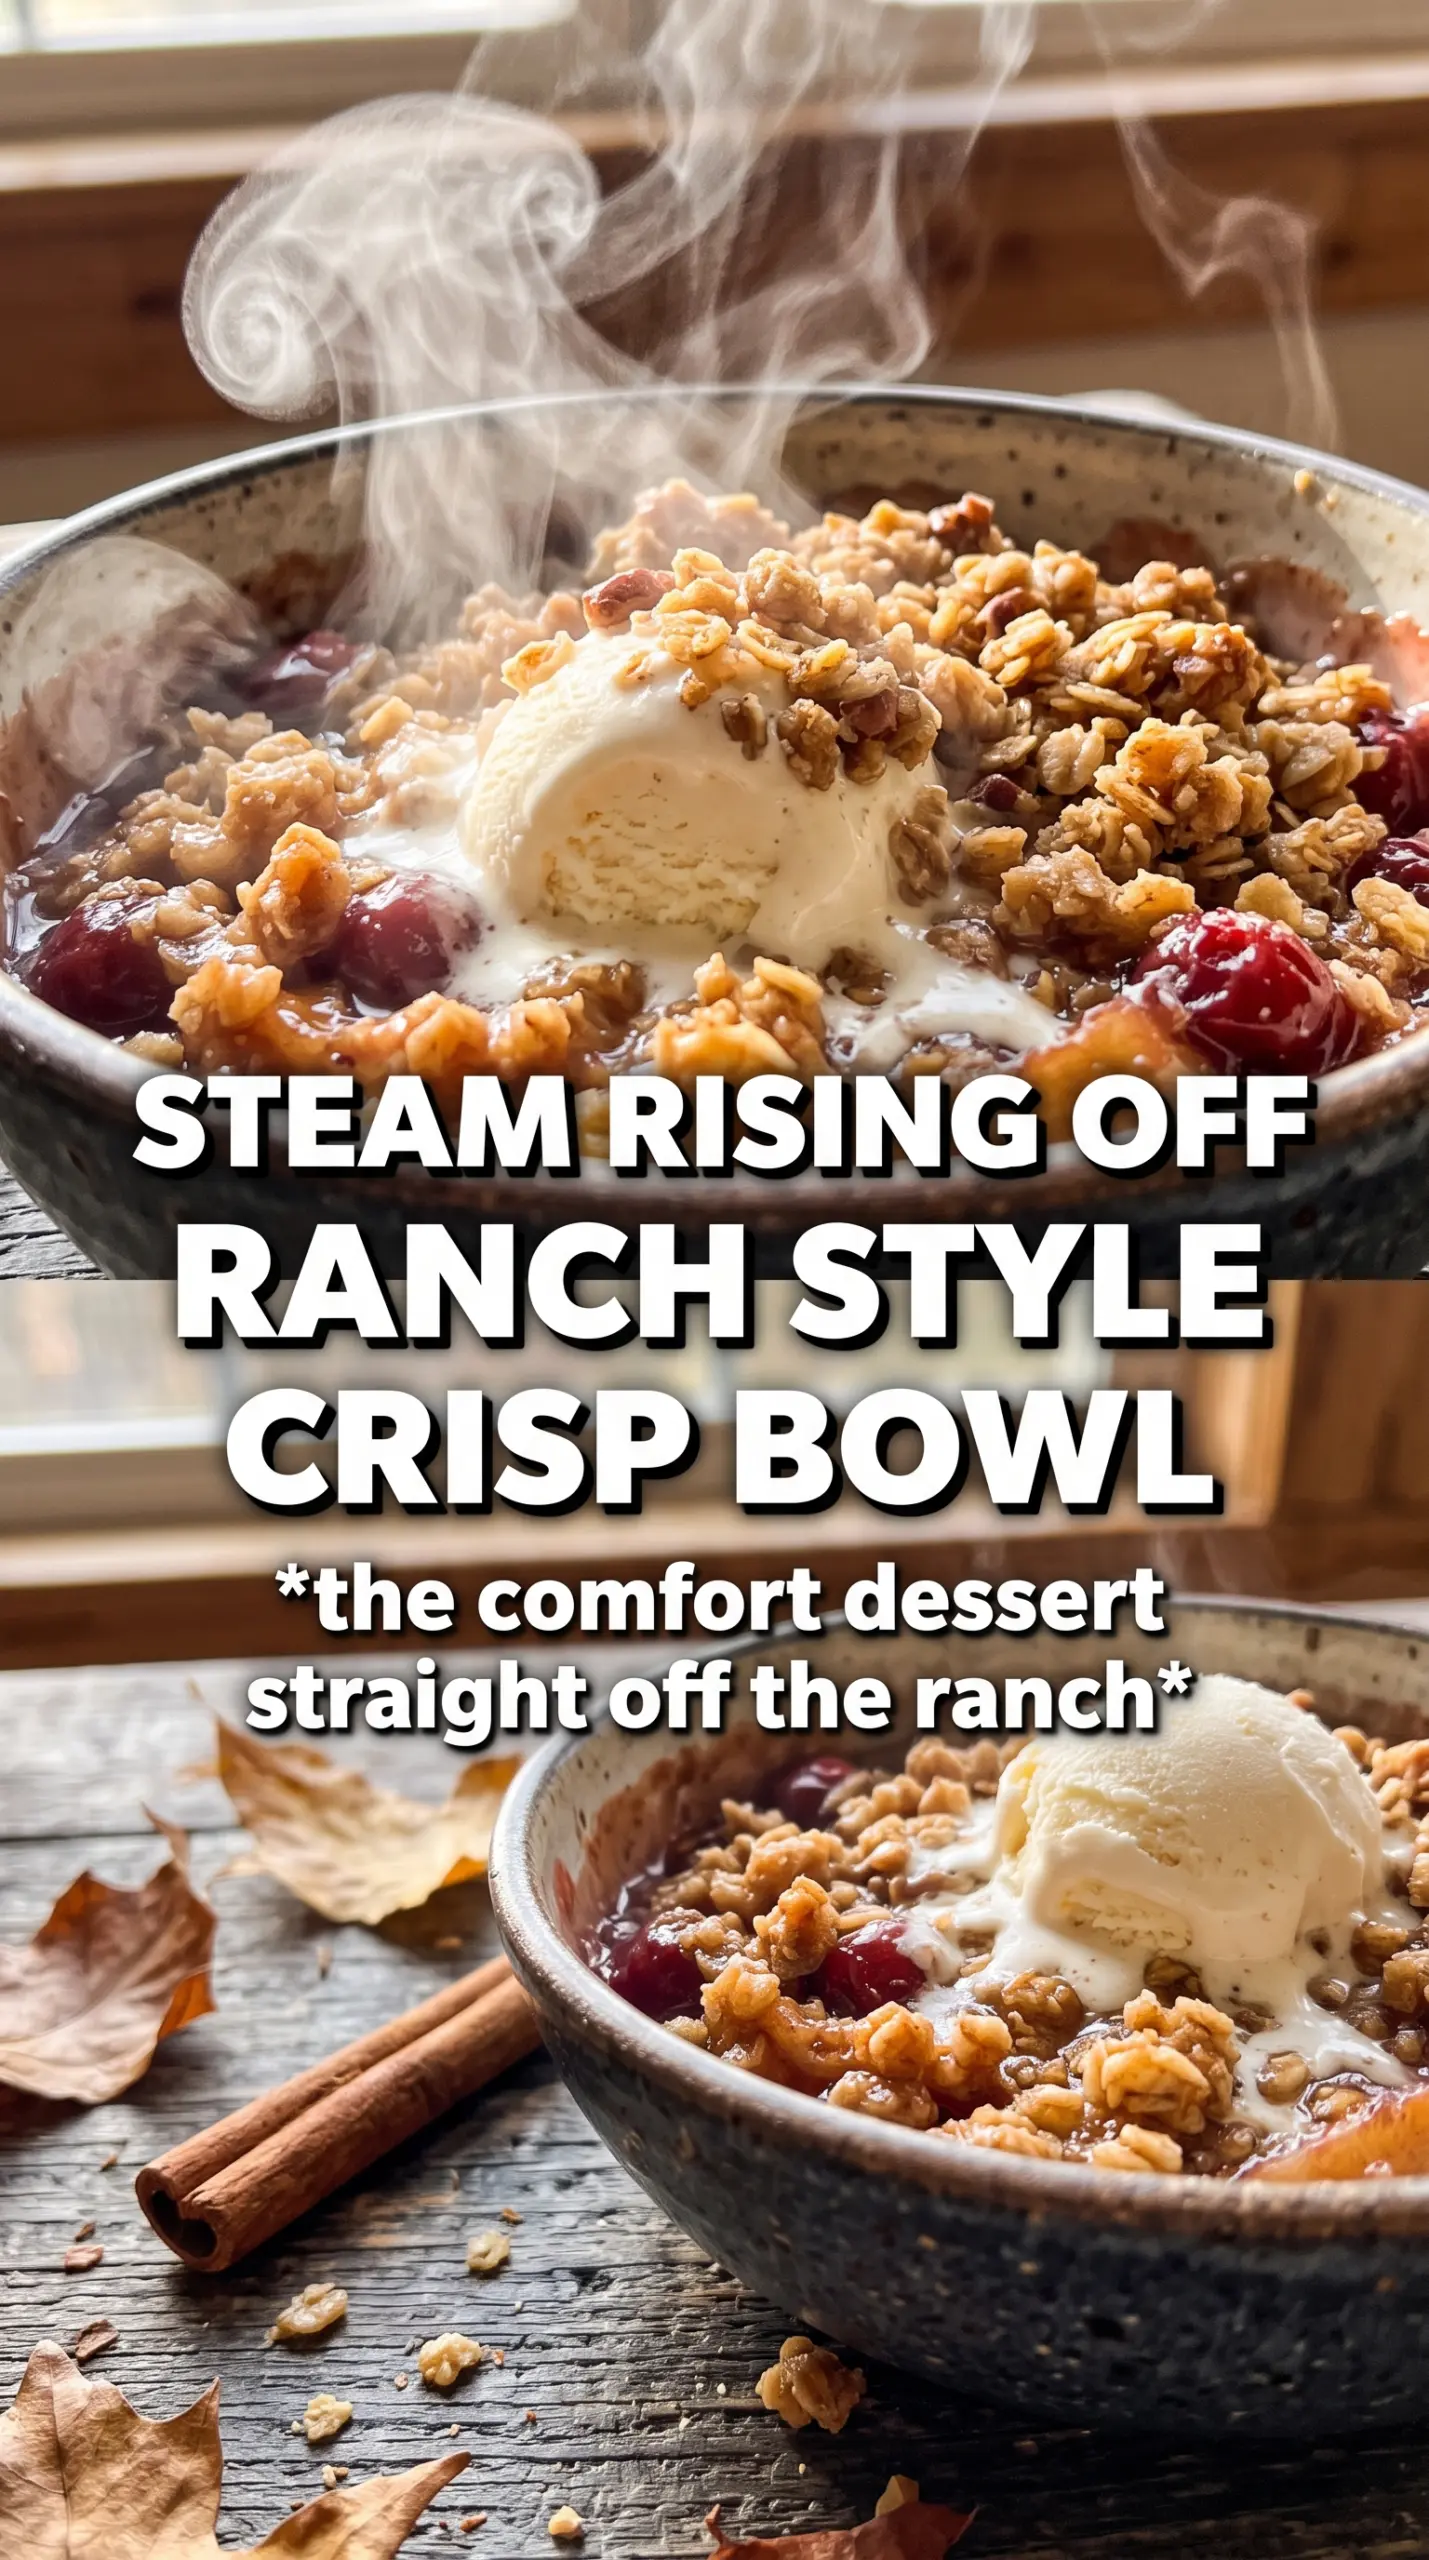
The apple layer does more than fill space. It has to soften, release some juice, and thicken again under the topping so you get spoonable fruit instead of a puddle. Tossing the apples with flour before baking is what keeps the juices from running everywhere, and it only works if the slices are evenly coated.
Coating the Apples Evenly
Mix the sliced apples with sugar, flour, and cinnamon until every piece looks lightly dusted. If you see flour clumps at the bottom of the bowl, keep tossing. That raw flour would otherwise show up in the finished filling as little pale pockets instead of disappearing into the juices.
Covering the Surface Completely
Spread the topping all the way to the edges of the baking dish so the fruit cooks under an even layer. Bare spots let steam escape too quickly and can leave the apples unevenly cooked. When the crisp goes in the oven, the topping should look like a loose blanket, not a packed-down crust.
Knowing When It’s Done
The topping should be a deep golden brown, and you should see the filling bubbling steadily at the edges, not just in a few isolated spots. That bubbling is the clearest sign the apples have softened and the flour has thickened the juices. If the top browns before the filling bubbles, lay a sheet of foil loosely over it and keep baking until you get both signs together.
How to Adapt This Apple Crisp for Different Kitchens
Dairy-Free Version
Swap the butter for a plant-based baking stick with a firm texture. Coconut oil can work, but it changes the flavor and the topping firms up differently as it cools. A baking stick keeps the crumble closest to the original texture.
Gluten-Free Apple Crisp
Use a 1:1 gluten-free flour blend in both the filling and topping, and choose certified gluten-free oats. The topping will still brown well, though it may be a touch more delicate when scooped warm.
Extra-Spiced Filling
Add a pinch of nutmeg or allspice to the apple mixture if you want a warmer, more aromatic filling. Keep the cinnamon moderate so the spices support the apples instead of covering them up.
Make-Ahead and Reheat
Bake the crisp a day ahead, then rewarm it uncovered in a 325F oven until the edges are bubbling again. The topping softens a little in the fridge, but the oven brings back most of the crunch much better than the microwave does.
Storage and Reheating
- Refrigerator: Store covered for up to 4 days. The topping softens, but the flavor holds up well.
- Freezer: Freeze baked crisp in portions or whole, tightly wrapped, for up to 2 months. Thaw overnight in the fridge before reheating.
- Reheating: Warm in a 325F oven until hot and the topping crisps back up. The microwave works in a pinch, but it makes the topping soft and the apples lose their texture.
Questions I Get Asked About This Recipe
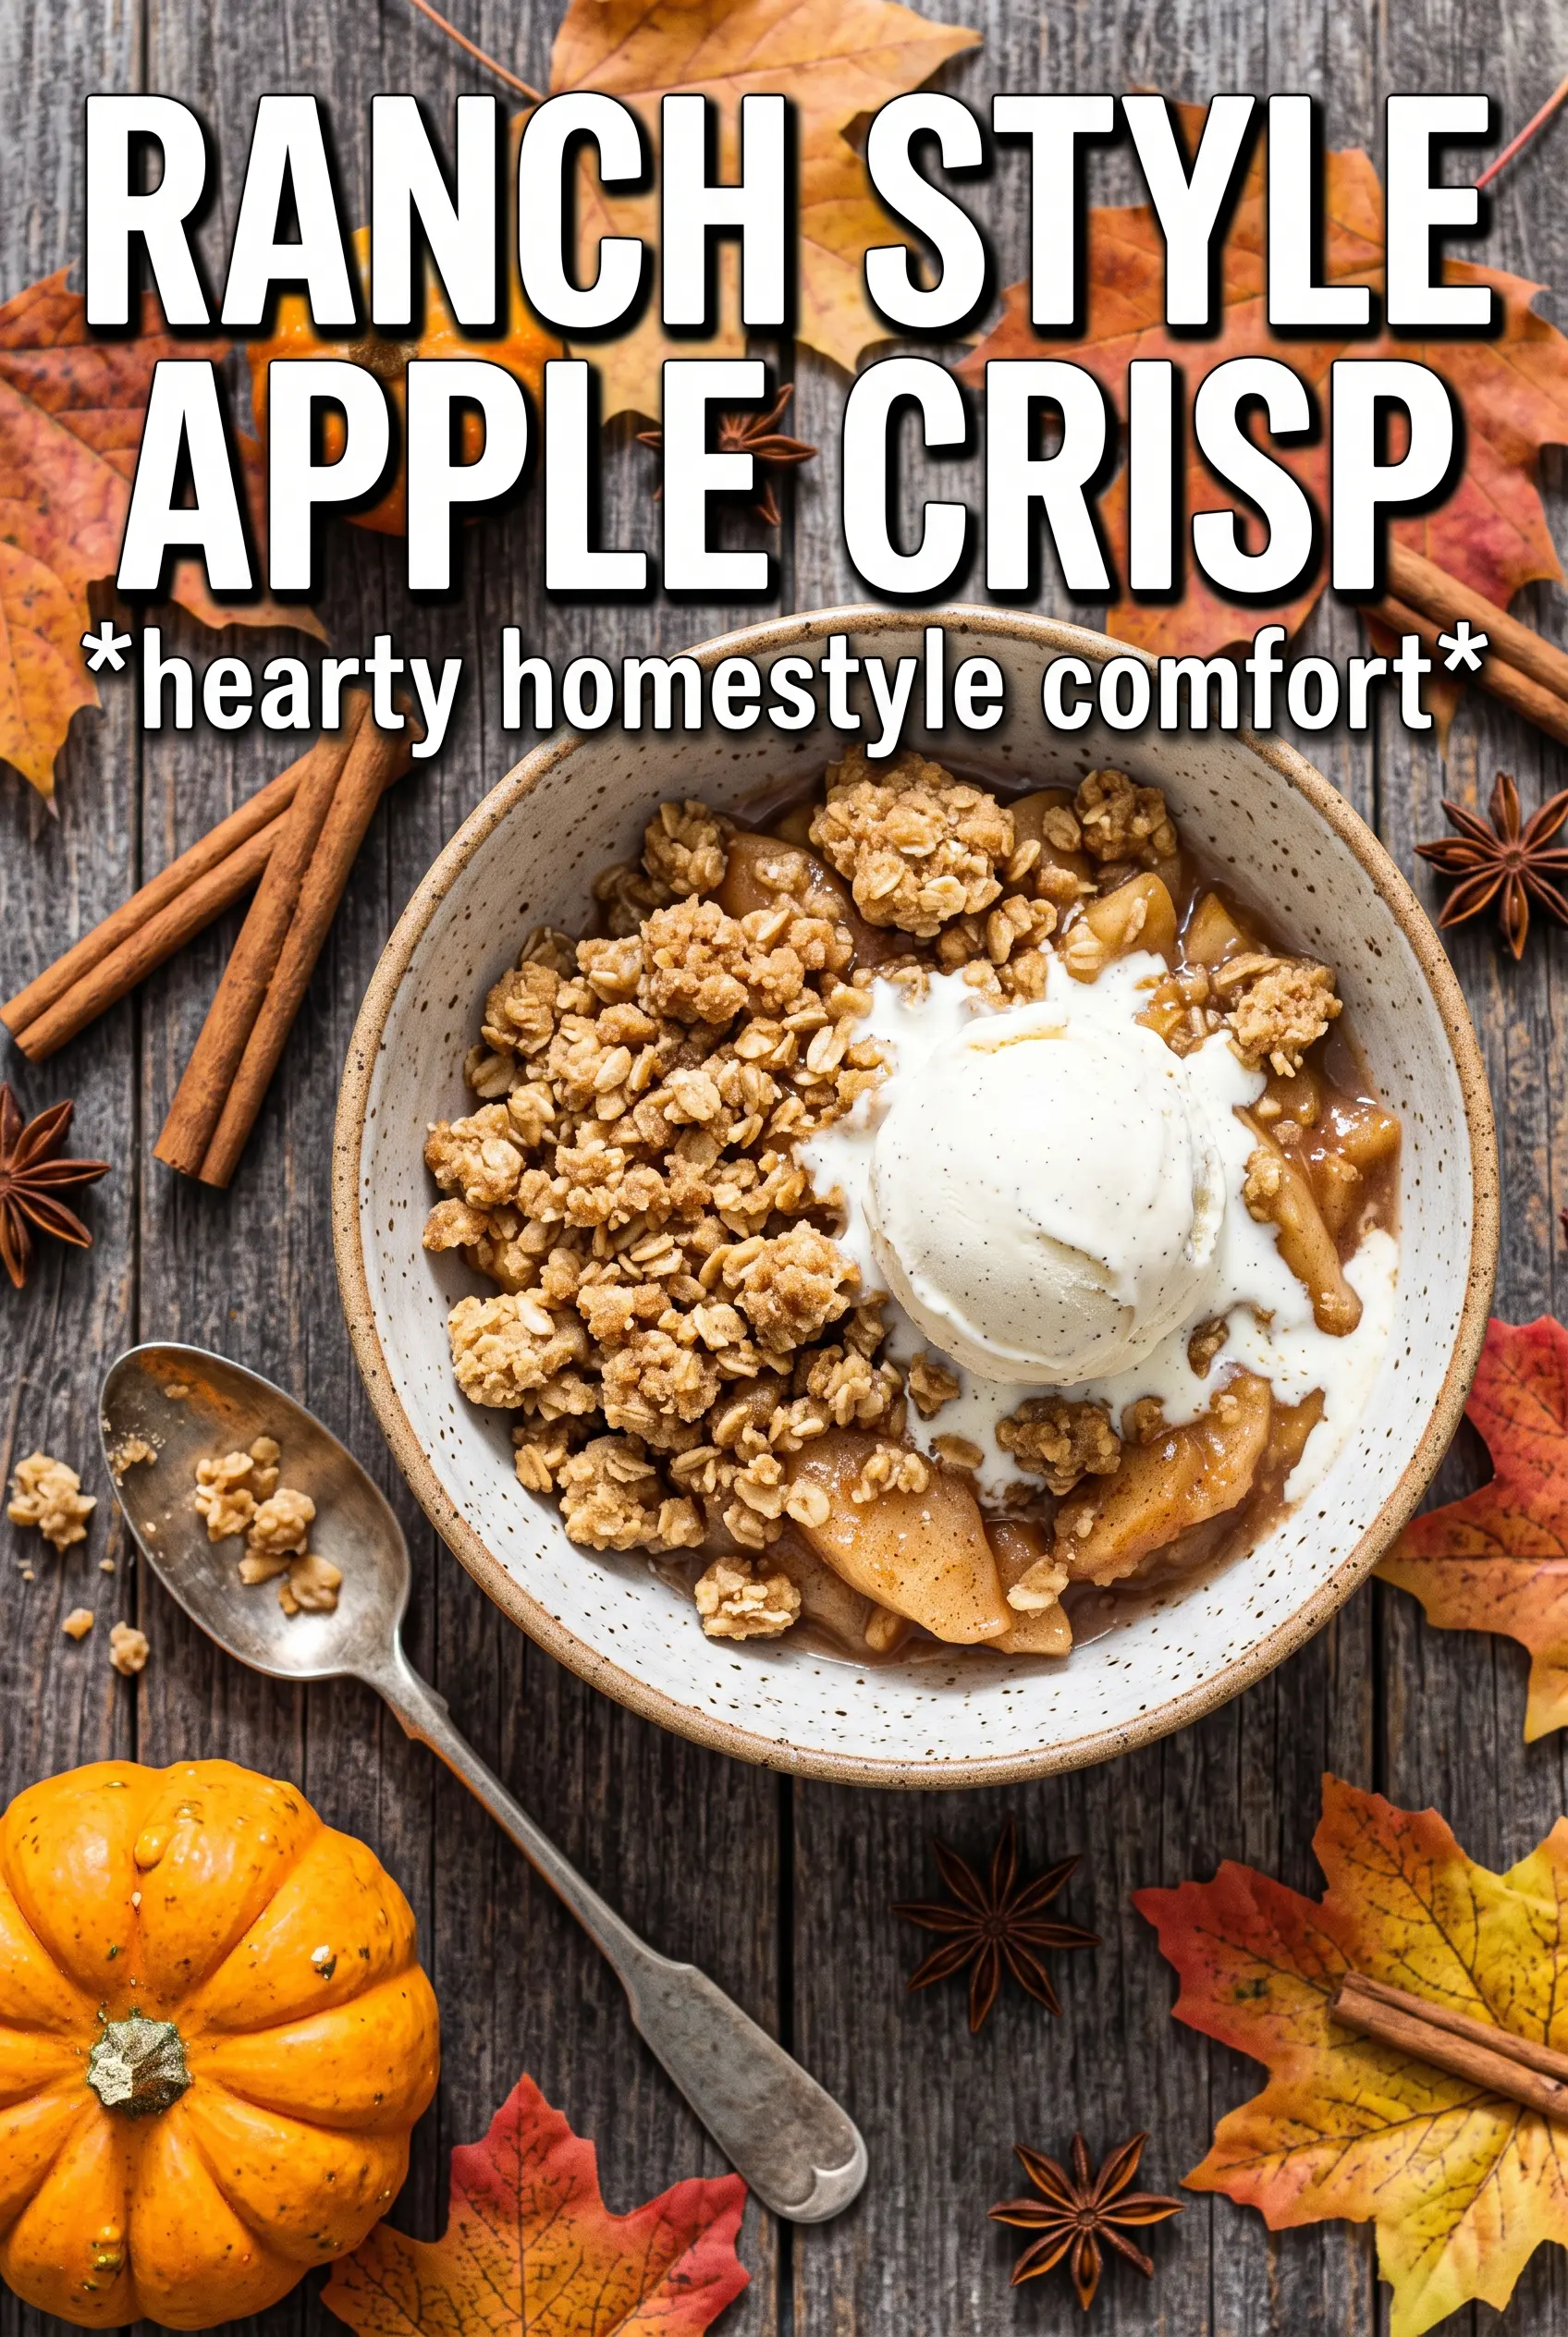
Pioneer Woman Apple Crisp
Ingredients
Equipment
Method
- Preheat the oven to 350°F and generously butter a 9x13 baking dish.
- Toss the apple slices with granulated sugar, all-purpose flour, and cinnamon, then pour the apples into the baking dish.
- In a bowl, combine all-purpose flour, rolled oats, both sugars, cinnamon, baking powder, and salt.
- Cut in the cold butter by hand until the mixture forms large, butter-streaked clumps.
- Pour and spread the topping evenly over the apples to cover the entire surface.
- Bake for 55-60 minutes at 350°F until the topping is golden brown and the apple filling bubbles at the edges.
- Serve warm with whipped cream or ice cream.