Char-edged chicken, sweet peppers, and onions are what make sheet pan chicken fajitas worth putting on repeat. Everything roasts together at high heat, so the chicken picks up a little color while the vegetables soften just enough to stay lively instead of collapsing into mush. You get that fajita skillet flavor without standing over the stove in batches.
The trick is spacing and heat. A crowded pan steams the vegetables and leaves the chicken pale, which is why this version works best on a large sheet pan with every strip in a single layer. The seasoning clings better when it’s mixed with oil before roasting, and smoked paprika gives the vegetables a deeper, almost fire-kissed note that makes the whole pan taste more finished.
Below, I’ve included the small details that matter most: how to avoid soggy peppers, when to stir, and a few smart swaps if you need to work with what’s already in the kitchen.
The chicken stayed juicy and the peppers had those caramelized edges I always miss when I cook fajitas in a skillet. I stirred once halfway through like you said, and everything came out evenly browned instead of soggy.
Save these sheet pan chicken fajitas for the nights when you want charred peppers, juicy chicken, and almost no cleanup.
The Secret to Charred Fajitas Without a Soggy Pan
Sheet pan fajitas fall apart when the vegetables release too much moisture before they have a chance to brown. That usually happens when the pan is too small, the oven isn’t hot enough, or the ingredients are piled on top of each other. At 425°F, the edges brown fast enough to catch a little char before the chicken dries out.
The other mistake is slicing everything unevenly. Thin pepper strips cook at the same pace as the chicken only if the chicken is cut into similar-width strips. If one piece is thick and another is paper-thin, you’ll end up with a dry pan mixed with underdone pieces. A single stir halfway through is enough; more than that breaks up the browning.
What Each Ingredient Is Actually Doing in This Dish
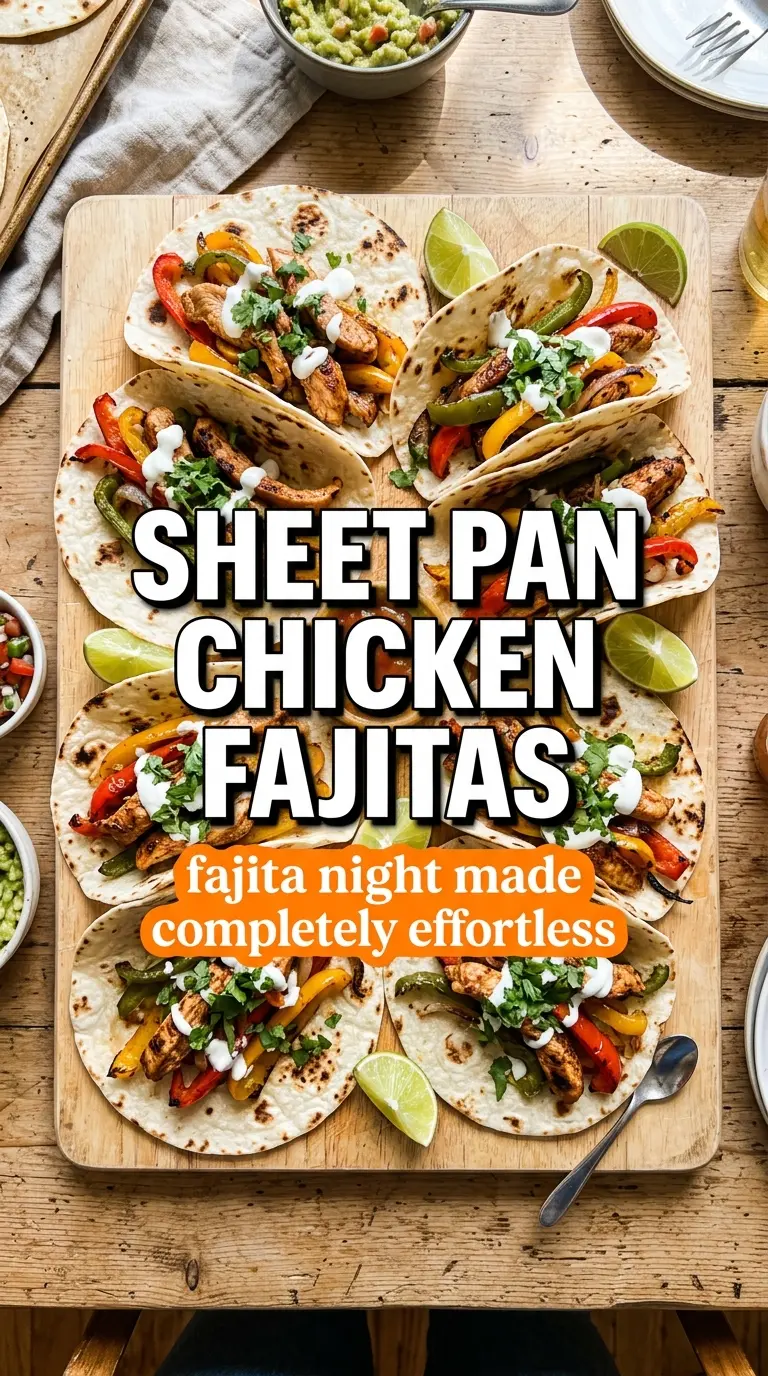
- Chicken breast — Lean chicken breast works well here because the high oven heat gives it color before it overcooks. Slice it into even strips so it finishes at the same time as the peppers. Chicken thighs also work and stay a little juicier, but they bring a richer, slightly heavier result.
- Bell peppers — Use a mix of red, yellow, and green if you can. The red and yellow peppers turn sweet as they roast, while the green adds that sharper fajita note. Pre-slicing them too thin is a problem, because they collapse before the edges can char.
- Onion — A large onion softens into sweet, browned ribbons that tie the whole pan together. Slice it thick enough to hold shape. Too-thin onion slices disappear into the pan and burn before the chicken is done.
- Olive oil — Oil helps the seasoning stick and encourages browning. If the pan looks dry before it goes into the oven, the spices can scorch instead of bloom. Avocado oil works too if that’s what you keep on hand.
- Fajita seasoning, garlic powder, and smoked paprika — This trio gives the dish its signature taste without needing a long marinade. Smoked paprika matters here because it adds depth fast, especially in an oven recipe where you don’t get the same seared flavor as a hot skillet. If your fajita seasoning is salty, hold back on extra salt until after roasting.
How to Get the Chicken and Peppers Browned, Not Steamed
Coating the Pan Evenly
Mix the chicken and vegetables in a large bowl first so every surface gets a thin coat of oil and seasoning. That coating is what helps the vegetables caramelize instead of drying out in patches. If the mixture looks dusty rather than glossy, add just a little more oil and toss again. The goal is a light sheen, not pooled oil at the bottom of the bowl.
Roasting in a Single Layer
Spread everything across the sheet pan with space between the pieces. Overlap is the quickest way to trap steam, and steam is what keeps fajitas pale and limp. A foil-lined pan helps cleanup, but the real benefit is that it makes it easier to slide the chicken and vegetables around when you stir halfway through. You want sizzling edges, not a wet layer of onions.
Finishing at the Right Moment
Roast until the chicken is cooked through and the peppers have darkened at the edges. The onions should look soft and lightly browned, not collapsed into strings. If the pan still looks wet at 20 minutes, give it a couple more minutes rather than pulling it early, because under-roasted vegetables taste flat. The best batches come out with a little char on the tips and juices that have mostly cooked off.
How to Adapt These Sheet Pan Fajitas for Different Needs
Make It Dairy-Free Without Changing the Main Recipe
The fajitas themselves are naturally dairy-free. Keep the filling as written and serve it with salsa, guacamole, and extra lime instead of sour cream. If you want a creamy finish, a plain dairy-free yogurt gives you the same cooling contrast without changing the cooking method.
Use Chicken Thighs for a Juicier Result
Boneless skinless thighs work well if you want more forgiving meat. They stay juicy even if the pan runs a minute long, though they brown a little more slowly than breast meat. Cut them into similar strips so the vegetables and chicken still finish together.
Make It Vegetarian with Portobello Mushrooms
Thick-sliced portobello mushrooms can replace the chicken if you want a vegetarian skillet-style filling. They’ll release more moisture, so keep the pan spacious and roast until the liquid cooks off and the edges darken. The result is earthier and softer than the chicken version, but it still works well in tortillas.
Storage and Reheating
- Refrigerator: Store the chicken and vegetables in an airtight container for up to 4 days. The peppers soften a bit as they sit, but the flavor holds up well.
- Freezer: This freezes fairly well for up to 2 months, though the peppers will lose some of their texture. Freeze in flat portions so it thaws faster and doesn’t turn watery.
- Reheating: Warm in a skillet over medium heat for the best texture. The oven also works, but avoid the microwave if you want to keep the chicken from turning rubbery and the vegetables from going limp.
Answers to the Questions Worth Asking
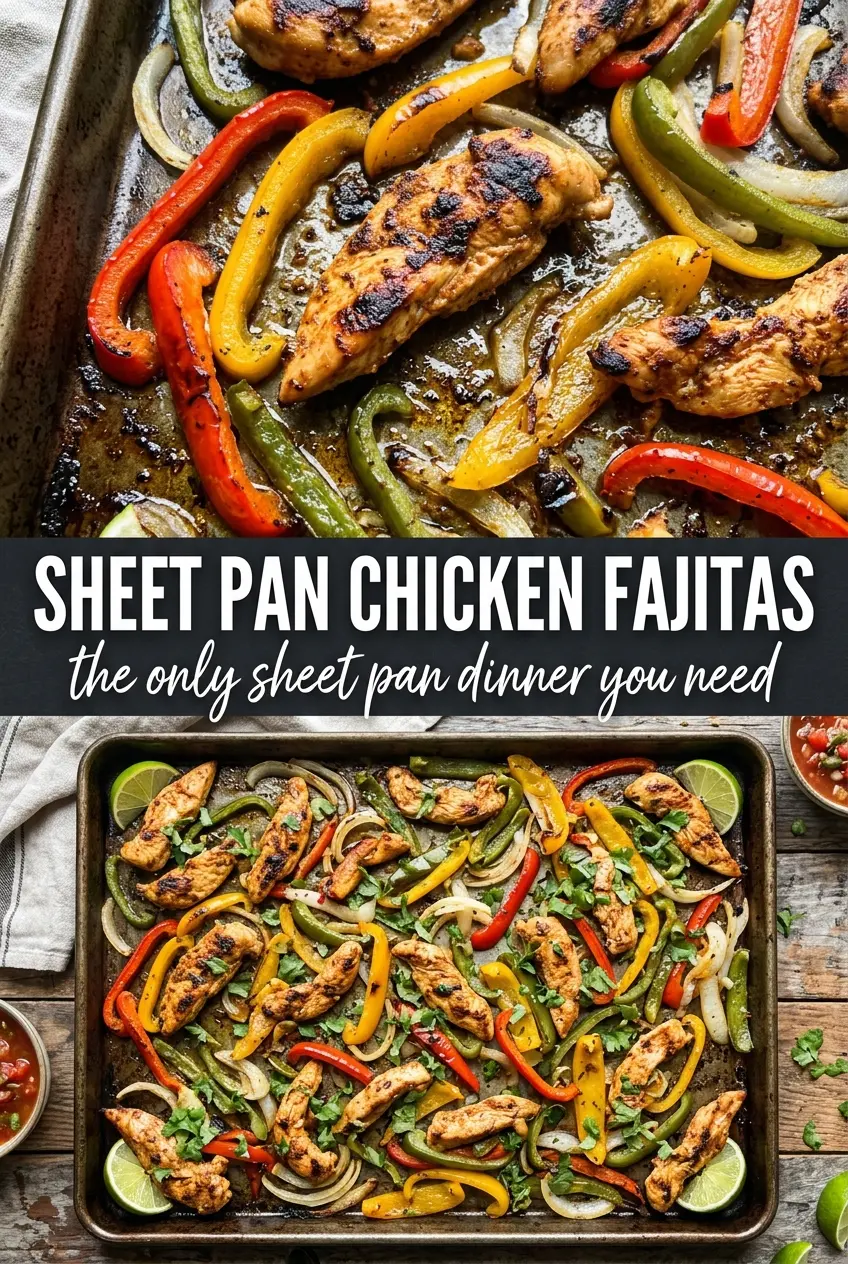
Sheet Pan Chicken Fajitas
Ingredients
Equipment
Method
- Preheat the oven to 425°F and line a large sheet pan with foil so everything roasts with easy cleanup.
- Combine the chicken breast strips, sliced bell peppers, and sliced onion in a large bowl.
- Drizzle with olive oil and add fajita or taco seasoning, garlic powder, smoked paprika, salt, and black pepper; toss well until every strip and pepper surface looks coated.
- Spread the mixture on the sheet pan in a single layer without overlapping so you get char-edged, caramelized edges.
- Roast for 22–25 minutes, stirring once halfway through, until the chicken is cooked through and the edges are slightly charred.
- Serve the roasted chicken and peppers immediately in warm tortillas.
- Top with sour cream, guacamole, and salsa, then finish with lime wedges and cilantro.