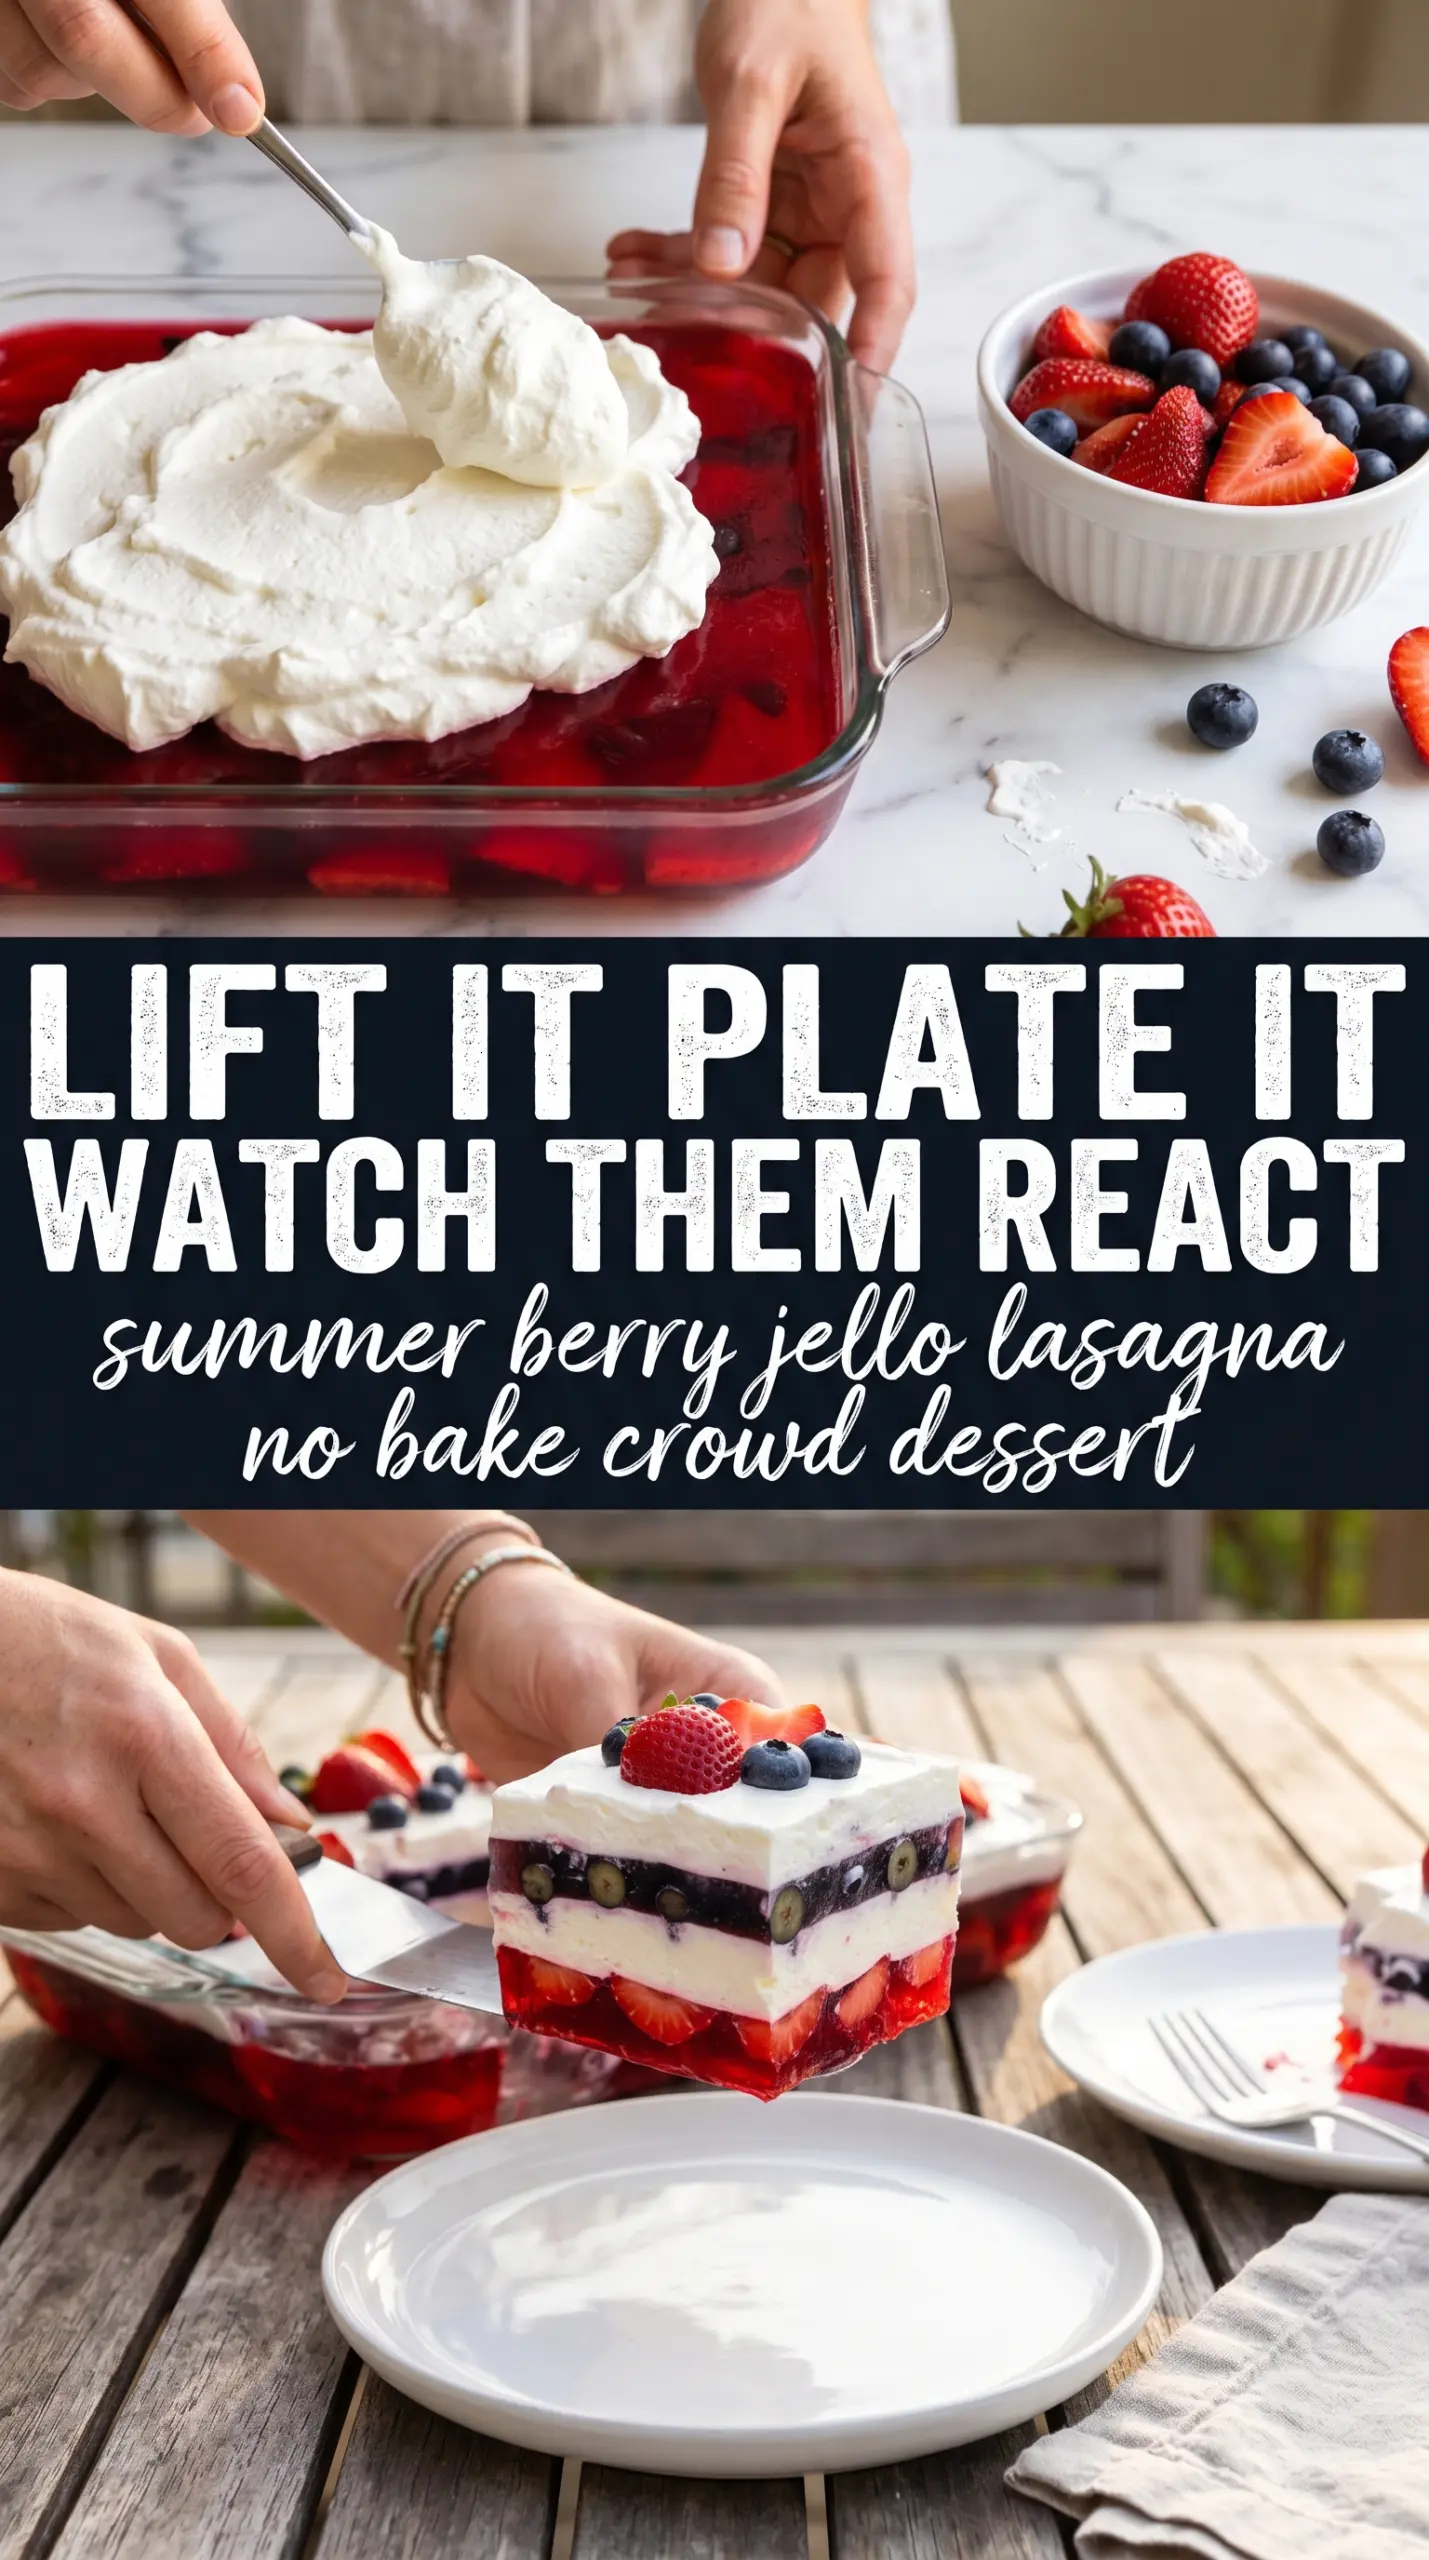
Sweet, creamy layers and a clean, colorful slice make summer berry Jello lasagna the kind of dessert people hover over at a party. The buttery Golden Oreo crust gives it a little crunch, the cream cheese layer keeps each bite soft and lush, and the strawberry-and-blueberry Jell-O layers set into bright, tidy stripes that hold their shape when you cut in. It looks playful on the table, but it eats like a proper chilled dessert.
The key is patience between layers. The Jell-O has to cool to room temperature before it goes onto the cream layer, or it can melt a channel right through the filling and blur the stripes. A firm crust helps too, which is why I press it down well and chill it before anything else goes in. That short chill keeps the base from turning sandy when the creamy layer is spread over it.
Below you’ll find the one trick that keeps the layers distinct, plus a few swaps if you want to change the fruit colors, make it a little lighter, or prep it ahead for a crowd.
The strawberry layer stayed perfectly separate from the blueberry layer, and the cream cheese middle set up fluffy instead of runny. I made it the night before, and it sliced into clean little squares the next day.
Like this strawberry-and-blueberry Jell-O lasagna? Save it to Pinterest for the make-ahead dessert that slices clean and looks party-ready.
The Part That Keeps the Layers Clean Instead of Slumping Together
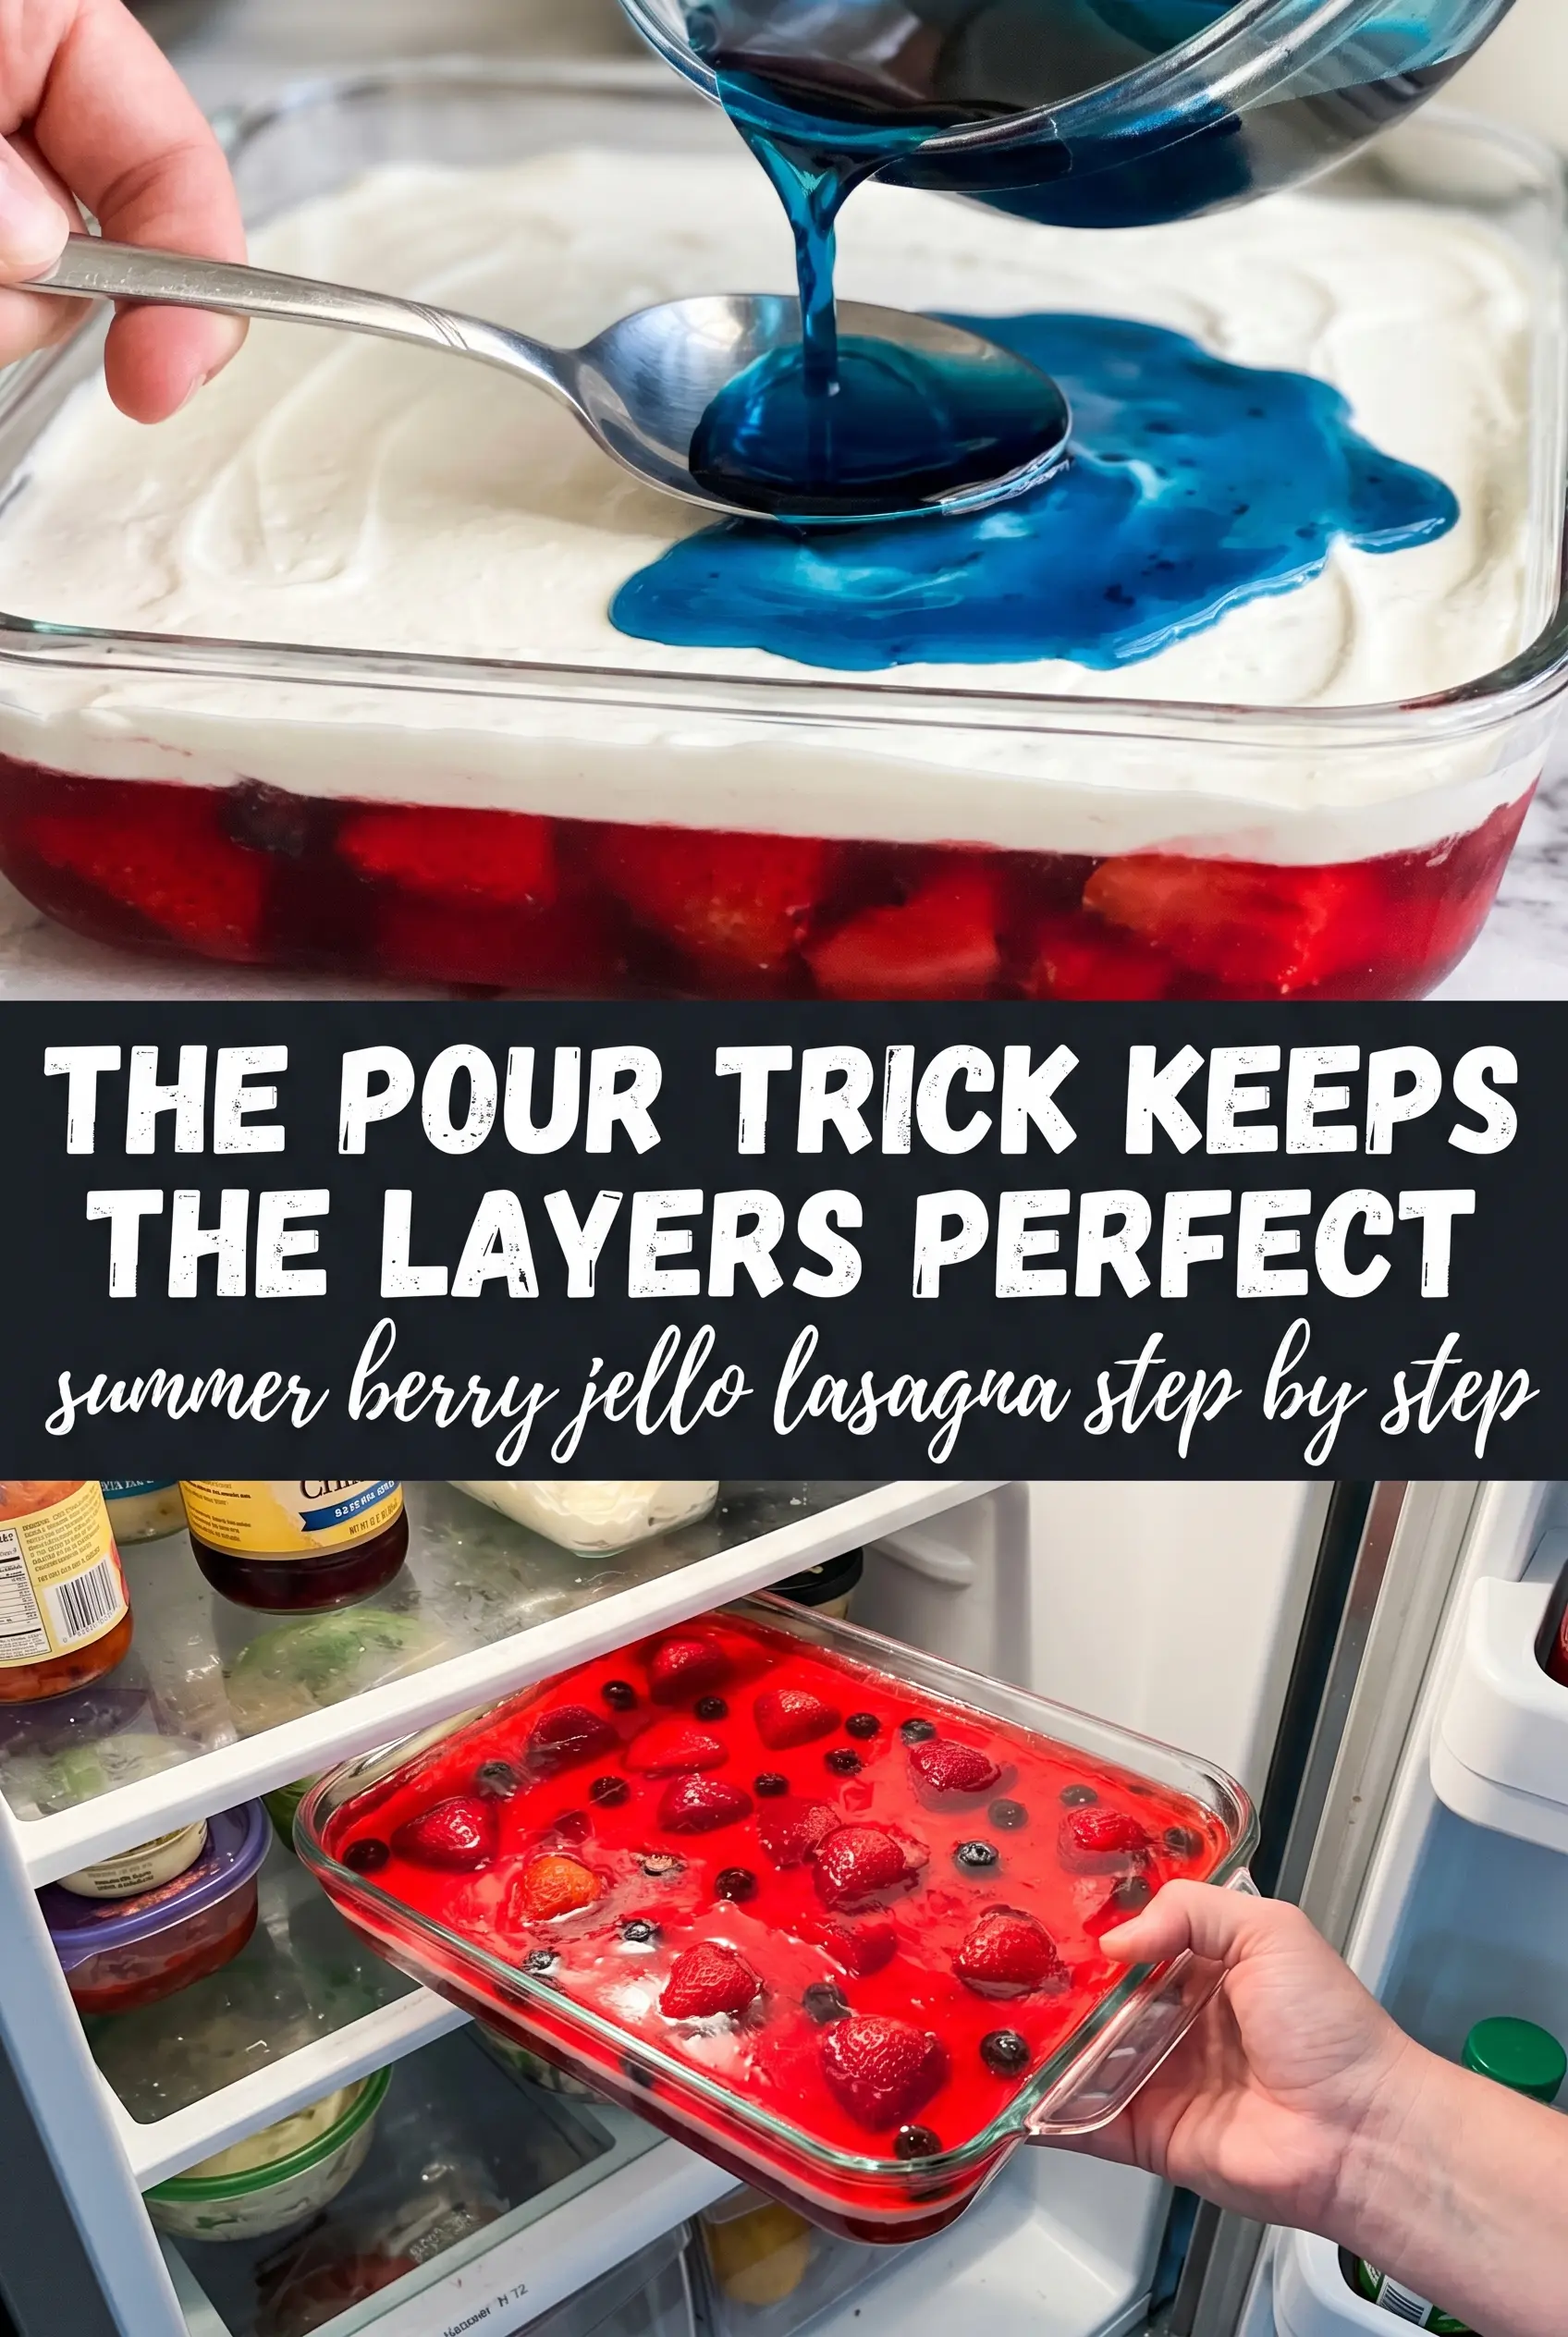
The mistake that ruins Jell-O lasagna is rushing the temperature of the gelatin. Hot or even warm Jell-O will sink into the cream cheese layer and leave you with a pink smear instead of a sharp stripe. Let it cool until it’s just barely room temperature, still liquid but no longer warm to the touch, then pour it slowly over the back of a spoon if you want extra control.
The other thing that matters is the cream cheese layer itself. Beat it until there are no little lumps before folding in the whipped topping, because any stubborn bits will show up in the finished slice. A smooth middle gives you that neat, bakery-style cross section when you cut into the chilled dessert.
What Each Layer Is Actually Doing Here
- Golden Oreos — These make a sweeter, buttery crust than graham crackers and give the whole dessert a warmer vanilla note. Crush them fine so the base packs tightly and slices without crumbling. If you only have vanilla sandwich cookies, use those; the texture stays close, though the flavor gets a little more pronounced.
- Cream cheese — This is what turns the dessert from a layered Jell-O pan into something rich and sliceable. Full-fat cream cheese gives the cleanest, smoothest layer. Reduced-fat cream cheese works in a pinch, but it can soften faster and won’t set up with quite the same body.
- Whipped topping — Folded in, it lightens the cream cheese layer and helps it spread without tearing the crust. Thaw it fully before using or you’ll end up with icy streaks. Homemade whipped cream isn’t a straight swap here because it softens faster and doesn’t hold the same structure for a long chill.
- Strawberry and berry blue Jell-O — The two flavors give you the red, white, and blue look, but they also set at a different visual pace, which helps create those distinct layers. Use the exact boiling-water measurement so the gelatin dissolves completely. If crystals remain, the surface can look grainy and the layer may not set evenly.
Building the Pan So the Slices Hold Their Shape
Pressing the crust
Mix the crushed Golden Oreos with the melted butter until every crumb looks evenly coated, then press the mixture into the bottom of a 9×13 dish in a tight, level layer. Use the bottom of a measuring cup to pack it down firmly; a loose crust falls apart under the cream layer and makes messy slices. A short chill firms the butter back up and gives you a base that stays put.
Whipping the cream cheese layer
Beat the softened cream cheese and powdered sugar until the mixture turns completely smooth and glossy. Scrape the bowl well before folding in half of the whipped topping, because any streaks of cream cheese will show in the finished dessert. Spread it over the chilled crust in an even layer, then return the pan to the fridge while you work on the gelatin.
Setting the strawberry layer first
Dissolve the strawberry Jell-O in boiling water, stir in the cold water, and let it cool until it no longer feels warm. If you pour it while it’s hot, the cream layer can melt and blur, and that’s the point where the dessert starts to lose its clean bands. Pour slowly and chill until the layer is fully set before adding the blue gelatin.
Finishing with the blue layer and topping
Repeat the same process with the berry blue Jell-O, then pour it gently over the set strawberry layer. A slow pour keeps the colors distinct and prevents the spoon from cutting holes in the layer underneath. Once it’s set, spread the remaining whipped topping over the top and chill again so the finished dessert slices cleanly instead of collapsing at the edges.
Three Ways to Change the Color, the Sweetness, or the Dairy
Make it lighter with extra whipped topping
If you want a softer, fluffier finish, increase the whipped topping a little in the cream layer and use a thinner top coat. The dessert will still slice well, but the cream layer will taste more airy and less rich. This is the best move when you’re serving it after a heavy meal.
Swap the fruit flavors for different colors
Any matching pair of Jell-O flavors can work here as long as they set at the same speed and give you the look you want. Cherry and berry blue keep the patriotic feel, while raspberry and lime make a brighter, more playful pan. Pick flavors that complement the sweet cream layer instead of fighting it.
Use a gluten-free cookie crust
A gluten-free vanilla sandwich cookie or gluten-free butter cookie will work in place of the Golden Oreos. Crush them finely and keep the butter ratio the same so the crust still packs tightly. The texture stays nearly identical; the flavor just shifts depending on the cookie you choose.
Make it dairy-free with a few careful swaps
Use dairy-free butter, a plant-based cream cheese, and a stable non-dairy whipped topping that holds its shape after chilling. The result will be a little softer and less tangy than the original, but it still gives you the same layered look. Keep the chilling times the same so each layer has time to firm up.
Storage and Reheating
- Refrigerator: Store covered for up to 4 days. The crust softens a little over time, but the layers stay neat if the dessert stays cold.
- Freezer: I don’t recommend freezing it. The gelatin and whipped layer can turn watery and grainy after thawing, which ruins the clean slice.
- Reheating: Not applicable. Serve this dessert straight from the fridge, and keep it chilled until the moment you cut it so the Jell-O layers stay firm.
Answers to the Questions Worth Asking
Summer Berry Jello Lasagna
Ingredients
Equipment
Method
- Mix the finely crushed Golden Oreos with the melted butter until evenly combined, then press firmly into the bottom of a 9x13 dish.
- Refrigerate the crust for 20 minutes, until firm to the touch (visual cue: it looks set and holds together when pressed).
- Beat the softened cream cheese with the powdered sugar until smooth, then fold in half of the whipped topping and spread over the chilled crust.
- Refrigerate the pan while you prepare the first Jell-O layer (visual cue: the cream layer firms slightly so it doesn’t mix with the liquid).
- Dissolve the strawberry Jell-O in 1 cup boiling water, stirring until completely smooth.
- Stir in 1/2 cup cold water, then cool to room temperature—do not let it set (visual cue: the mixture stays liquid and glossy).
- Pour the cooled strawberry Jell-O gently over the cream cheese layer, then refrigerate for 1 hour until set (visual cue: the surface is firm with no jiggle waves).
- Dissolve the berry blue Jell-O in 1 cup boiling water, stirring until fully dissolved.
- Stir in 1/2 cup cold water, then cool to room temperature (visual cue: it remains pourable and uniform).
- Pour the cooled blue Jell-O gently over the set strawberry layer, then refrigerate for 1 more hour until set (visual cue: the blue layer looks even and holds its shape).
- Spread the remaining whipped topping over the top to cover evenly.
- Chill for another 30 minutes, then slice into rectangles to serve (visual cue: clean edges with distinct red, white, and blue layers).