Crunchy chips, seasoned taco beef, cool lettuce, and a spoonful of salsa all piled into one bag turn taco salad into the kind of meal people talk about after the picnic table has been cleared. The best part is the contrast: the chips stay crisp under the toppings, the beef brings the savory heat, and the cold toppings cut through every bite. It’s casual in the best way, and that’s exactly why it gets made for campouts, backyard dinners, and busy nights when nobody wants another bowl to wash.
This version works because each ingredient stays in its lane until the last second. The beef gets cooked and seasoned first so it has time to lose excess moisture, which keeps the chips from going soggy too fast. Cutting the bags open cleanly also matters more than people think; a wide opening makes it easier to layer without crushing the chips into dust. The toppings stay simple here on purpose, because once you’ve got crunchy chips, well-seasoned meat, and cold, fresh toppings, you don’t need to overdo it.
Below, I’ll show you the small details that help these bags hold up, plus a few smart swaps if you’re feeding a crowd or packing them for camping.
The bags stayed crunchy way longer than I expected, and the taco meat had just enough seasoning without making everything soggy. My kids loved building their own, and there were zero leftovers.
These taco salad in a bag lunches are perfect when you want crunchy walking tacos with zero bowls to wash.
The Part That Keeps the Chips Crunchy Instead of Sad
The biggest mistake with taco salad in a bag is loading everything in too early and letting the chips sit under wet toppings. That turns the bottom half into crumbs before anyone gets to eat. The fix is simple: build each bag right before serving and keep the salsa and sour cream on top, not buried under the lettuce. The meat also needs to be cooked down until there isn’t much liquid left in the pan. Wet taco filling is the fastest way to soften the chips.
Another thing that helps is using the bag itself as the serving bowl, not as a mixing container. Once the toppings go in, a fork is enough. No tossing, no stirring, no crushing the chips on purpose. If you’ve ever had a walking taco that turned into chip dust halfway through, this version solves that problem.
What the Chips and Toppings Are Actually Doing Here
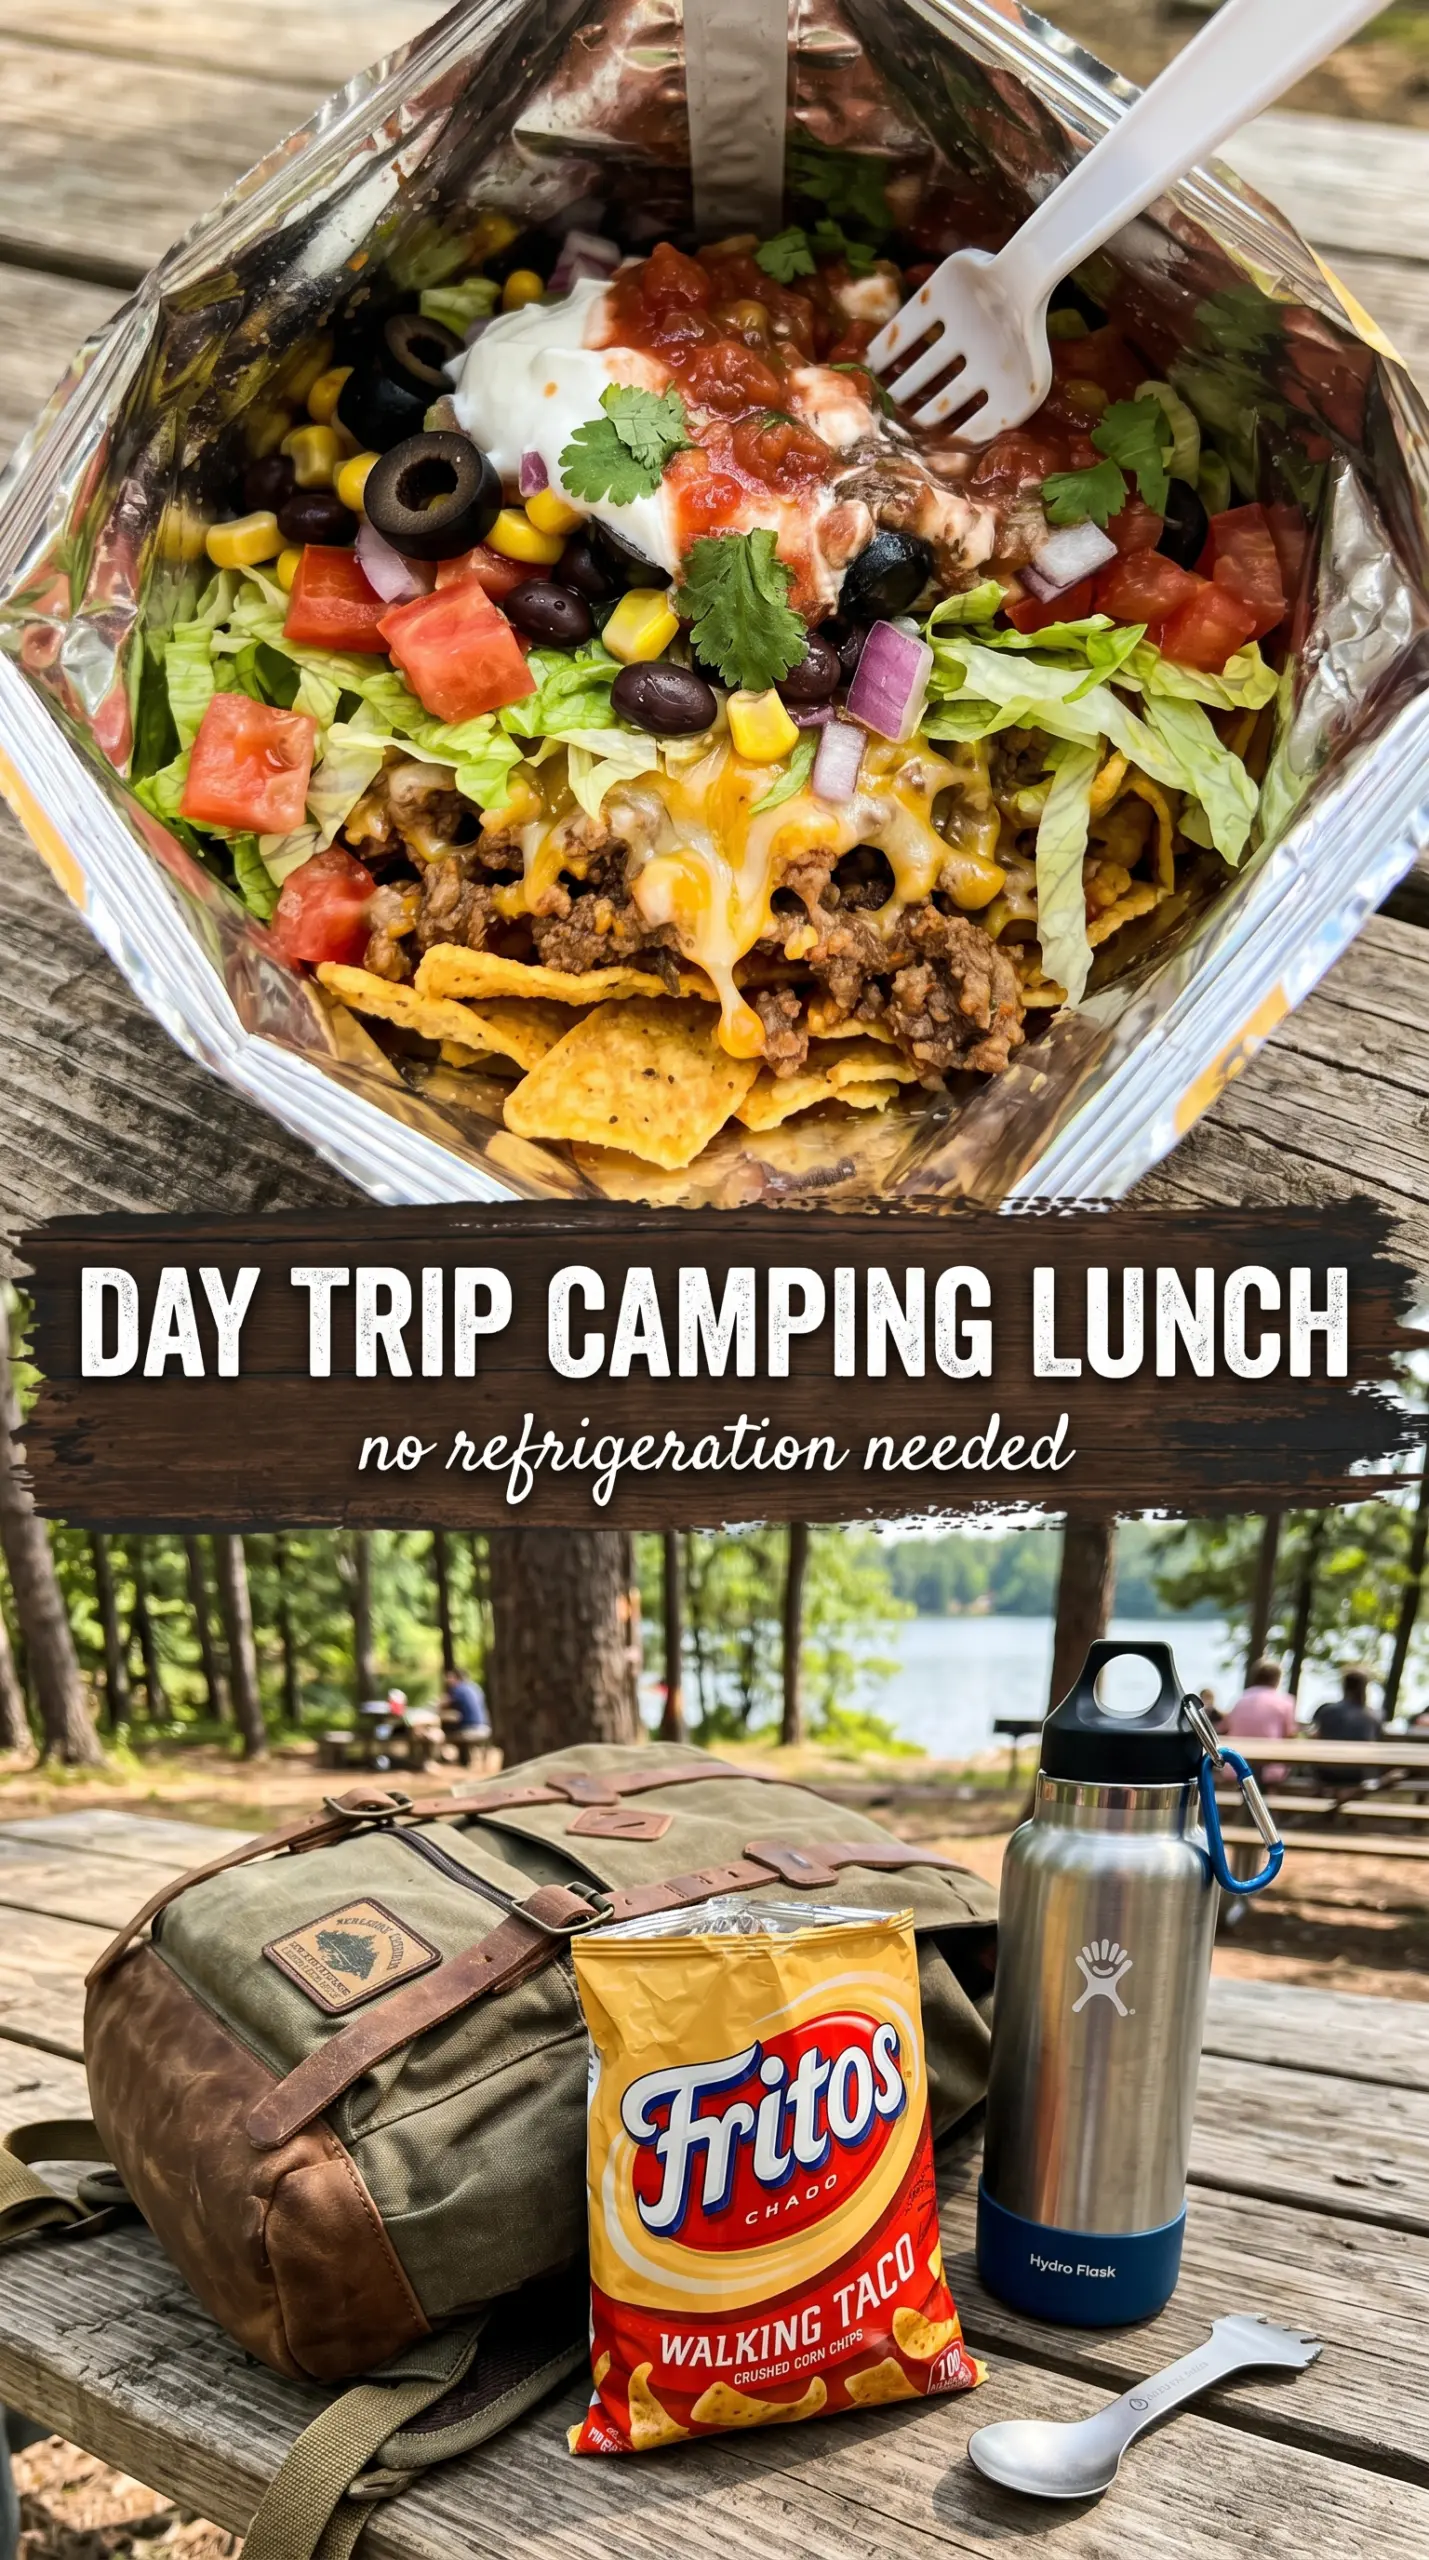
- Doritos or Fritos — These give you the salty, sturdy base that makes the whole thing work. Doritos bring extra seasoning, while Fritos give a corn-forward crunch that holds up well under the meat. Either one is better than a thin chip that collapses the second the sour cream hits it.
- Ground beef — This is where the warm, savory backbone comes from. Cook it until the fat is drained and the seasoning clings to the meat instead of pooling in the pan. Ground turkey works too, but it tastes leaner and needs a little extra salt or taco seasoning to stand up to the chips.
- Shredded lettuce — Use crisp lettuce, not soft greens. Iceberg gives the best crunch and stays fresh inside the bag longer than delicate lettuce would. Shred it fine enough that it settles into the bag without needing to be packed down.
- Shredded cheese — Sharp cheddar or a Mexican blend both work well here. Freshly shredded cheese melts less into a clump and gives better texture than the pre-shredded kind, though the bagged version is fine when convenience matters more than perfect texture.
- Salsa and sour cream — These are best added on top so they stay bright and cold. Thick salsa is easier to control than very watery salsa, which can seep straight through the chips. If you want a cleaner bag, spoon a little of each over the top instead of pouring.
Building the Bags So Every Bite Stays Balanced
Cook the beef until it’s dry, not watery
Brown the ground beef in a skillet and break it up well as it cooks so there aren’t any large clumps. Once it’s cooked through, drain off the excess fat and stir in the taco seasoning with just enough water to coat the meat. Let it simmer until the liquid has cooked off and the meat looks glossy, not soupy. If there’s liquid left in the pan, it will collect in the chips and soften them fast.
Open the bags without tearing them apart
Cut across the top of each chip bag, or slice one side open if you want a wider opening for layering. You want enough room to get a spoon in without crushing the chips. If the bag splits too low, the toppings will sit awkwardly and the whole thing gets messy before the first bite. Stand the bags upright in a muffin tin or small cups if you’re serving a crowd; that keeps them steady while you fill them.
Layer with the cold ingredients last
Start with taco meat, then add lettuce, cheese, tomatoes, and finish with sour cream, salsa, and olives. That order keeps the heat away from the freshest toppings and gives the chips a little protection. Don’t stir once everything is in the bag. The whole point is to scoop from the top and work your way down while the chips still have some bite.
How to Make This Work for Different Crowds and Setups
Make It Vegetarian with Beans or Plant-Based Crumbles
Swap the ground beef for seasoned black beans or a plant-based ground substitute. Beans give you a softer, more rustic texture, while plant-based crumbles stay closer to the look and feel of taco meat. Either way, cook the filling until any extra moisture has evaporated so the chips stay crisp.
Use Gluten-Free Chips for a Naturally Gluten-Free Version
Choose corn tortilla chips or another certified gluten-free chip instead of regular Doritos or Fritos if gluten is a concern. The rest of the ingredients are naturally gluten-free as long as your taco seasoning is, too. This swap changes the flavor a little, but the crunch still carries the dish.
Make It Ahead for Camping or Lunches
Cook the meat and chop the toppings ahead of time, but keep everything separate until you’re ready to eat. If you’re packing these for camping, tuck the sour cream and salsa into small containers and open the chip bags only when you’re about to serve. That keeps the texture where it should be: crunchy at the bottom, cool and fresh on top.
Storage and Reheating
- Refrigerator: Store the taco meat and toppings separately for up to 3 days. Once the chips are assembled, they soften quickly and don’t keep well.
- Freezer: The seasoned beef freezes well for up to 2 months. Freeze it flat in a sealed container or bag, then thaw in the fridge before reheating.
- Reheating: Warm the meat in a skillet or microwave until hot, then let it cool slightly before assembling. Hot meat dumped straight into the bags will melt the cheese and collapse the chips faster than you want.
Answers to the Questions Worth Asking
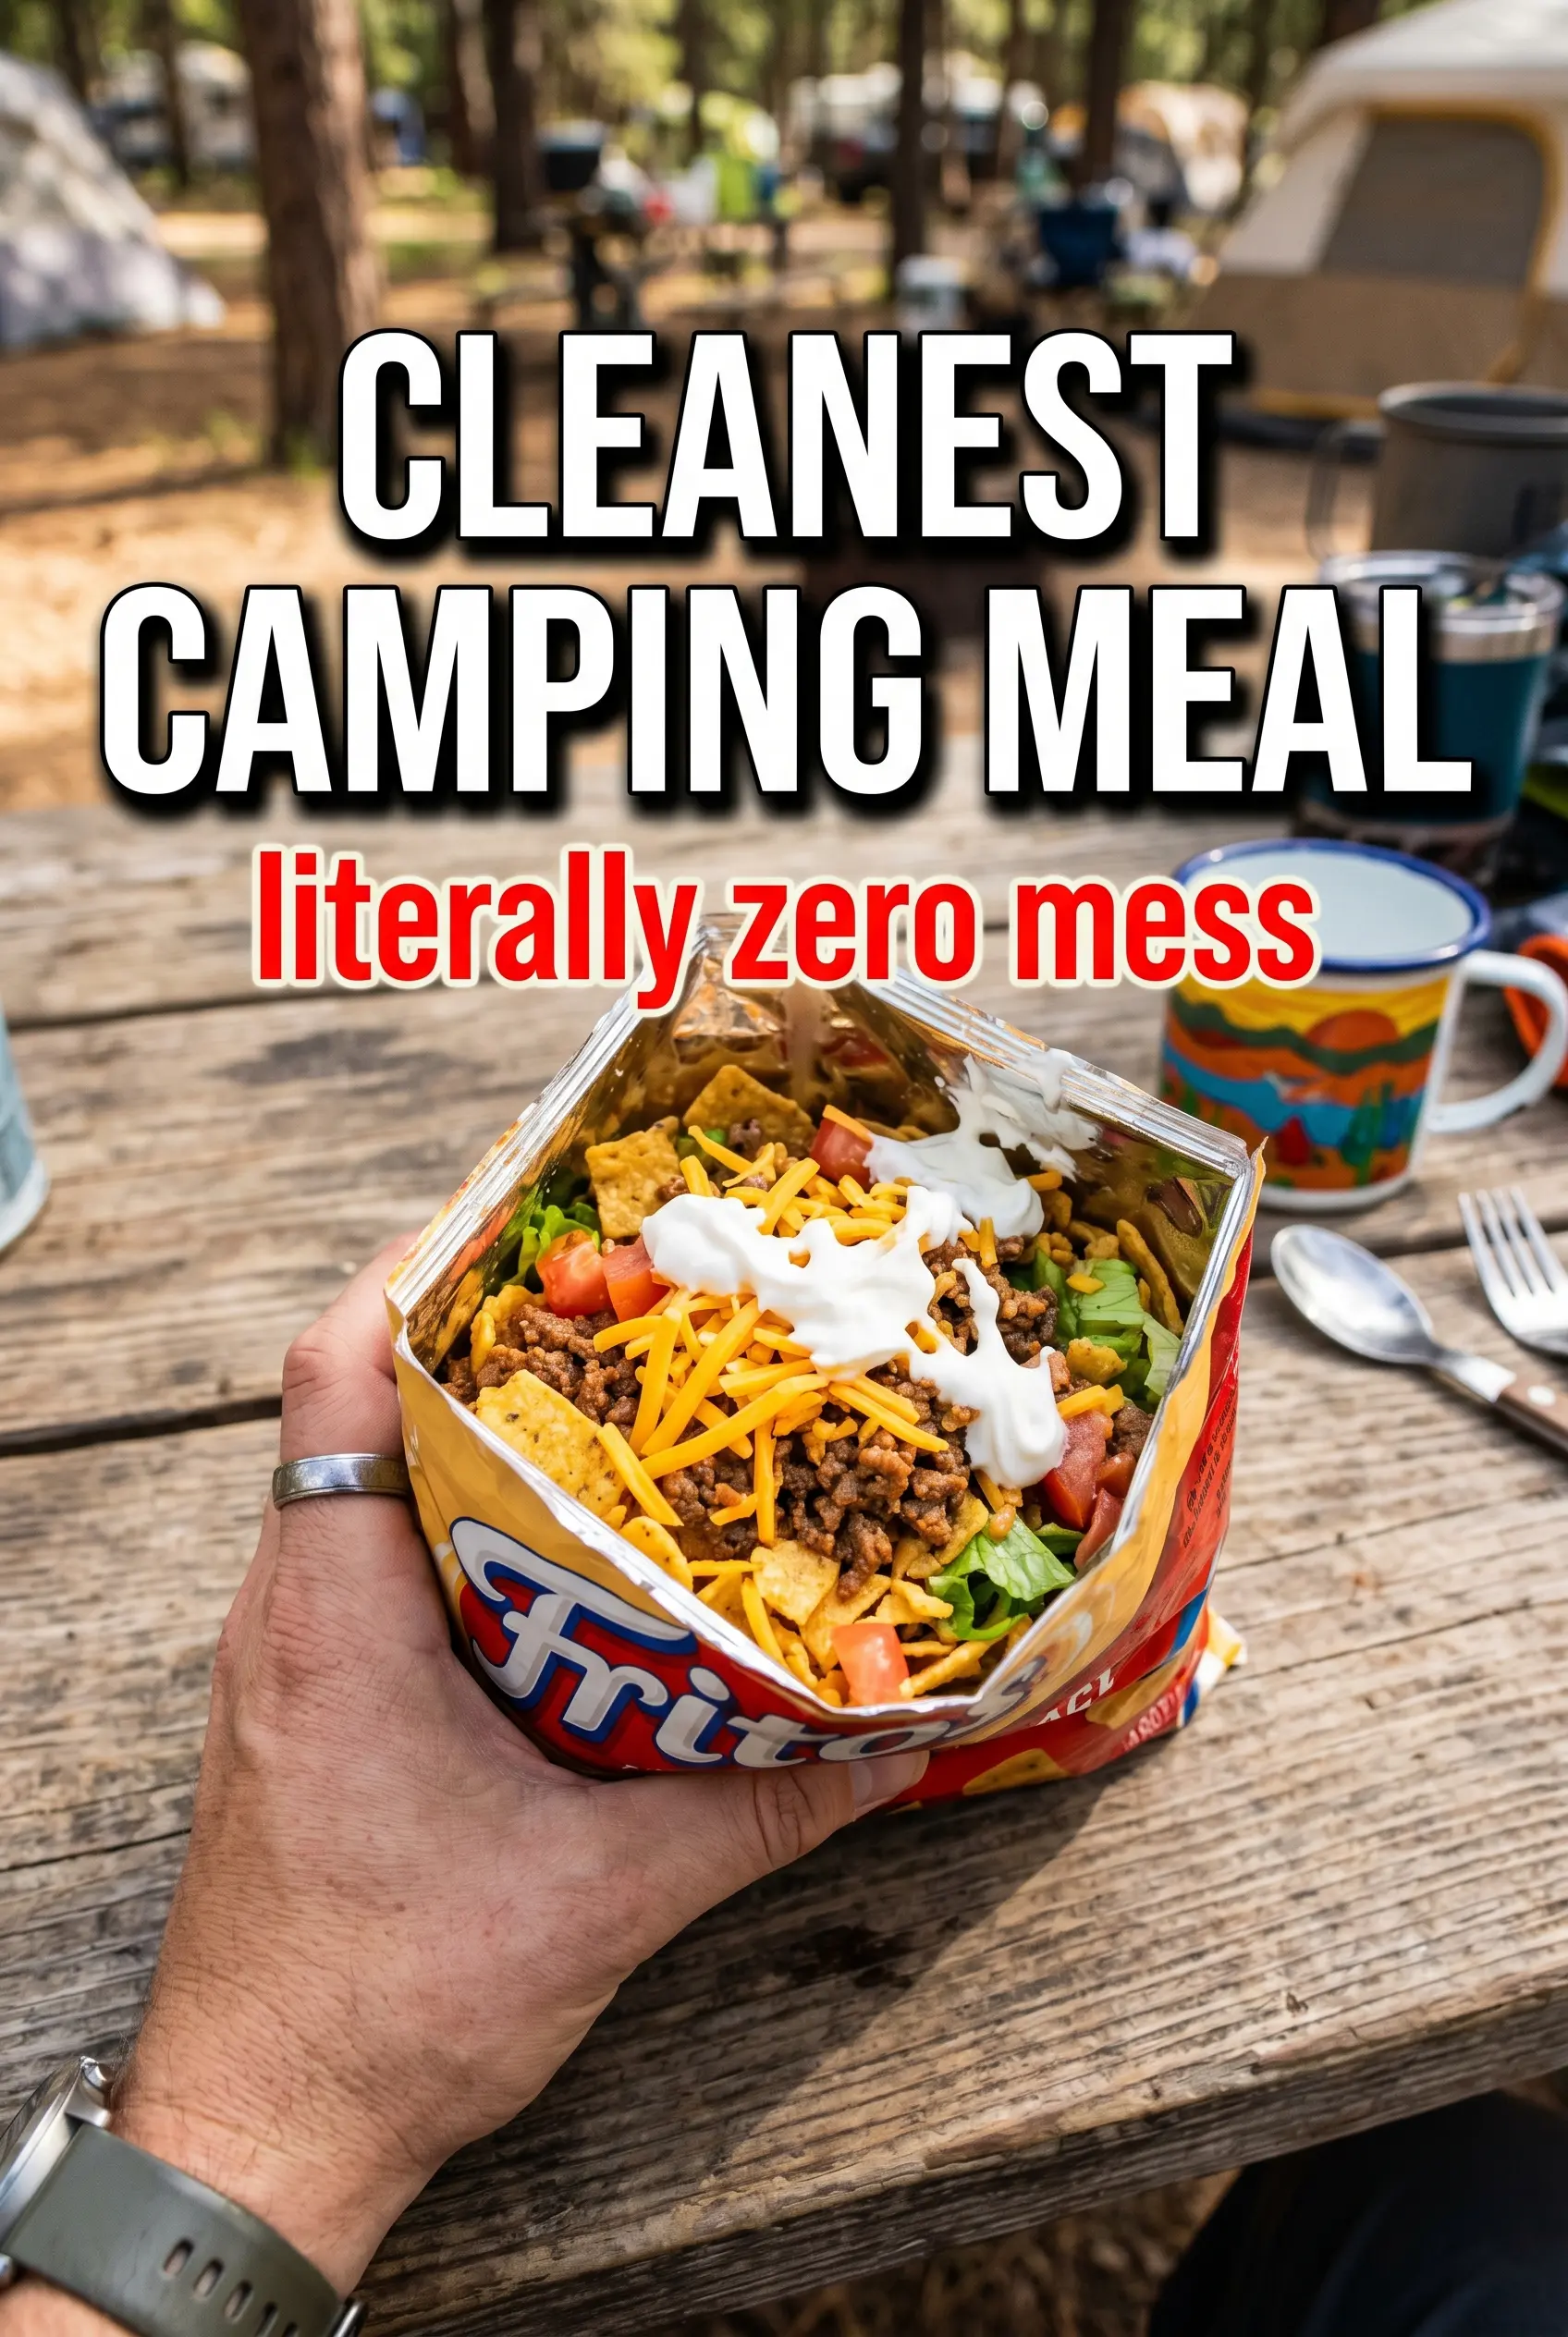
Taco Salad In A Bag
Ingredients
Equipment
Method
- Heat a cast iron skillet over a campfire and cook ground beef until browned, about 10 minutes, stirring as needed so it cooks evenly.
- Season the browned ground beef with taco seasoning and cook 1 more minute to coat and deepen flavor, then remove from heat and let cool slightly.
- Using scissors or a knife, open each chip bag by cutting along the top or side so it can hold the layers.
- Spoon a portion of the seasoned taco meat into each opened chip bag, aiming for an even layer at the bottom.
- Add shredded lettuce to each bag on top of the taco meat so it forms a crunchy middle layer.
- Sprinkle shredded cheese over the lettuce in each bag to create a melty-looking layer.
- Add diced tomatoes to each bag as the next layer for fresh color and juiciness.
- Top each bag with sour cream, salsa, and sliced black olives so every serving gets toppings in the same order.
- Eat directly from the bag with a fork right away so the chips stay crunchy and the toppings stay bright.