Thai peanut chicken wraps hit the sweet spot between fresh and satisfying. You get tender sliced chicken, crunchy cabbage, bright bell pepper, cool cucumber, and a thick peanut sauce that clings to every bite instead of running out the bottom of the tortilla. Rolled tightly and cut on the bias, they eat like a proper meal, not just a lunchbox filler.
What makes this version work is the balance. The chicken gets a quick soy-sesame seasoning before it hits the pan, which gives it a savory backbone that stands up to the sauce. The peanut dressing is built to be spoonable, not stiff, so it spreads easily across the tortilla and stays glossy instead of turning pasty. A little rice vinegar and lime juice keep the whole wrap from tasting heavy.
Below, I’ll show you the small details that keep the wraps neat, the sauce balanced, and the tortillas from tearing when you roll them. There’s also a simple way to prep the components ahead so assembly takes just a few minutes.
The peanut sauce came out thick and glossy, and it stayed in the wrap instead of soaking through the tortilla. I loved how the cucumber and cabbage kept every bite crisp.
Love these Thai Peanut Chicken Wraps? Save them to Pinterest for an easy dinner with crunchy vegetables and glossy peanut sauce.
The Trick to Keeping Peanut Sauce from Turning the Wrap Soggy
The mistake most people make here is building the wrap with sauce that’s too thin or filling that’s still wet. A peanut sauce that pours like salad dressing will migrate straight into the tortilla, and watery vegetables will speed that up. You want the sauce thick enough to coat a spoon and the vegetables dry enough that they stay crisp for the first few bites.
Rolling also matters more than people think. If you pile the filling all the way to the edges, the tortilla splits and the sauce squeezes out the ends. Keep the filling in the center, fold the sides in first, then roll it tight from the bottom so the seam stays tucked underneath.
- Warm tortillas — Cold flour tortillas crack when you roll them. A few seconds in a dry skillet or a short burst in the microwave makes them flexible and much easier to seal around the filling.
- Thinly sliced chicken — Slicing the cooked chicken against the grain gives you tender pieces that distribute evenly through the wrap. Thick chunks tend to tug at the tortilla and make each bite fall apart.
- Dry vegetables — After washing the cabbage, cucumber, and herbs, let them drain well or pat them dry. Extra surface moisture is one of the fastest ways to water down the sauce inside the wrap.
What Each Ingredient Is Actually Doing in This Wrap
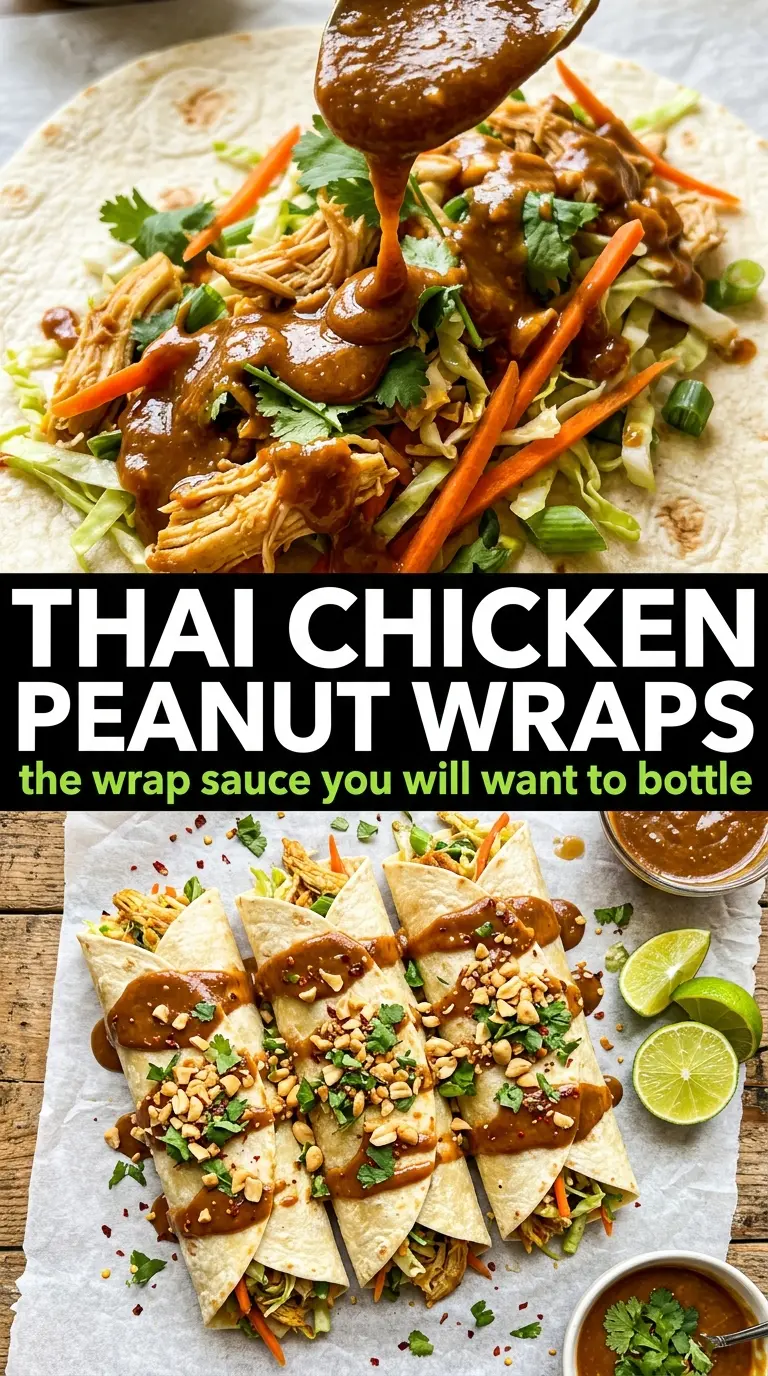
The chicken breasts give you a clean, lean base that picks up the soy, sesame, and garlic quickly. If you want to swap in thighs, they’ll stay a little juicier and richer, but breasts slice neatly and keep the wrap lighter. The key is not overcooking them; once the center reaches temperature and the outside has a bit of color, pull them from the pan and let them rest before slicing.
Peanut butter is the backbone of the sauce, and creamy works best here because it blends into a smooth coating. Natural peanut butter can work, but stir it first so the oil is fully mixed in, or the sauce may separate. Rice vinegar and lime juice are not background players. They keep the sauce from tasting flat and help it cut through the richness.
- Flour tortillas — Ten-inch tortillas give you enough room to roll without overstuffing. If you use smaller ones, the wrap gets crowded fast and the filling spills out.
- Purple cabbage — This brings crunch and a little bitterness, which balances the peanut sauce. Green cabbage works too, but purple cabbage gives a prettier cross-section and a slightly firmer bite.
- Cucumber — Julienne the cucumber so it layers cleanly instead of slipping out in thick rounds. If the seeds are very wet, scrape them out first to keep the wrap from getting watery.
- Honey — A small amount rounds out the sauce and smooths the sharp edges from the vinegar and lime. Maple syrup works in a pinch, though it will taste a little deeper and less clean.
Cooking the Chicken, Mixing the Sauce, and Rolling It Tight
Whisk the Sauce Until It Drips Slowly
Start with the peanut sauce so it has time to loosen and blend while you cook the chicken. The texture should be thick, glossy, and spoonable, not clumpy or stiff. Add warm water a tablespoon at a time until it falls from the spoon in a slow ribbon. If you dump in too much water at once, it’s hard to bring the sauce back to a spreadable texture.
Season and Sear the Chicken
Toss the chicken with soy sauce, sesame oil, and garlic powder, then cook it in a hot skillet until the outside is lightly browned and the center is cooked through. The pan should sizzle when the chicken goes in; if it just sits there and steams, the heat is too low. Let the chicken rest for a few minutes before slicing so the juices stay in the meat instead of running across the cutting board.
Build the Wrap in the Middle, Not at the Edges
Spread sauce down the center of each tortilla, then layer the cabbage, pepper, carrots, cucumber, chicken, and cilantro on top. Keep the filling in a narrow line and leave space on both sides for folding. That space is what keeps the wrap sealed. Drizzle more sauce over the filling, add crushed peanuts, then fold the sides inward and roll it tightly from the bottom up.
Slice After the Seam Sets
Place the wrap seam-side down for a minute before cutting it. That brief pause helps it hold its shape. Use a sharp knife and slice diagonally in one clean motion. A sawing motion crushes the filling and smears the sauce instead of giving you that neat cut edge you want.
How to Adjust These Wraps for Different Kitchens and Different Lunches
Make It Gluten-Free with the Right Sauce Swap
Use gluten-free tamari instead of soy sauce in both the chicken seasoning and the peanut sauce. The flavor stays savory and balanced, but you avoid the wheat in standard soy sauce. Just check the tortillas too, since flour tortillas contain gluten unless you buy a certified gluten-free version.
Turn It Dairy-Free Without Changing Anything Else
This recipe is naturally dairy-free as written, which makes it an easy option when you want a creamy sauce without using yogurt, sour cream, or cheese. The peanut butter does all the heavy lifting, so you don’t lose richness.
Use Chicken Thighs for a Juicier Filling
Boneless skinless thighs cook up a little richer and stay juicier if you’re worried about breast meat drying out. They’ll take about the same amount of time in the skillet, but they benefit from a short rest before slicing so they stay tender.
Prep Ahead for Fast Assembly
Cook the chicken and mix the sauce up to two days ahead, then store the vegetables separately so they stay crisp. When it’s time to eat, warm the tortillas and assemble everything fresh. That keeps the wraps from softening before they hit the plate.
Storage and Reheating
- Refrigerator: Store the chicken, sauce, and vegetables separately for up to 4 days. Fully assembled wraps soften fast, so they’re best made just before serving.
- Freezer: The cooked chicken freezes well for up to 2 months, but the fresh vegetables and sauce don’t freeze nicely. Freeze only the chicken if you want to get ahead.
- Reheating: Warm the chicken gently in a skillet or microwave until just hot, then assemble with cold vegetables and fresh sauce. Reheating a fully built wrap usually turns the tortilla gummy and the greens wilted.
Answers to the Questions Worth Asking
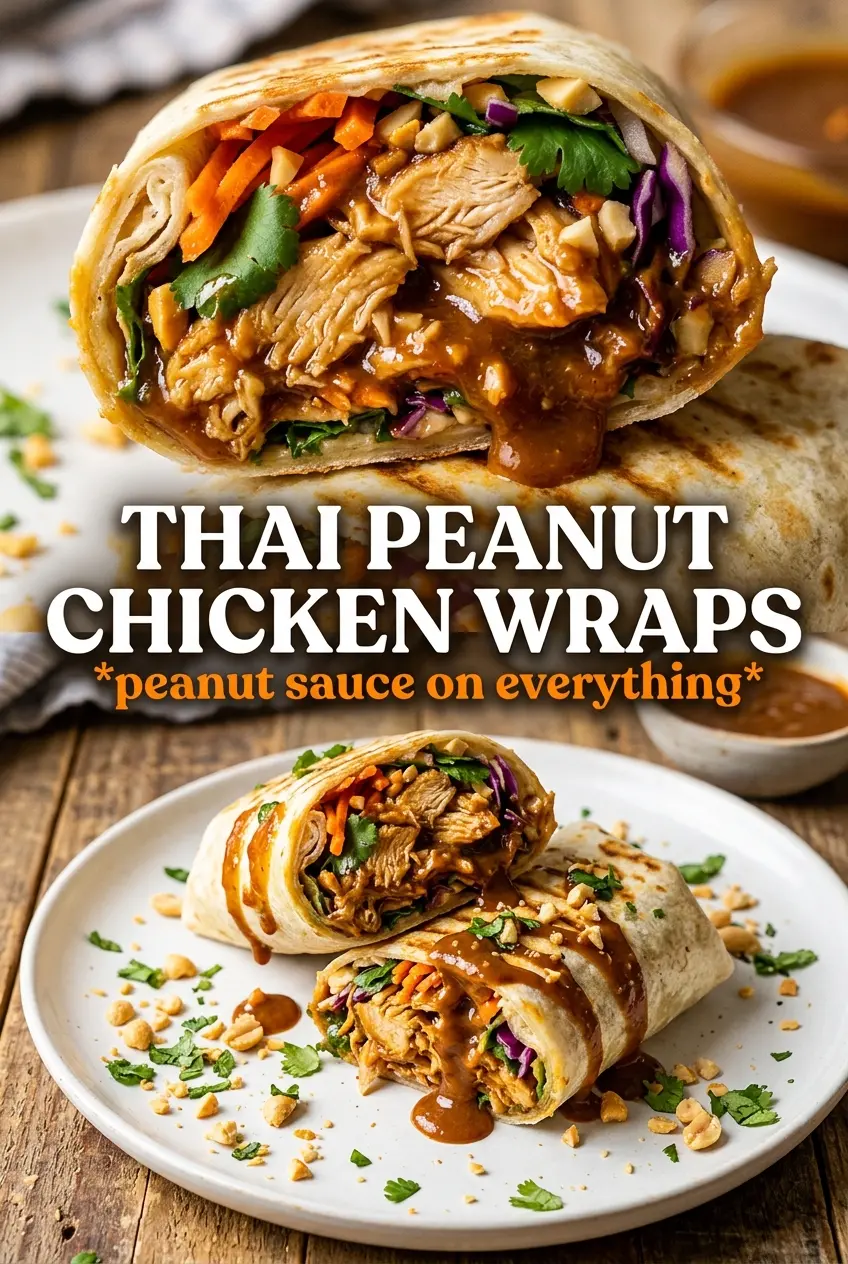
Thai Peanut Chicken Wraps
Ingredients
Equipment
Method
- Whisk together creamy peanut butter, soy sauce, rice vinegar, honey, lime juice, sesame oil, and minced garlic, then add warm water 1 tablespoon at a time until the sauce is pourable. Taste and adjust seasoning to your preference, aiming for a thick but drizzle-ready consistency.
- Toss boneless skinless chicken breasts with soy sauce, sesame oil, and garlic powder until coated. Cook in a skillet over medium-high heat for 5-6 minutes per side until golden and cooked through, then rest and slice thin.
- Warm the flour tortillas until pliable, so they roll without cracking. Keep them covered while you build the wraps.
- Spread 2 tablespoons of peanut sauce across the center of each tortilla. Layer purple cabbage, red bell pepper, shredded carrots, cucumber, sliced chicken, and fresh cilantro in the middle.
- Drizzle additional peanut sauce over the filling, sprinkle crushed peanuts on top, and roll tightly. Slice diagonally and serve immediately, with extra peanut sauce on the side for dipping.